Midwest Industries Bounty Hunter—Revolver Customization & Optimization
This past SHOT Show, Midwest Industries presented revolver enthusiasts with a new way…
This past SHOT Show, Midwest Industries presented revolver enthusiasts with a new way…
Rise Triggers’ Rev 535 Side-and-Snap AR trigger is a next-generation AR fire control…
Exploring someone else’s Everyday Carry (EDC) setup offers both insight and inspiration. While…
All shooting is a balance between speed and precision. By that I mean you can…
The Mod-Navy Qual I’ve been doing this qual (or drill, or whatever the current nom…
I designed the Button Man to give shooters a low-round-count, low-light-engagement drill that involved both…
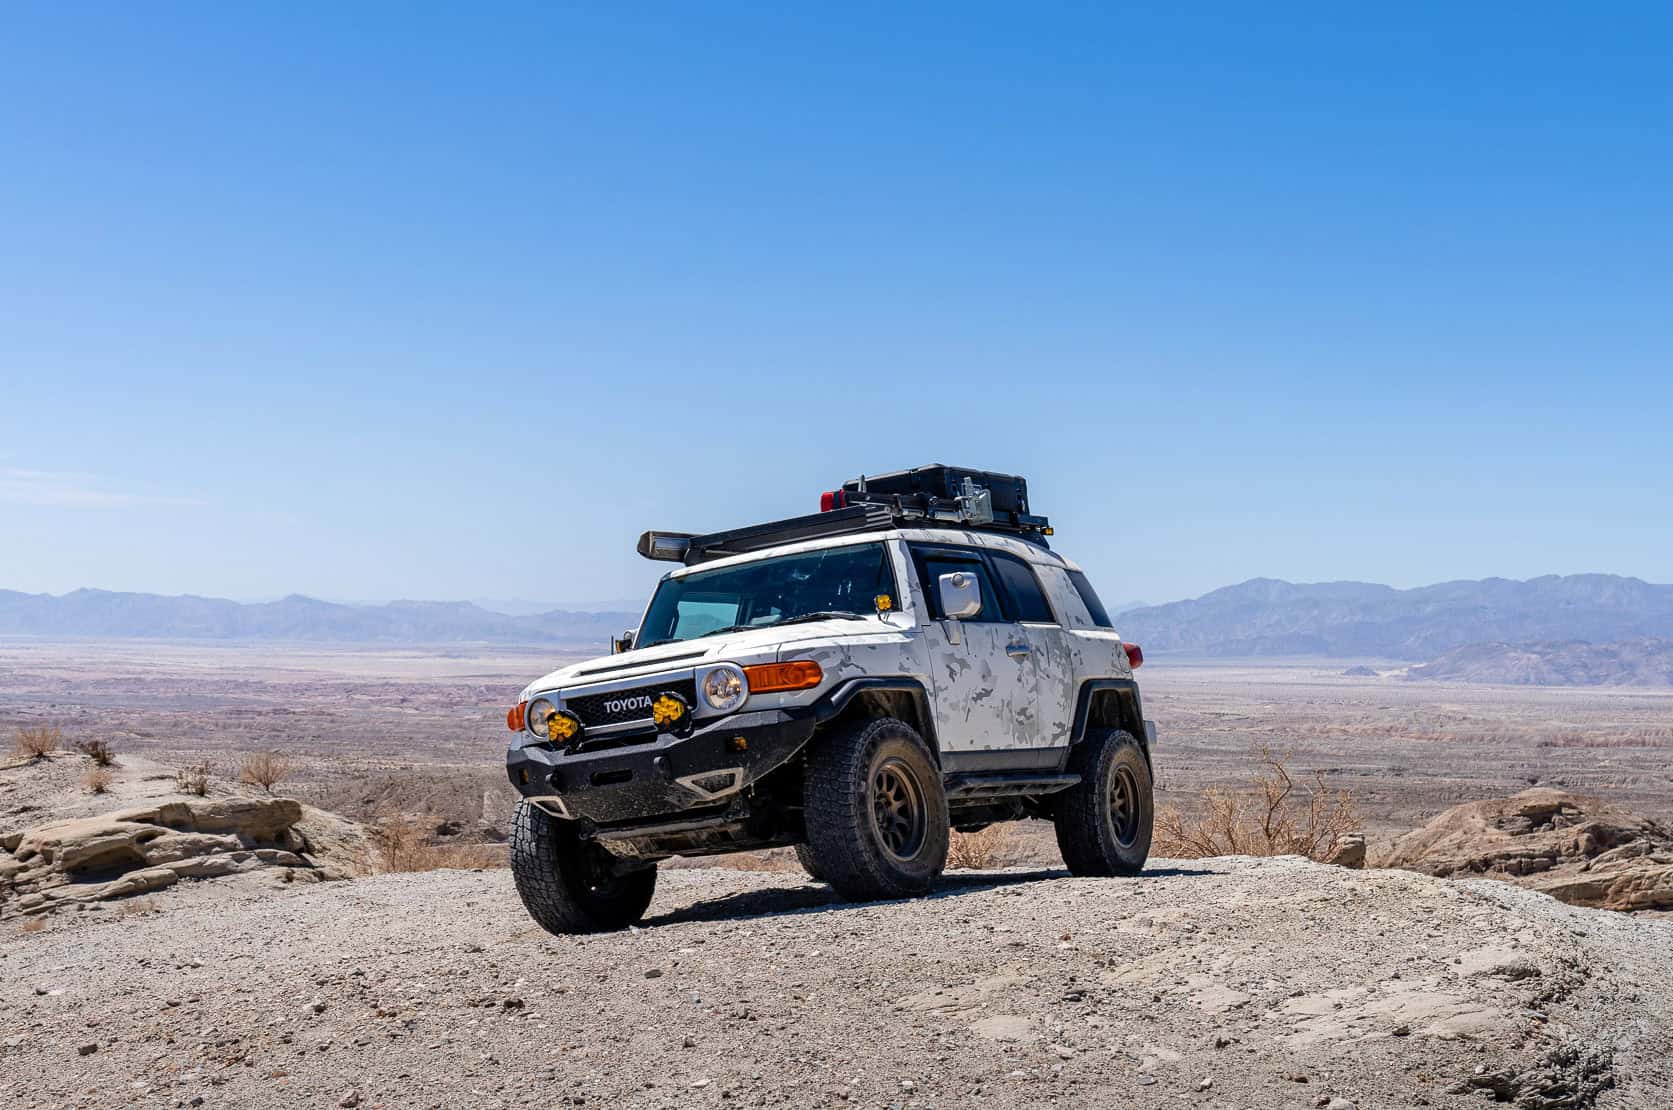
• Built for road trips and off-road use
• Manual transmission equipped
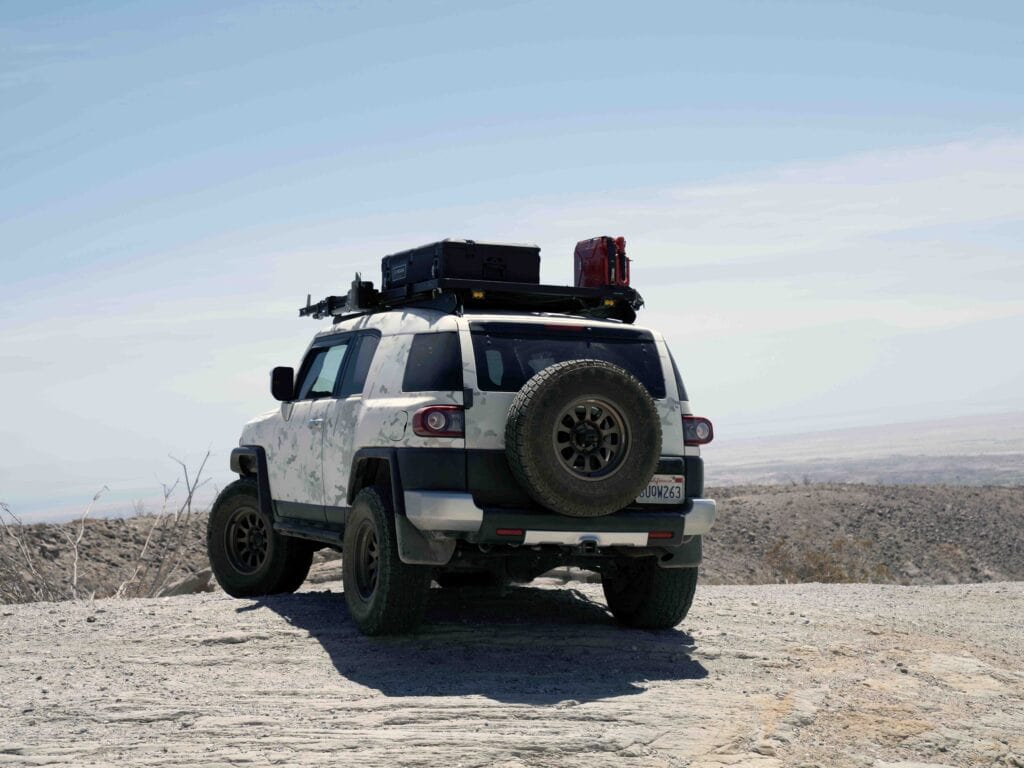
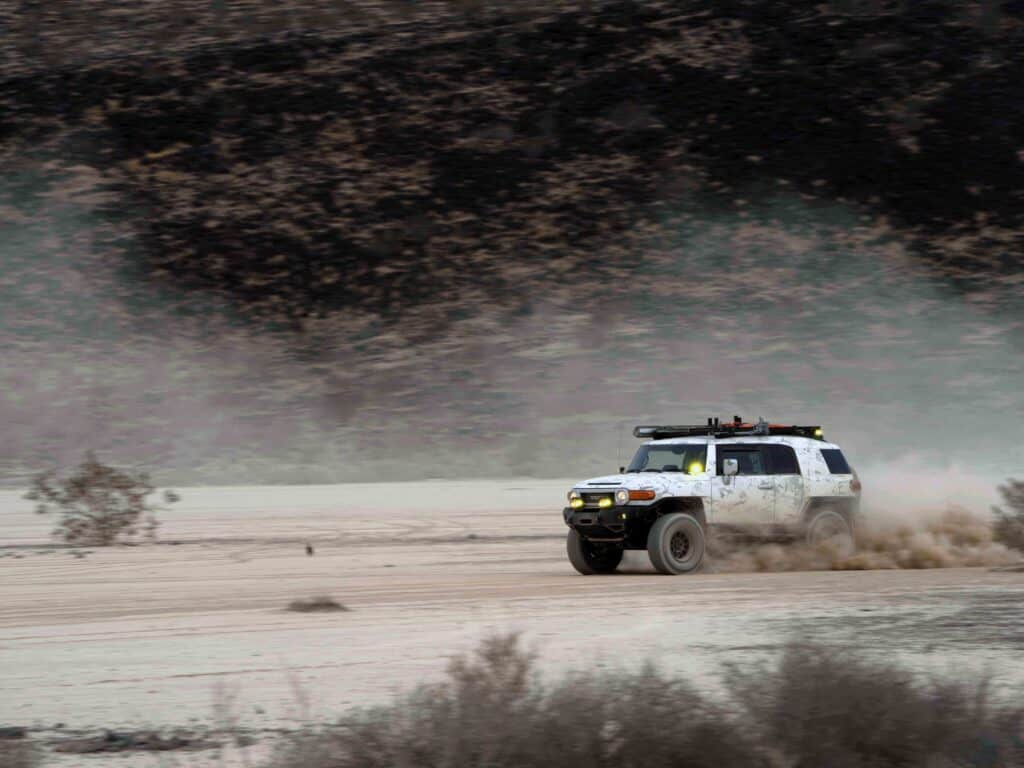
• Wrapped in MultiCam Arctic
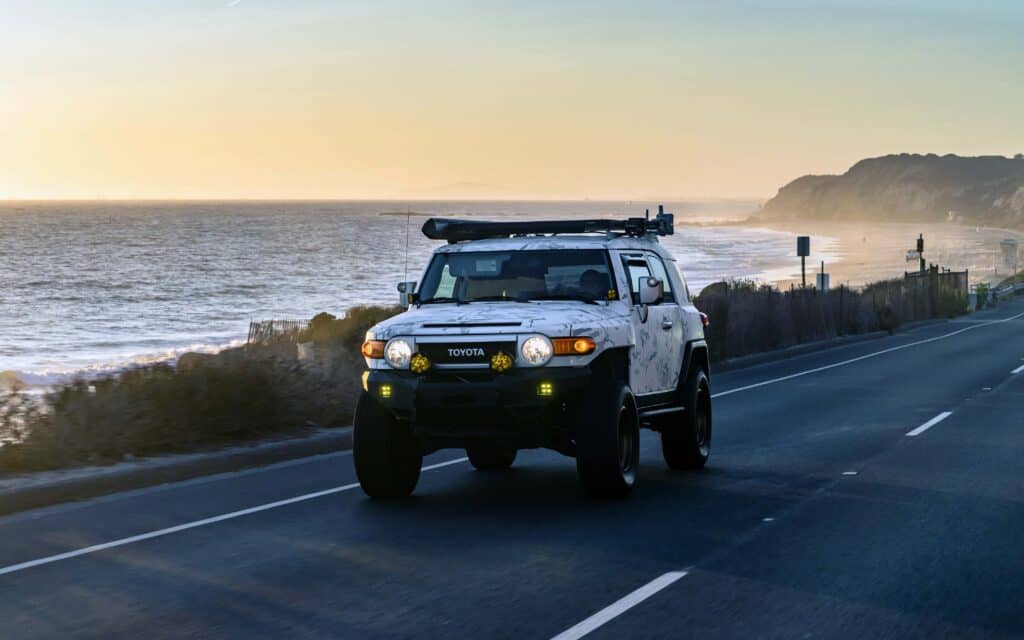
For my entire driving life, I’ve only ever owned compact sports coupes, and for most of my professional career I’ve worked in the shooting sports industry. For years, I’ve been loading my guns, gear, ammo, and targets into every nook and cranny of my small cars, to varying degrees of success. In 2020, I finally decided it was time to get a vehicle to make that part of my job easier, but also to take me places that my lowered cars could not access.
It was time to move into a more off-road-capable vehicle with improved storage solutions for my firearms. These needs led me to my current rig, the FJ Cruiser you see here. It’s taken about 12 months to get it to this point. The cost of the vehicle plus the mods is hovering around $50,000. One of my favorite features is its manual transmission. So few modern SUVs are equipped with manuals these days.
The story of this FJ build actually starts with the 1992 4Runner 4×4 V6 that I purchased from a friend of mine in December 2020. It sat on his driveway for years, decaying, ever since he abandoned the project. He lifted it, put wheels and 33” MTs on it, and then let it sit. The exterior was in pretty rough shape, but mechanically it was sound, and the interior was in great shape considering it was 28 years old. The thing that drew me to this vehicle was that it had a 5-speed manual transmission. I bought it for $2,000, changed the tires and fluids, and then set off to visit my dad in Idaho for Christmas that year, a 2,000 mile round trip, with a short detour to Moab on the way home.
The 4Runner did great, but it was extremely underpowered and slow. Maintaining 70 mph, uphill, with a headwind, was virtually impossible. I knew this vehicle would be doing 80% of its job on the highway and only 20% off-road, so within the first month of owning it I had already started to look at alternatives.
This put me in an interesting position because I am a manual elitist. In fact, I have only ever owned manual vehicles. My closest friends all, exclusively, drive manual. This is how I landed on the FJ Cruiser. As I was plugging my filters into Autotrader, I was pleasantly surprised to learn that the FJ was actually offered with a 6-speed manual.
I checked Autotrader every day and read up on everything I could about the FJ Cruiser. The day that I came across FJCruiserForum.com was pivotal. It’s an active community of FJ fanatics with a wealth of information. I learned that, since I had the budget, I should only be looking at the 2010+ model years, in order to avoid some of the quirks and issues with the early model cars.
After weeks of shopping online, I found a few candidates that would fit the bill, but none of them really “spoke” to me. Up until this point I had been avoiding searching on Craigslist because it’s not a great platform to perform a nationwide search, and I didn’t expect to see any manual transmission 4x4s for sale locally. But one day I opened up Craigslist and lo and behold, there it was, about 50 miles from my house: a super clean 2012 FJ Cruiser with 117,000 miles, manual transmission, off-road package with OEM Bilstein shocks and rear Locker, listed for $28,500. It had been listed for 23 days; I thought for sure it was sold already. As it turns out, the owner texted me back confirming it was still available.
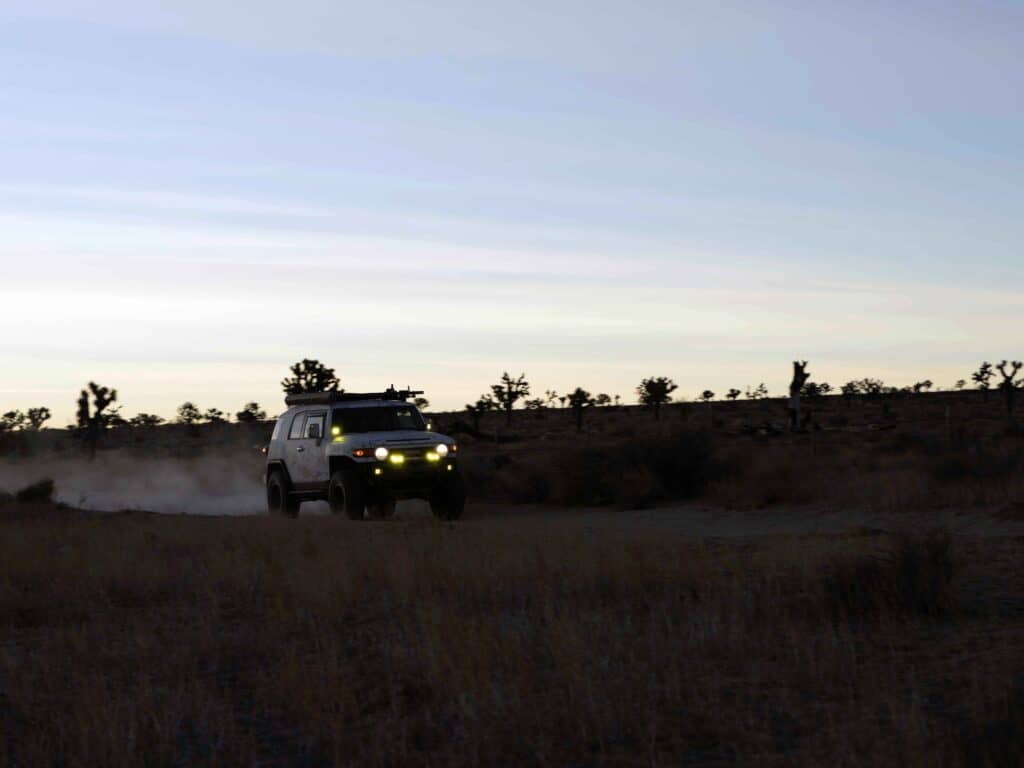
As we exchanged texts, I learned that the seller was in the middle of moving to Las Vegas. The ad was very descriptive, with a lot of photos, and I was getting a positive vibe from the owner, which is what prompted me to make him an offer sight unseen. I offered him $23,000. He countered at $24,000, to which I agreed. Later that day, I went to close the deal. To my delight, the FJ was exactly as advertised. Soon after, I was driving it home. I have bought and sold quite a few used cars in my day, but never in a span of five hours. The build began the very next week.
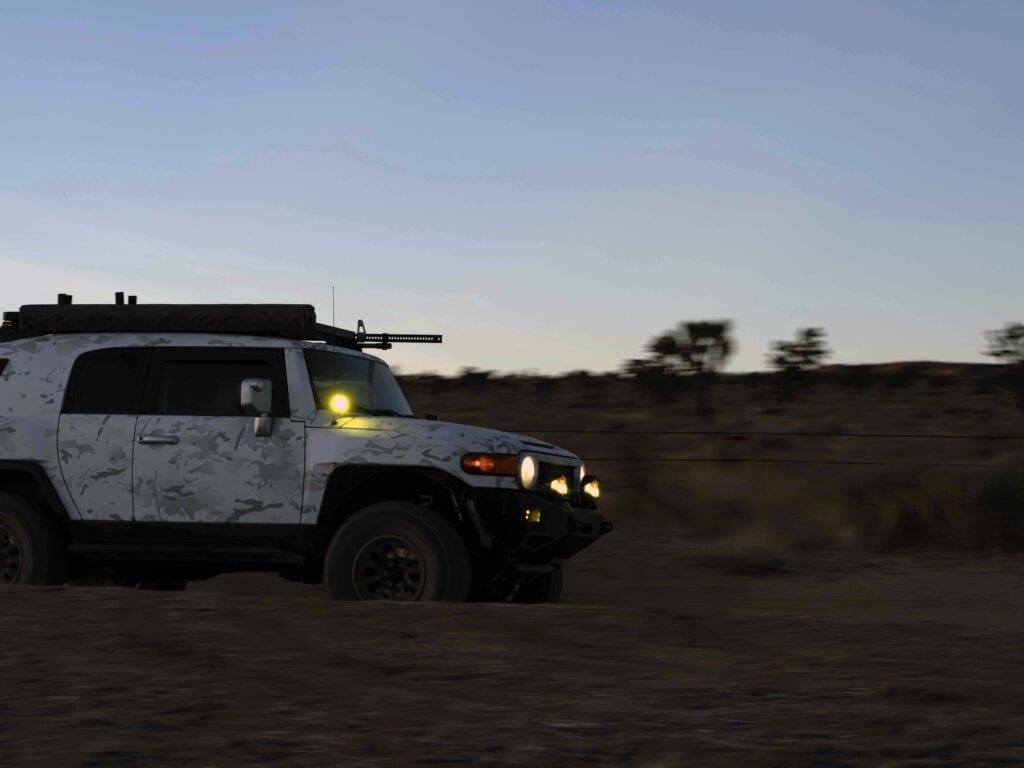
First up came an upgraded wheel and tire package. The wheel choice for me was very easy. A friend of mine started a wheel company, Titan7, a few years ago, mostly focusing track/motorsports applications, but he happens to have an application for Toyota trucks. I’m always going to support my friends when I have the opportunity, so I already knew I was getting the brand’s AK-1 wheels before I even bought the FJ.
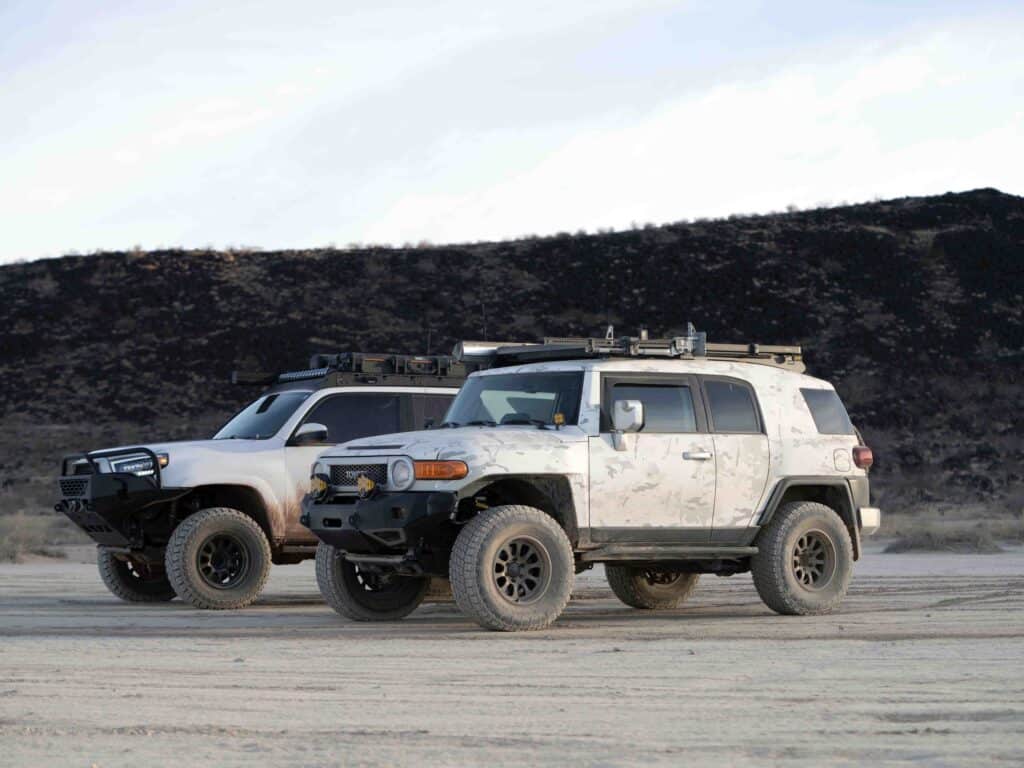
Tire-wise, I decided to go with Nitto Terra Grappler G2 305/70/17s. I considered going full-send into 35-inch tires, but I tried to strike a balance between capability and weight. I saved about 9 pounds per wheel with the Titan7s compared to stock alloy wheels, and even though the tires are heavier, my net weight increase per corner was about 11 pounds. The change in driving dynamics with this setup is barely noticeable.
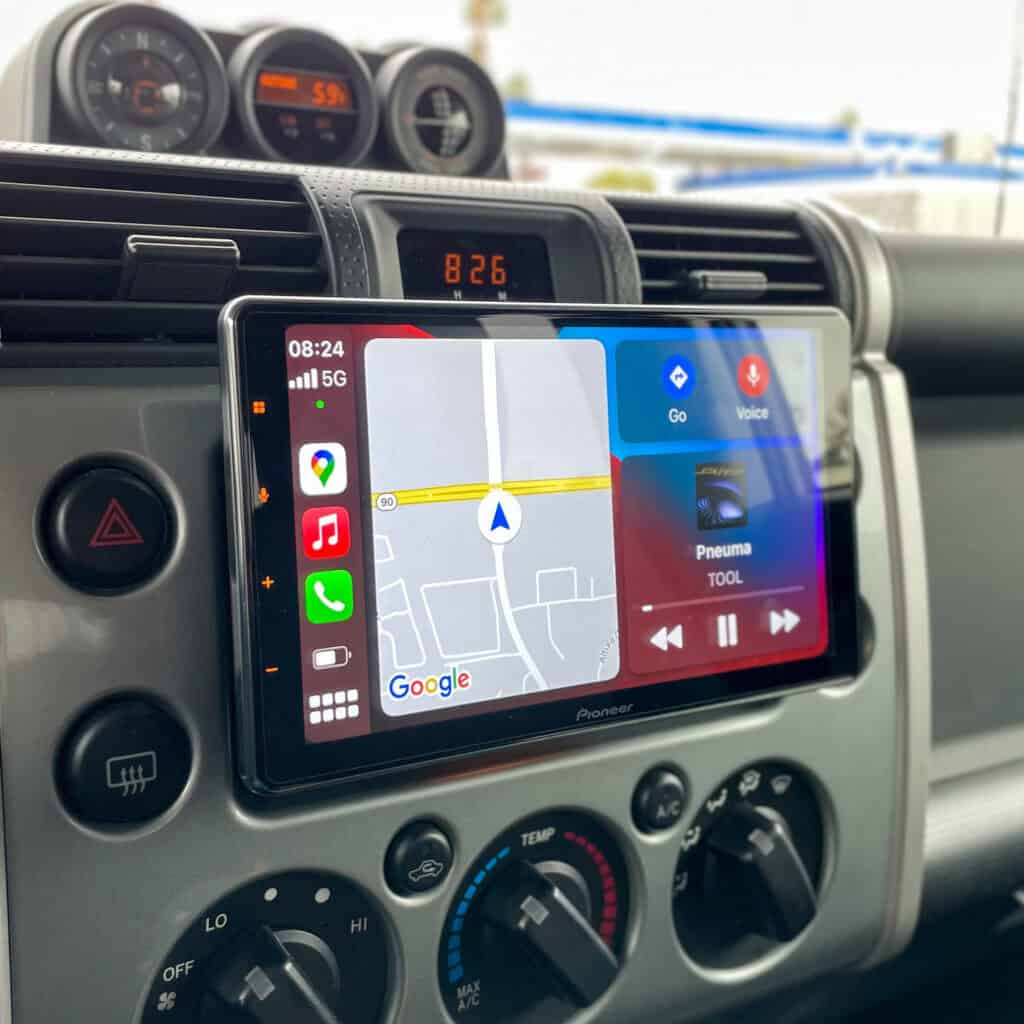
Next, I looked into modernizing the infotainment system. I went back and forth in my mind about whether I really wanted or needed to upgrade the head unit because this would be one of the few things I would pay someone else to install versus DIY. Wiring and electronics are headaches and I wasn’t sure it’d be worth it. Ultimately, I did decide to pull the trigger on the Pioneer NEX 7600 to replace the dated stock head unit, as well as two 6×9 speakers for the doors, and another back-up camera, and I’m really glad that I did.
The NEX7600 has a floating 9-inch screen, which is the perfect size, it doesn’t cover any of the vents or buttons in the dash, and it kind of gives the FJ interior a bit of a luxury feel. There are a lot of great features in the NEX system, but honestly, I almost exclusively use Apple Car Play.
The screen resolution is amazing, and I could have wired the OEM camera to the new unit, but I figured it would be sharper, and more useful if I got a newer reverse camera mounted on the bumper to give me two perspectives when reversing. The OEM camera gives me a wide view of what’s behind, and the Pioneer reverse camera lets me see what’s at bumper level and with a bit more narrow focal length.
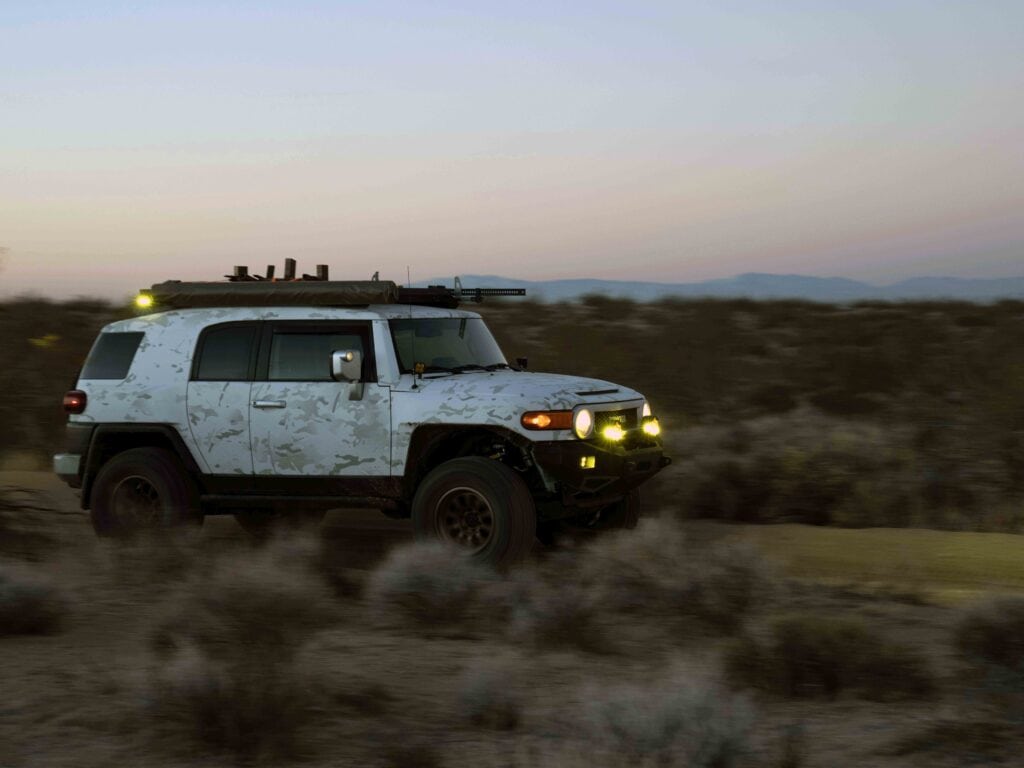
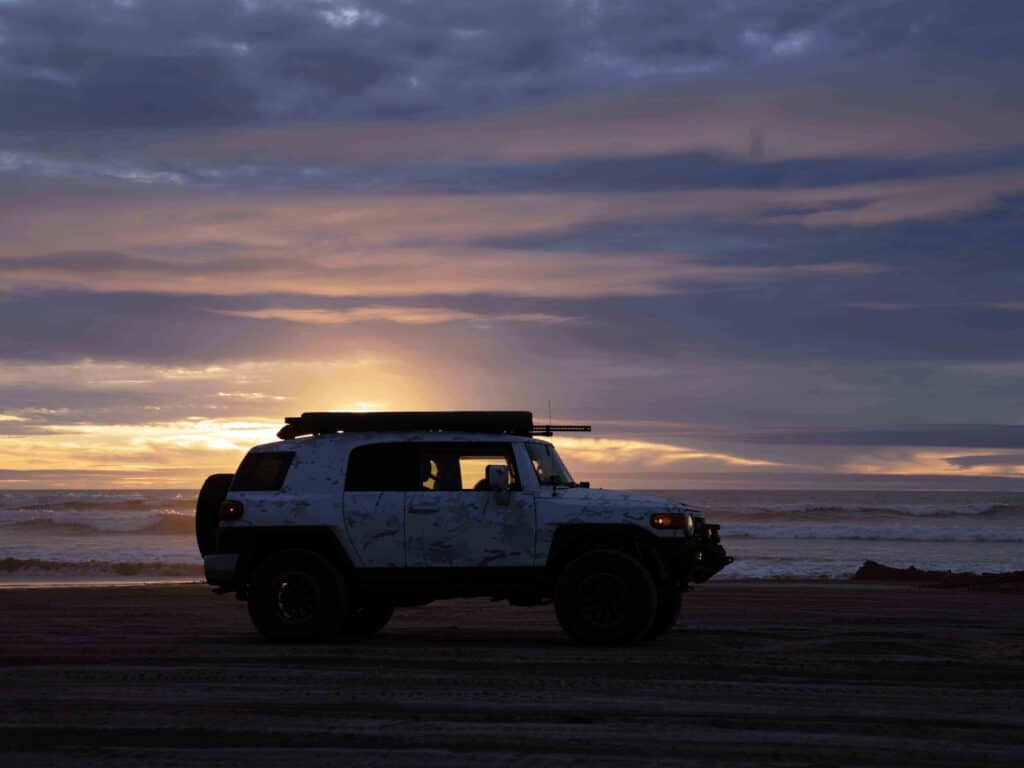
I decided to vinyl wrap the exterior in MultiCam Alpine. Another friend of mine who wraps cars professionally was willing to help me out, provided that I did disassembly so that all he needed to do was apply the vinyl. We’ll skip the disassembly process but suffice it to say, every 15-minute job is just one stripped bolt away from becoming a two-hour ordeal. Thanks to a stripped bolt, this one took several more days and plenty of frustration to resolve. That said, several days later, the wrap was applied and it was time to reassemble.
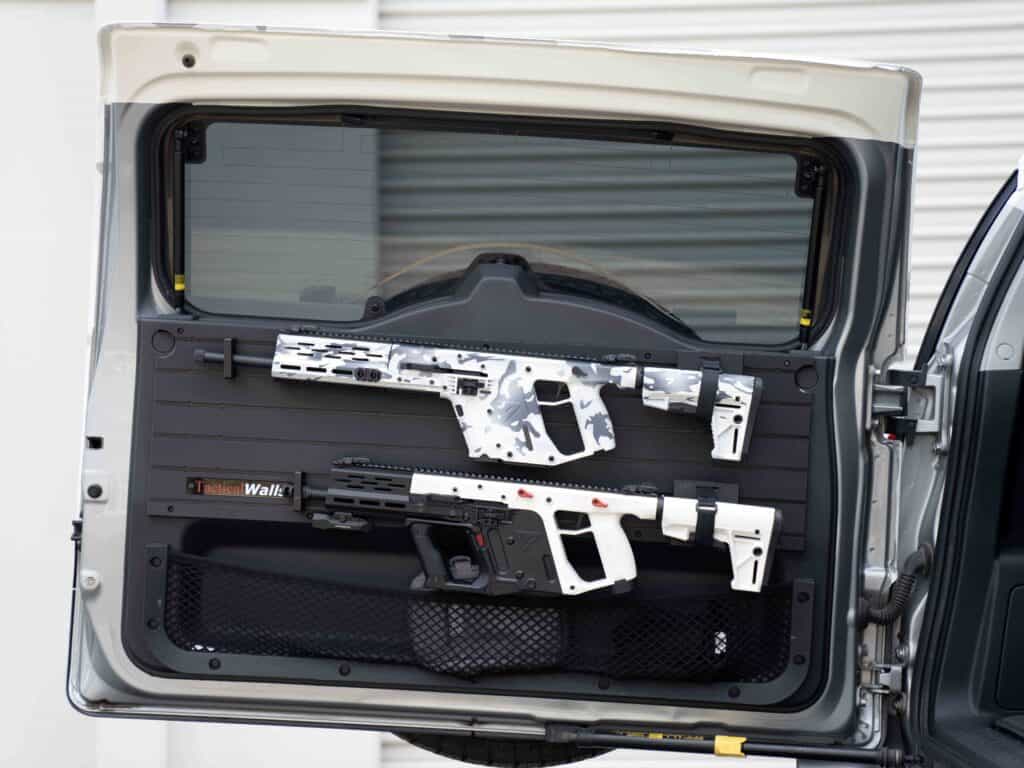
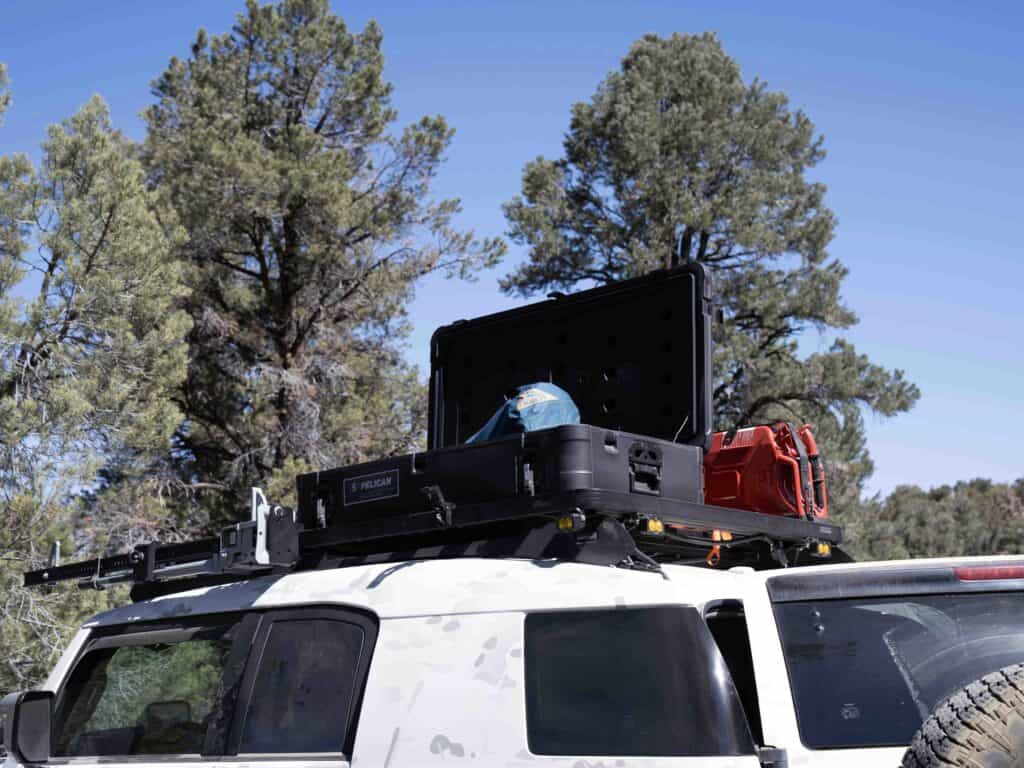
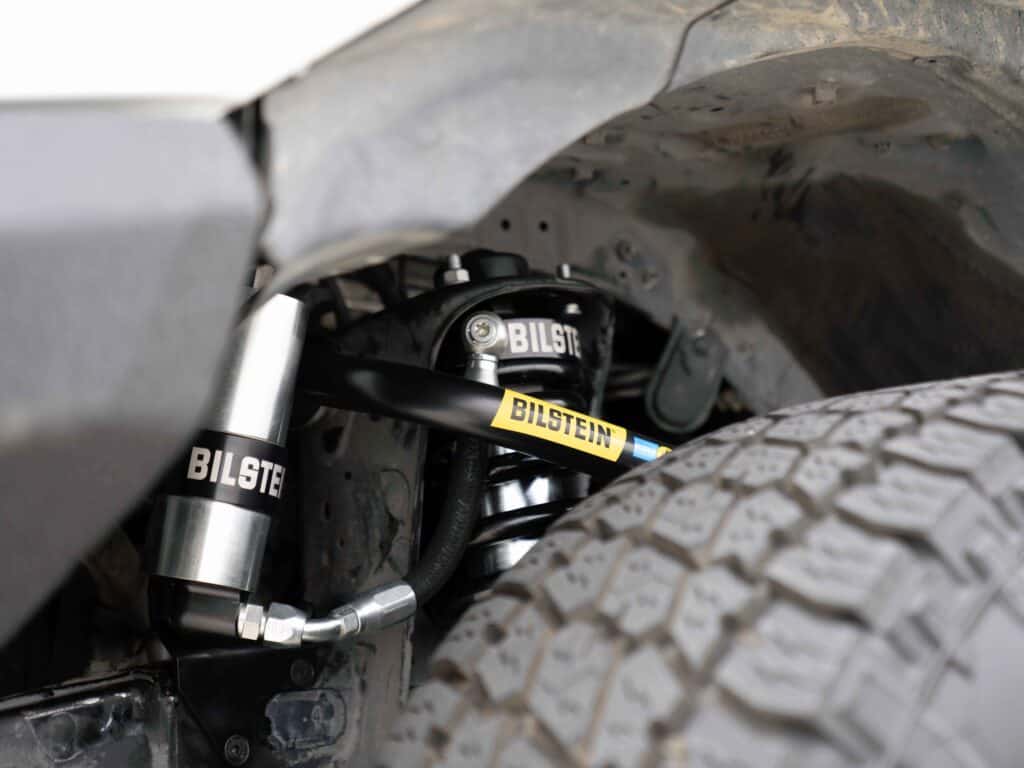
It was at this juncture that I planned to install some of the many mods that had been delivered to me over the previous weeks, which included a roof rack and awning from FrontRunner, a Smittybuilt M1 bumper and trail jack, WeatherTech’s window vents, Tactical Walls Vmod wall and Demello Offroad rock sliders. Thankfully, there was no drama on the reassembly and installation of those parts. Now that the FJ was road-worthy again, I was able to drive it to a shop for the suspension install. I went with Bilstein 8112s for the front, along with their new B8 UCAs, and 8100s in the rear with 1.5-inch lift rear springs.
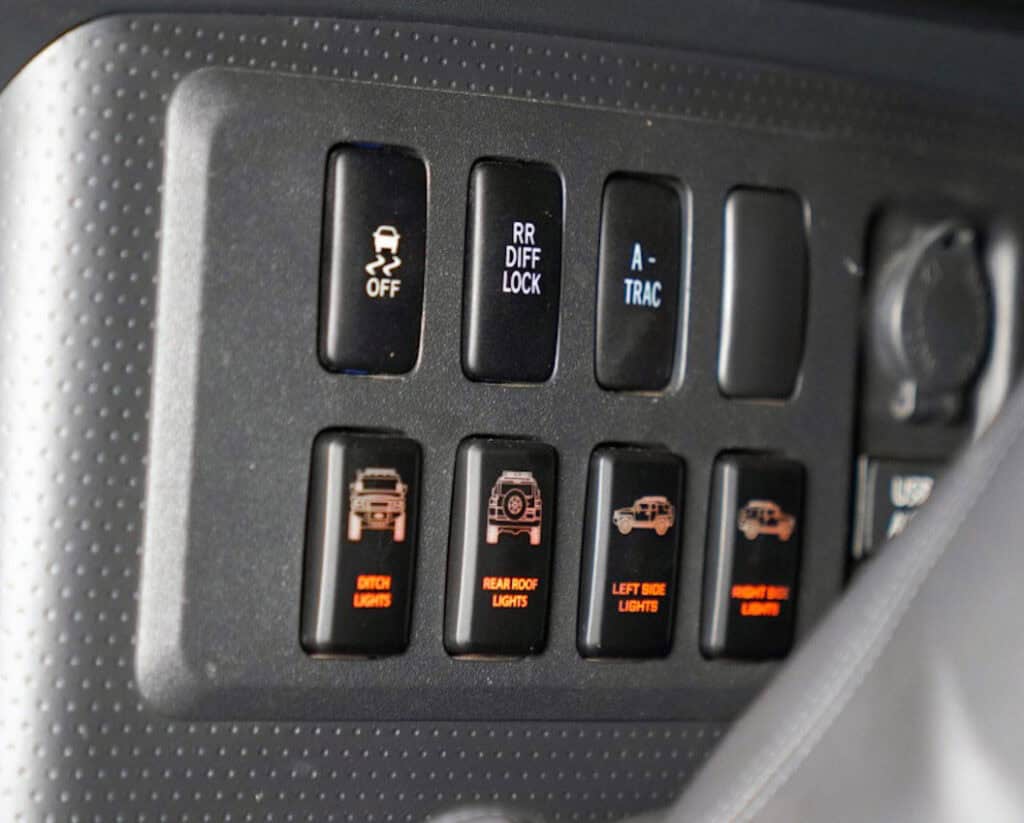
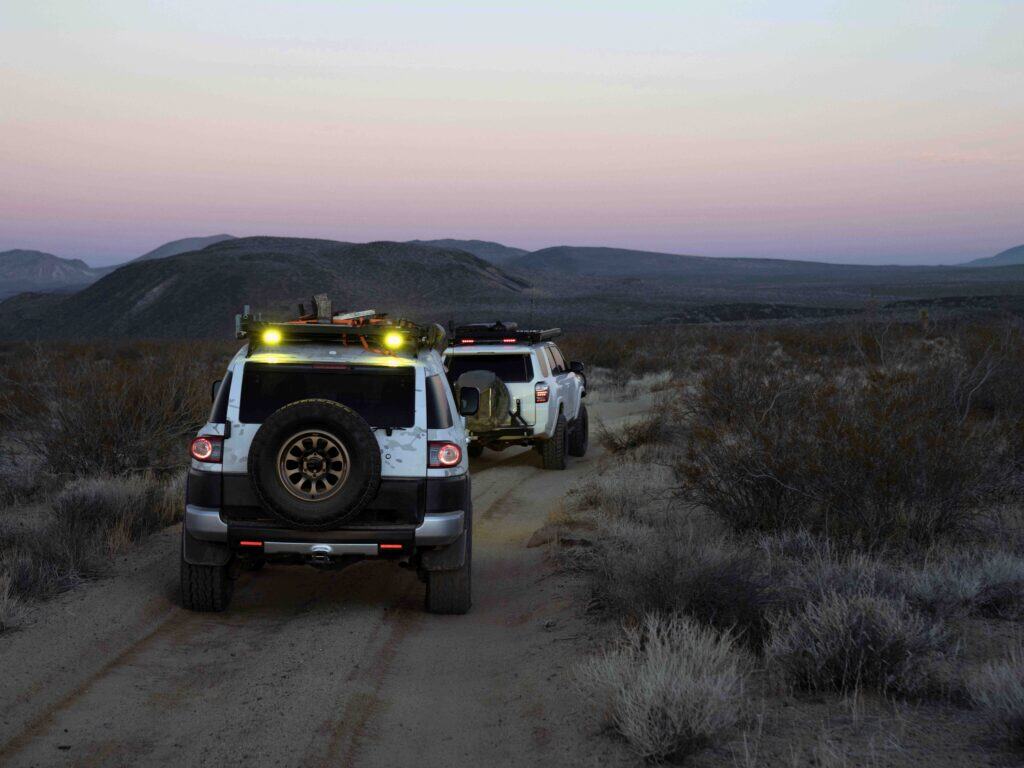
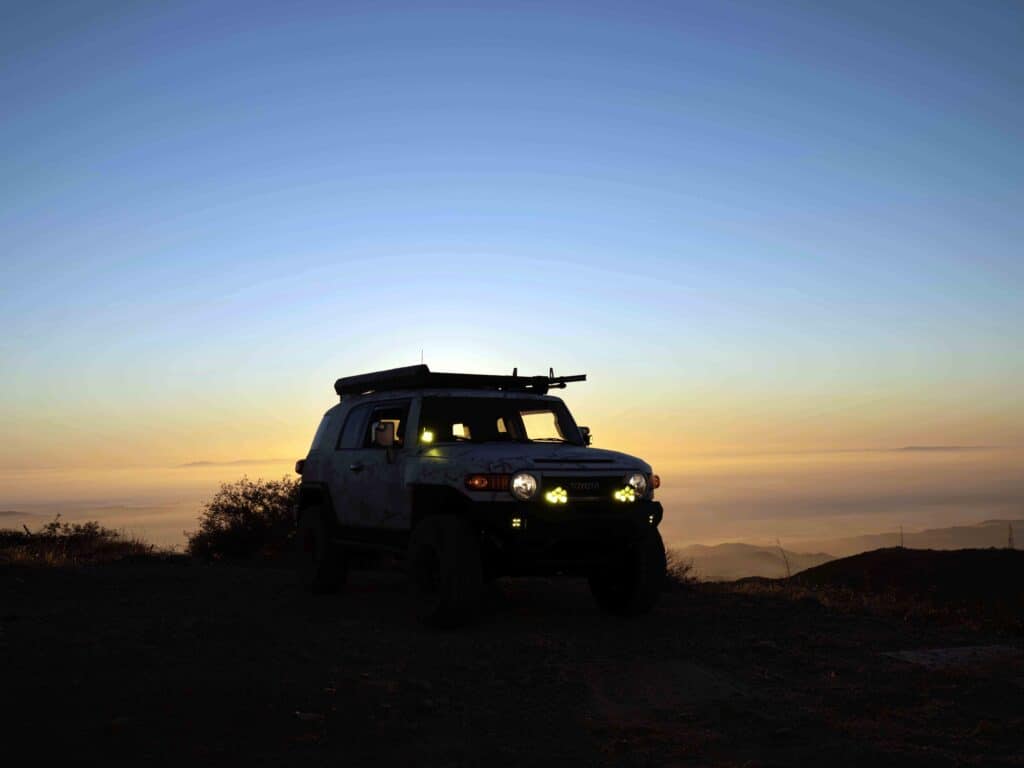
For auxiliary lighting, I went with a collection of Baja Design lights to be used as driving, fog, and ditch lights. Several more sets of lights were mounted on the roof rack as well. In order to keep the look as OEM as possible I got FJ-specific CH4x4 amber push switches. They look neat with the FJ image on them and they light up with my interior lights. I did my best to make it look as close to OEM as possible by cutting up one of my switch blanks as the backing for the switch in the dash. I think it looks pretty good all things considered.
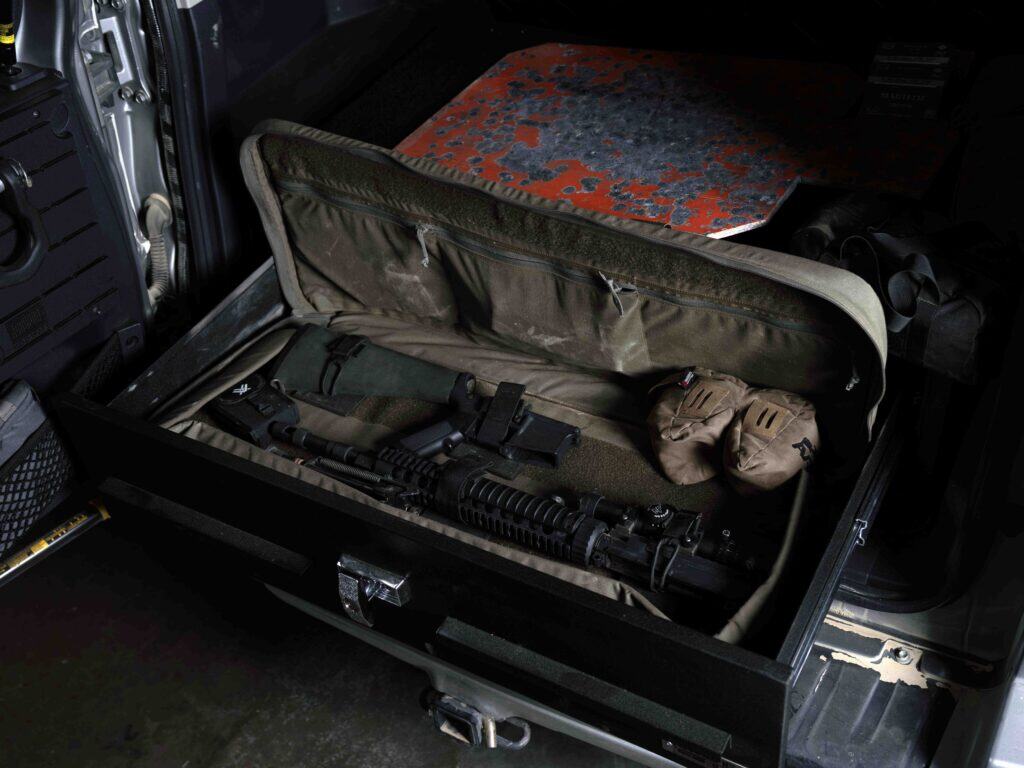
As cool as it would have been, and definitely cheaper, to make my own drawer system for the rear, I was always leaning toward a ready-made option because I knew I would primarily be storing guns, and I wanted something secure. The BossStrongBox 7126-7611 measures 40 inches wide by 10 inches tall by 22 inches deep, which leaves about an inch of clearance on each side, and about 5 inches of clearance in the rear between the back of the rear seats. It’s screwed into the floor, so it ain’t going nowhere. The slides for the drawer are really smooth and can handle a lot of weight. The carpeting on top of the box matches the interior’s color and texture (but is really tough to clean).
My original idea for the rear safe was to have some pluck-n-pull foam for the interior, so that I can have a “truck gun,” but after using it like this for a few range days, I think I prefer to leave it empty so I can load it based on my needs for the day. I have a few soft gun cases that fit perfectly width-wise inside the drawer, and there’s still room for ammo, ear pro, and a pouch. On any other day I might have three to four individual rifle cases that can fit inside the drawer, protecting the contents while also saying securely locked up.
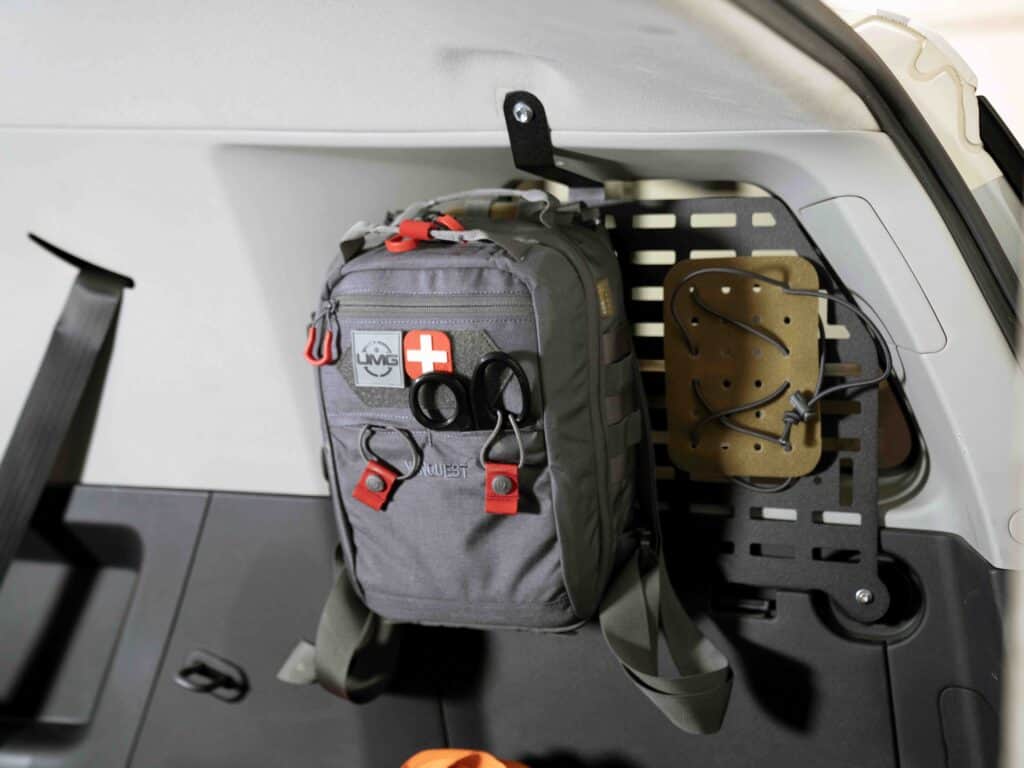
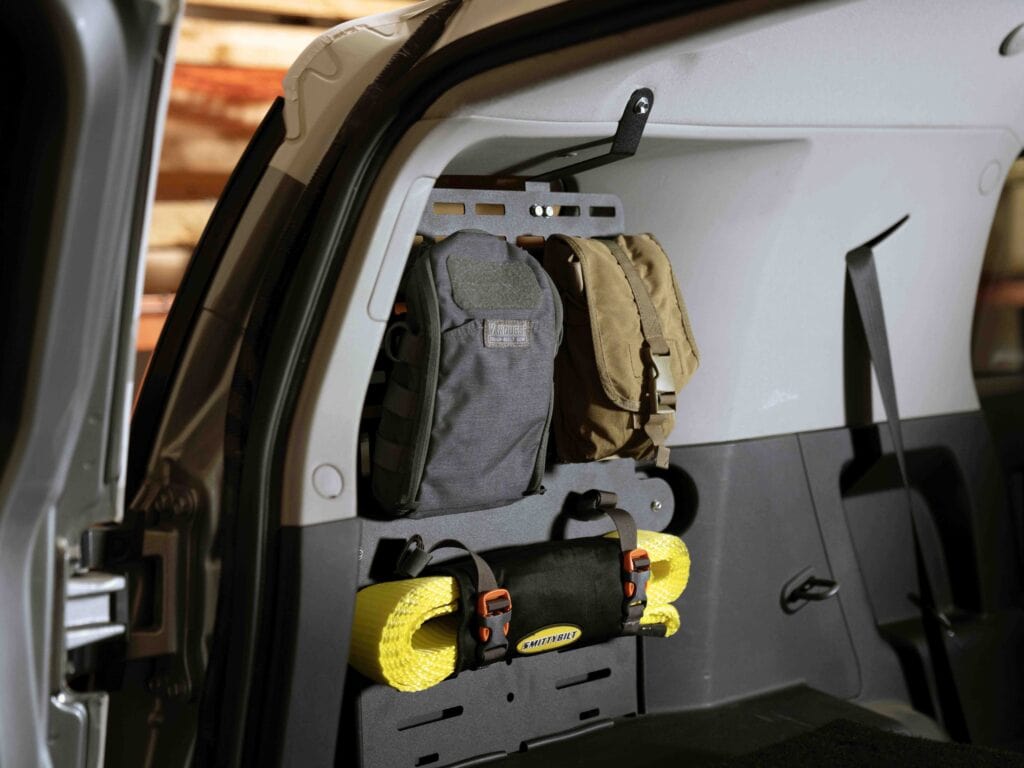
One of the mods I’ve been excited about installing have been the MOLLE panels in the back windows. Partially because these windows are kind of useless in the FJ, and also because I have so much MOLLE gear left over from my airsoft days. Much to my dismay, these things are really expensive! Maybe I’m a little jaded because I know a little bit about steel and manufacturing costs, but I couldn’t bring myself to pay $200 per window. Fortunately I found Refined Cycle and was able to get both window panels for around $200, which is still a lot IMO, but a much easier pill to swallow.
Upon reading the installation instructions, I discovered that I have to install the pouches onto the panel before mounting them to the car, which kind of nullifies the modularity aspect of MOLLE. For some of the pouches I did loop them in before mounting, but for some others I opted to get these MOHL-AIR panels from Vanquest Gear, which basically turns my MOLLE pouch into a tear-away pouch with some really strong Velcro. And when I say really strong, I mean it. I accidentally dropped one of these panels onto the carpeting of my BossStrongBox safe, and when I lifted the MOHL-AIR panel up to remove it, the carpet came with it. This Velcro is stronger than the carpet glue.
On the passenger side panel I opted for the Urban Medical Gear TRK-1, which is basically a big IFAK that will allow me to take care of anything from a boo-boo to a gunshot wound. Everything in the kit, and the location, was methodically designed by UMG in tandem with Vanquest Gear so that all of my massive hemorrhage supplies are together, all of my airway stuff is together, and so on. The driver side has some recovery gear and my tire patch kit. I don’t think this is my final form on these panels; I’m sure my needs will change as I go out more and contemplate the optimal use for this real estate.
The most memorable experience with this vehicle so far has been a trip to Utah with my wife and boys. I drove up in order to attend a Fieldcraft Survival rifle course and to take the family off-road to see more of the state. The gun safe worked wonderfully to secure the guns and gear for the class, and the rest of the vehicle was awesome for the family.
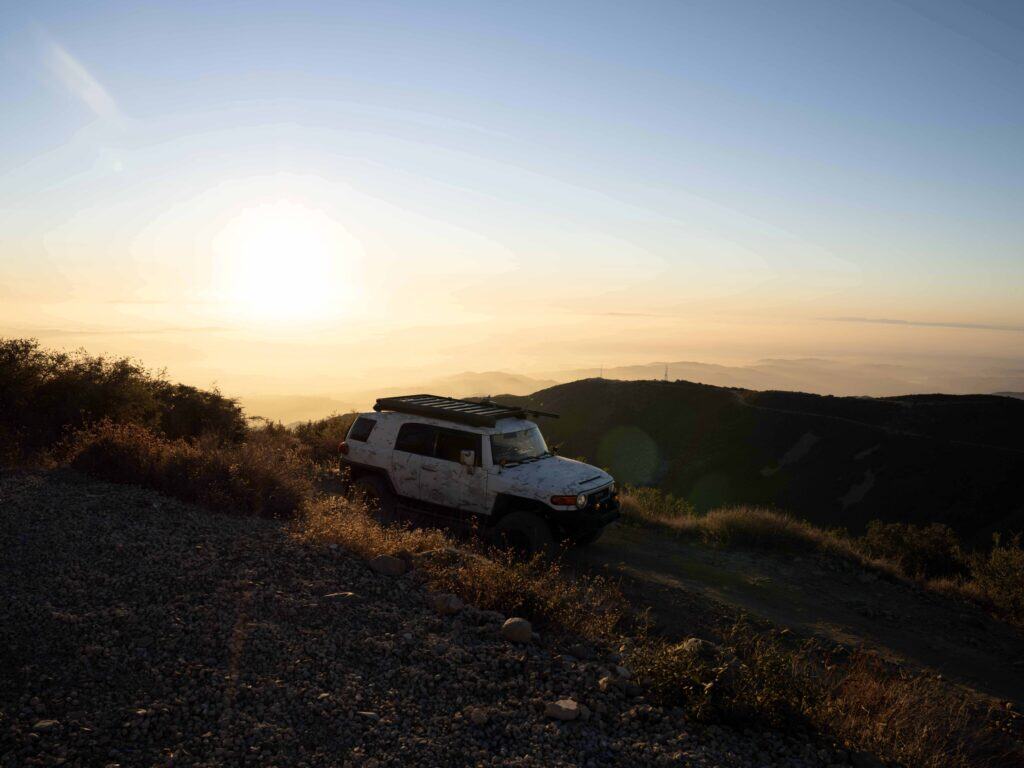
We visited an area called “Little Moab,” which is about 45 minutes southwest of Salt Lake City. Slick red rocks, just like Moab, but in an area of about 200 square yards. This is the first time I’ve really tested the capabilities of the FJ. Without an experienced spotter I was careful not to try some of Little Moab’s most challenging features, but I did use the low gear crawl up to the midway point of the biggest rock feature, where we could see for miles in every direction and snap some cool photos. From there we followed some of the trails into the hills and drove through an abandoned train tunnel carved into the mountains, where the Baja Designs lights really shined.
Although I don’t really drive this vehicle very often, I have managed to put 10,000 miles on it in one year. Not bad for a third vehicle. Every time I use it, it’s usually for a road trip, so when it’s not in storage, it gets put to good use. One of the longest and best trips I’ve taken with the FJ is the aforementioned trip to Salt Lake City. It’s been a fun project that works well for what I need it for. With that in mind, I’m looking forward to many more adventures. Text & Images by Tim Seargeant
Vehicle Specs – 2012 Toyota FJ Cruiser
ENGINE
4.0-liter V6 (1GR-FE)
TRANSMISSION
Six-speed manual (RA61F)
SUSPENSION
Front—Bilstein B8 8112 Zone Control coilovers, Bilstein B8 upper control arms
Rear—Bilstein B8 8100 Zone Control shocks, Bilstein B12 1.5” Lift Rear Springs
WHEELS AND TIRES
Titan 7 AK-1, 17×8.5; Nitto Terra Grappler G2, 305/70/17
EXTERIOR
Frontrunner Outfitters Slimline roof rack, Frontrunner Outfitters 2m Awning, Frontrunner Outfitters stainless steel folding table & under-rack mount, Frontrunner Outfitters Hi-Lift jack mount, Weathertech window visors, Baja Designs S2 Pro lighting, Crye Precision Multicam Alpine vinyl wrap, Baja Designs Squadron Pro ditch lights, Amazon shorty antenna, Baja Designs LP6 front driving lights, Baja Designs Squadron SAE fog lights, Smittybuilt M1 front bumper, Frontrunner Outfitters bottle opener, Pioneer reverse camera, Demello Offroad rock sliders
INTERIOR
CH4x4 push-button switches, Pioneer NEX7600 Infotainment System, BossStrongBox 7612 gun safe drawer (rear storage), Refined Cycle RM3 & RM4 MOLLE panels (rear windows), Tactical Walls Vmod wall (rear door), Blue Sea 12-xircuit fuse block power source for all accessories (engine bay)
SPECIAL THANKS
Gene Y., Randall T., Don N., Josh E., Kento K., Michael E., Mark H., and Chris F.
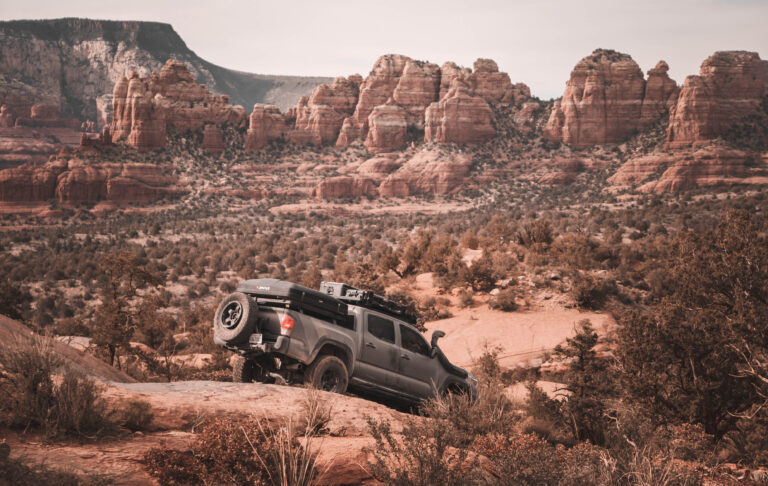
Many people dream of leaving their careers to pursue their true passions, but most never take the leap. As for George Fernandez, he followed his heart and found…
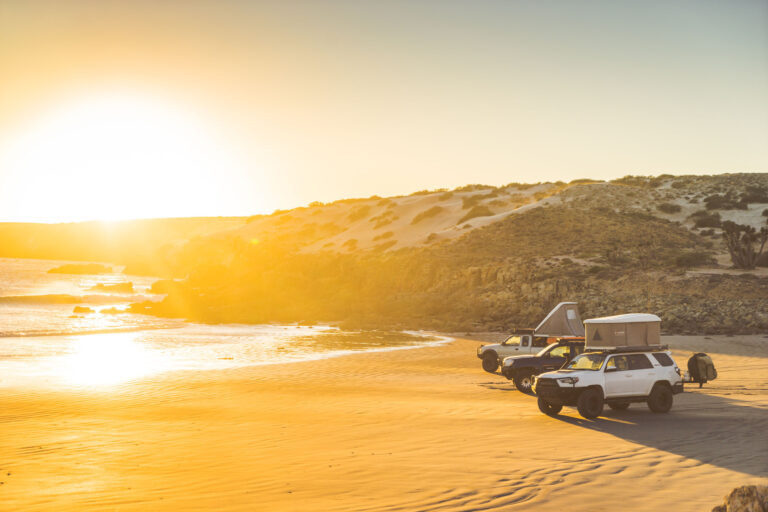
51st SCORE Baja 1000 807-mile loop race course Location: Baja California Peninsula The unmistakable notes of a high-strung motor being pegged at full throttle jolted me awake. I…
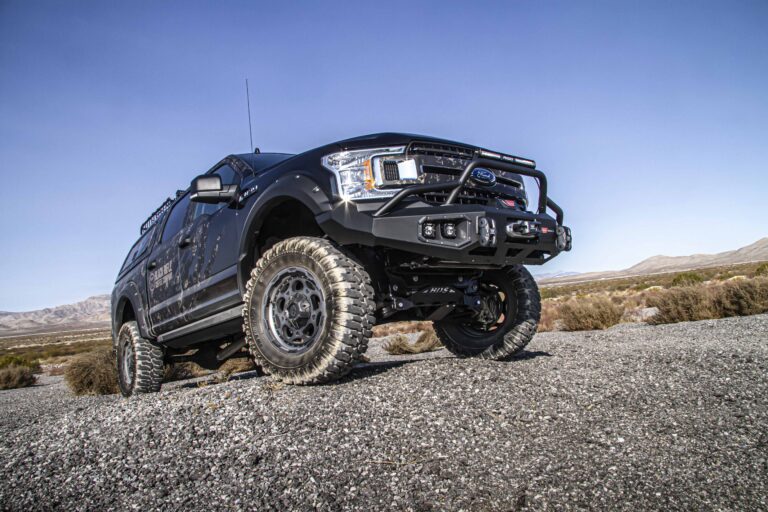
The Specialty Equipment Market Association Show—SEMA for short—is the world’s largest automotive aftermarket tradeshow. The annual industry-only event takes place in Las Vegas, where it encompasses the entire…
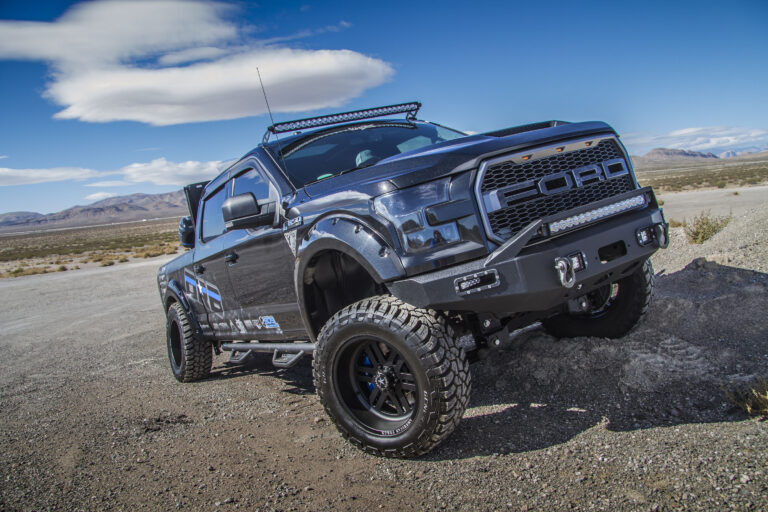
• Customized F-150 and motorcycle • Built as a platform to draw attention to PTSD • Driving/riding from Washington to Virginia to support ptsdfoundation.org The F-150 you see…
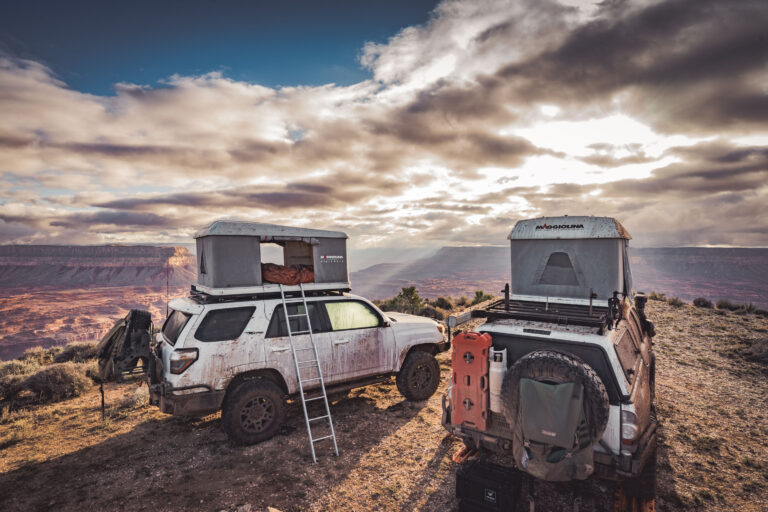
A Journey Through the North Rim of the Grand Canyon Exploration of the North Rim of the Grand Canyon 8 days, 500 miles Weather conditions: heavy winds, rain,…
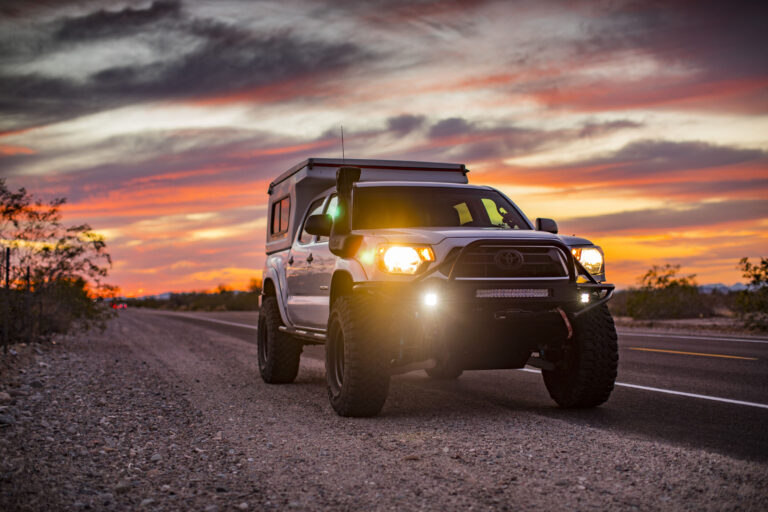
Have you ever wanted to just bust out of work after a hectic workweek and hit the open road to do some exploring, far away from civilization as…
© 2026 UN12 Magazine
© 2026 UN12 Magazine
Wait! Don’t forget to