SIG Sauer P211 GT4 & GT5—The Sports Cars of SAO Pistols?
In a world where shooters can’t get enough of 2011-style pistols, SIG introduced…
In a world where shooters can’t get enough of 2011-style pistols, SIG introduced…
The Folding Defensive Platform from Zev Technologies—FDP for short—is a new take on…
The GSR-05 Slide Racker is TangoDown’s latest addition to its Vickers Tactical lineup….
All shooting is a balance between speed and precision. By that I mean you can…
The Mod-Navy Qual I’ve been doing this qual (or drill, or whatever the current nom…
• Built for road trips and off-road use• Manual transmission equipped• Wrapped in MultiCam Arctic…
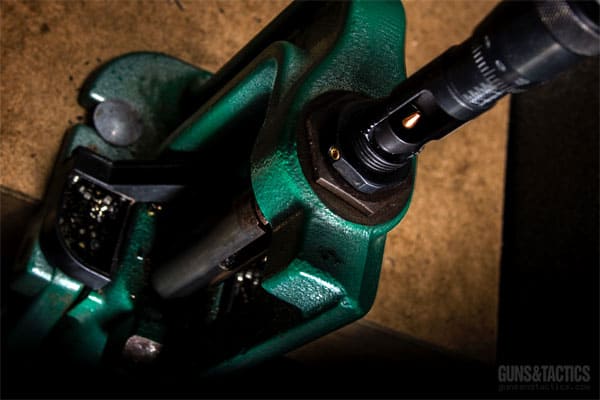
We take a look at some of the popular ways to prime your brass and add the powder charge for our ladder test. The right answer here will bring us one step closer to the perfect round for our gun.

Earlier we went through the process of prepping the brass. If you haven’t seen that piece, check it out here.
Now that our brass is clean, sized, and ready to rock, its time to start priming.
Every company has a priming tool, and for the most part, they all follow the same design as far as hand primers go. Priming with the press works, but sometimes its hard to feel when you’ve correctly seated the primer. Just like all other steps in creating this custom round, consistency here means everything. Having a consistent feel of the primer seating in the brass is important to producing a consistent load from round to round.
Some brass will prime easier than others. With cheaper brass, you’ll notice a wide variety of force needed to properly seat the primer. Sometimes the pocket may even feel so tight, you think you’re about to set the primer off! In cases like these look for a crimp on the primer pocket. If you find one, use a swaging tool to remove it, because if you apply too much pressure, you could set one off. As long as its not pointing at your face, it will do little damage to anything but your ear drums. I always make it a practice to point the case mouth away from me as I seat each primer. A powder burn on my face never sounded fun.
Part I: Cooking Up Some Loads For The Semi-Prescision Rifle Shooter
Part II: The Equipment To Load
Part III: Loading For The Semi Precision Rifle
Part IV: Performing The Ladder Test
Short story here. I know an old gun guy that used to loose primers in the carpet of his reloading room. At that time primers cost less than $1 per 100, so it wasn’t all that big of a deal…until his wife came in to vacuum. Imagine her surprise when her vacuum sounded like it was transformed into a MP5 with select fire. He said she dropped her unexpected weapon and ran out of there as fast as she could. Anyway. Back to making ammo.
What kind of primer will work best? That’s a personal preference of your gun. But, trying different primers is best left until after you get a good start on your new round. The changes in group size, point of impact, and muzzle velocity could be minimal, so its best to nail down things like powder charge, bullet weight / style, and seating depth before diving into primer tests. For the load tests in the next installment, we’re going to use a CCI BR2 Large Rifle Primer.
So now we’ve got nice and shiny primed brass. The case mouth has a nice smooth chamfer on it, and we’re ready to dump in some powder. Once you settle on a load, each shell will obviously be loaded with the same charge. But, in this case, we’re trying to find the best load, so we’re going to create whats called a Ladder Test. Each and every round will have a different charge. More on this in a bit.
Just a quick note. I’m writing this under the assumption that people reading this aren’t stupid. I’m assuming you won’t load near open flames, burning cigarettes, or sparks. As one can imagine, gunpowder is extremely flammable. It won’t explode if you look at it funny (technically it doesn’t explode, it burns), but don’t be stupid.

Powder comes in three major shapes and sizes: ball powder, disc powder, and extruded powder. Many rifle powders are extruded. In other words, each granule looks like a small stick. This extruded powder also happens to be slower burning for the most part. Before picking a powder to start your initial load here, check with the Hodgden reloading manual online, or the latest manual from any major manufacturer. Only use powders that are recommended for the caliber and chambering you’re loading for. If you put a fast burning pistol powder in a rifle shell, you stand a good chance of rearranging the elements of your face as soon as you pull the trigger.
Don’t feel married to a certain powder right off the bat. Half the fun of reloading is trying new powders, charges, primers, seating depths, etc. Pick a known performer for your cartridge and start.
For the .308 Winchester, lets start with IMR 4064. I’ve also had good luck with Varget, but since that’s impossible to find right now, lets stick with IMR 4064. This is a very popular powder because its clean burning, consistent, and versatile. Being an extruded powder, it can however be prone to inconsistent dispensing from many powder measures. This is caused by the rotation of the measuring device shearing any vertical grains of powder caught up in the motion of dumping the powder into either a shell casing or weighing pan. I’ve had several powder measures over the years. Some, like the RCBS seemed to shear more granules than others. Right now I’m using a cheap Lee measure. Its crude, plastic, and flimsy, but it works. It doesn’t shear powder near as much as the RCBS did.
But, since we’re using manual powder measures here and not motorized measures connected to digital scales, we’ll also use another powder dispensing device. This is called a trickler. This small dispenser will drop powder granule by granule to help bring your weight to an exact measurement each time.

Lets drop some powder. Load up your powder in the powder measure and make adjustments to get close to your starting load. Now zero out your scale with the pan in place. Pull the pan off the scale and dump the first measurement inside, then adjust the scale to your desired charge and place the pan back on the scale. If you’re high or low, adjust the powder measure, dump the contents of the pan back in the top, dispense another measured charge, and weigh again. Repeat this process until you have the exact weight of your starting load nailed down.
Now, more about the ladder test. A ladder test consists of 2 identical sets of 10-15 rounds, each loaded with a different charge. For a first time ladder test, each charge is 1/2 a grain heavier than the last, with the final charge slightly under maximum recommended load. If you decide to continue the ladder test past maximum book load, proceed with caution! Know what you’re doing and how to spot pressure signs before doing this!
Whats the point? The point here is to fire a round at a large white target with a small dot from 300 yards. After each carefully executed shot, I like to record the speed data with a chronograph, then walk (or drive) downrange, mark the impact and label it with the round number. This is important, because you have to know exactly which hole applies to which charge. As you shoot through the series of charges, an upward pattern will emerge, and at some point along that pattern you should start to see a cluster of holes very close together. We know that each time a round is fired, the rifle barrel resonates like a guitar string. When we start to see the cluster of holes, the anti-node of the wave that moves through the rifle approaches the end of the barrel. So, in essence, the barrel is pointing slightly higher at that time with this load.
This is also an important point because a barrel will stay in this state longer than it will at any point on the way up or the way down. Since the muzzle stays at this point longer, any slight variations of powder charge in a group of rounds will result in fewer flyers because that variable is more stationary. And of course we want the bullet to leave the barrel when its at its highest (as long as we also have acceptable speed and safety), because this gives us more possible elevation with our optics. That’s a quick run down on the ladder test, and where we’re going with this. We’ll get into this more detailed in the next installment when we actually perform a ladder test. But for now lets get back to loading for the test, and ultimately our perfect round.
So we’ve got the first charge loaded. Since we’re dealing with IMR 4064, a 175 grain bullet and .308, that load will be 35.5 grains. From there we’ll move up to 42.5 grains in .5 grain increments. Now, we want to make two sets of these tests so we can shoot two tests at two separate targets at the same time. This will help make sure we see consistent results from target to target. If they look completely different, then somethings wrong with our shooting or the test loads. However, if they result in a similar pattern, our test has given us some valuable info.
Load up the first round for each test, then adjust for the .5 grain increase. Continue this until you reach the last charge, making sure to mark each case with the charge it contains. If you get these mixed up, you’ll have to start over. Thats when reloading begins to be un-fun.
Next time around we’ll seat the bullets and hit the range for our first ladder test. As for now, we’re one step closer to the perfect round.
Part IV: Performing The Ladder Test
Guns & Tactics is an online media outlet that focuses on the firearms community, not just firearms and gear but also quality training, technical break downs and enlightening presentations.
**Press Release** For immediate release – Boise, ID – Bootleg Incorporated is excited to announce the new additions to the 2018 product lists. Bootleg Inc. started as a…
![Top Scope Mounts [2019]](https://un12magazine.com/wp-content/uploads/2019/09/Bobro-Engineering-Dual-Lever-Mount.jpg)
Find the scope mount that meets your needs and make sure you get it from a quality manufacturer. We give you a few options to think about.
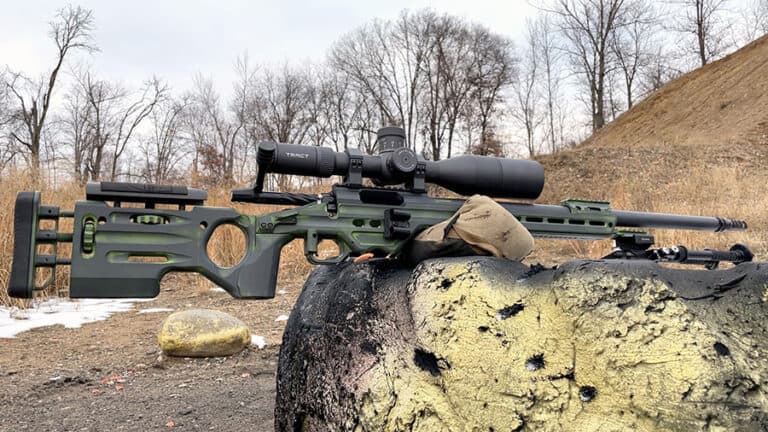
Dave reviews the TRACT TORIC UHD 4.5-30×56 riflescope. This scope boasts some pretty impressive features and specs but does it deliver?
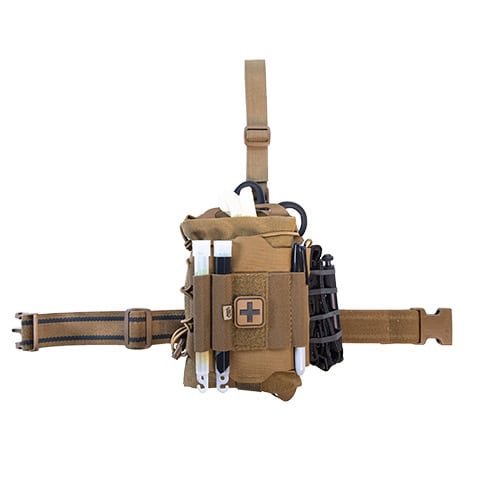
The ReFlex™ Leg Rig system is a two-piece system, med roll and leg rig carrier, that is designed to carry organized medical supplies.
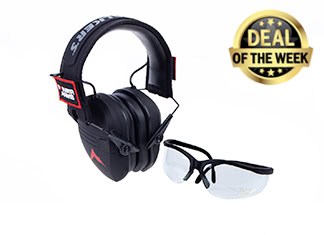
This weeks Deal of the Week comes from our friends at Rainier Arms and a fantastic price on their new Ear and Eye Protection.
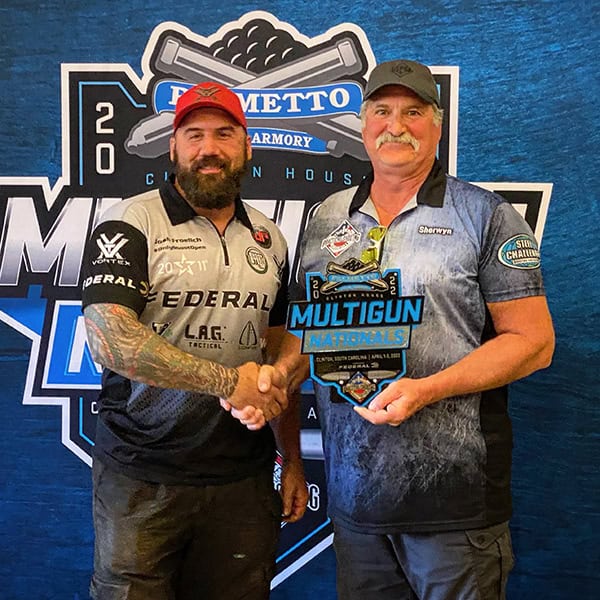
Team Federal brings home some impressive hardware from the 2022 USPSA Multigun Nationals recently held in South Carolina.
© 2026 UN12 Magazine
© 2026 UN12 Magazine
Wait! Don’t forget to