Midwest Industries Bounty Hunter—Revolver Customization & Optimization
This past SHOT Show, Midwest Industries presented revolver enthusiasts with a new way…
This past SHOT Show, Midwest Industries presented revolver enthusiasts with a new way…
Rise Triggers’ Rev 535 Side-and-Snap AR trigger is a next-generation AR fire control…
Exploring someone else’s Everyday Carry (EDC) setup offers both insight and inspiration. While…
All shooting is a balance between speed and precision. By that I mean you can…
The Mod-Navy Qual I’ve been doing this qual (or drill, or whatever the current nom…
• Built for road trips and off-road use• Manual transmission equipped• Wrapped in MultiCam Arctic…
As with everything else in life, doing anything well boils down to getting the fundamentals down pat. This includes shooting. Your shooting stance, grip on the weapon, trigger control, aim, even your breathing, are each factors that can affect your shot. Training and practice are important in making these fundamentals become second nature.
Steve “Yeti” Fisher, owner and lead instructor of Sentinel Concepts, has been training shooters of all backgrounds and skill levels for 20 years. Yeti believes in basing his classes on each individual students’ goals, abilities, skills and even their own mistakes to empower them to become better, more efficient shooters and effective weapon manipulators.
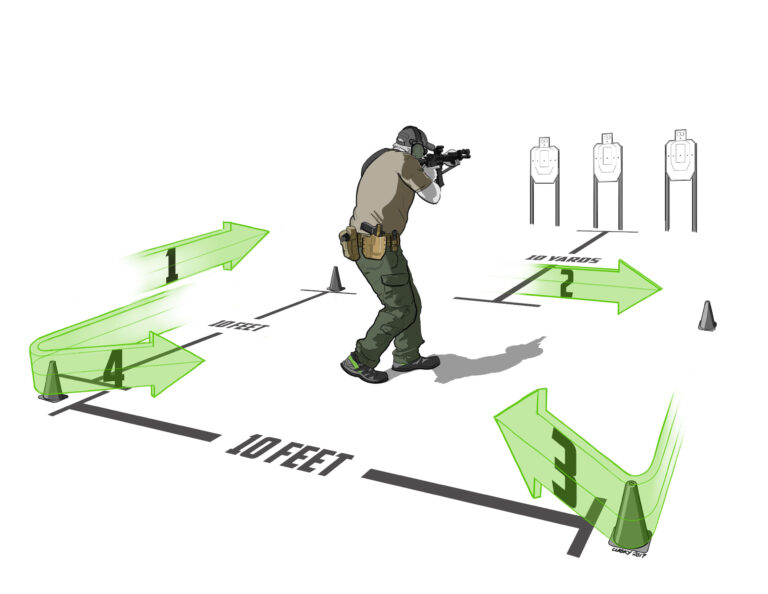
Pushing the importance of fundamental shooting skills, Yeti shares his 4 Cones Drill with us. The 4 Cones Drill not only helps sharpen basic shooting fundamentals, but also improves rapid target engagement and teaches the shooter to trust their sights.
—–
Total Shots: 30
•2 steel targets (Yeti Recommends MGM B/C zone targets)
•4 cones (or anything that can be used to mark positions at the range)
•Enough pistol magazines to carry a total of 30 rounds
•1 30 round carbine magazine
• Shot timer
—–
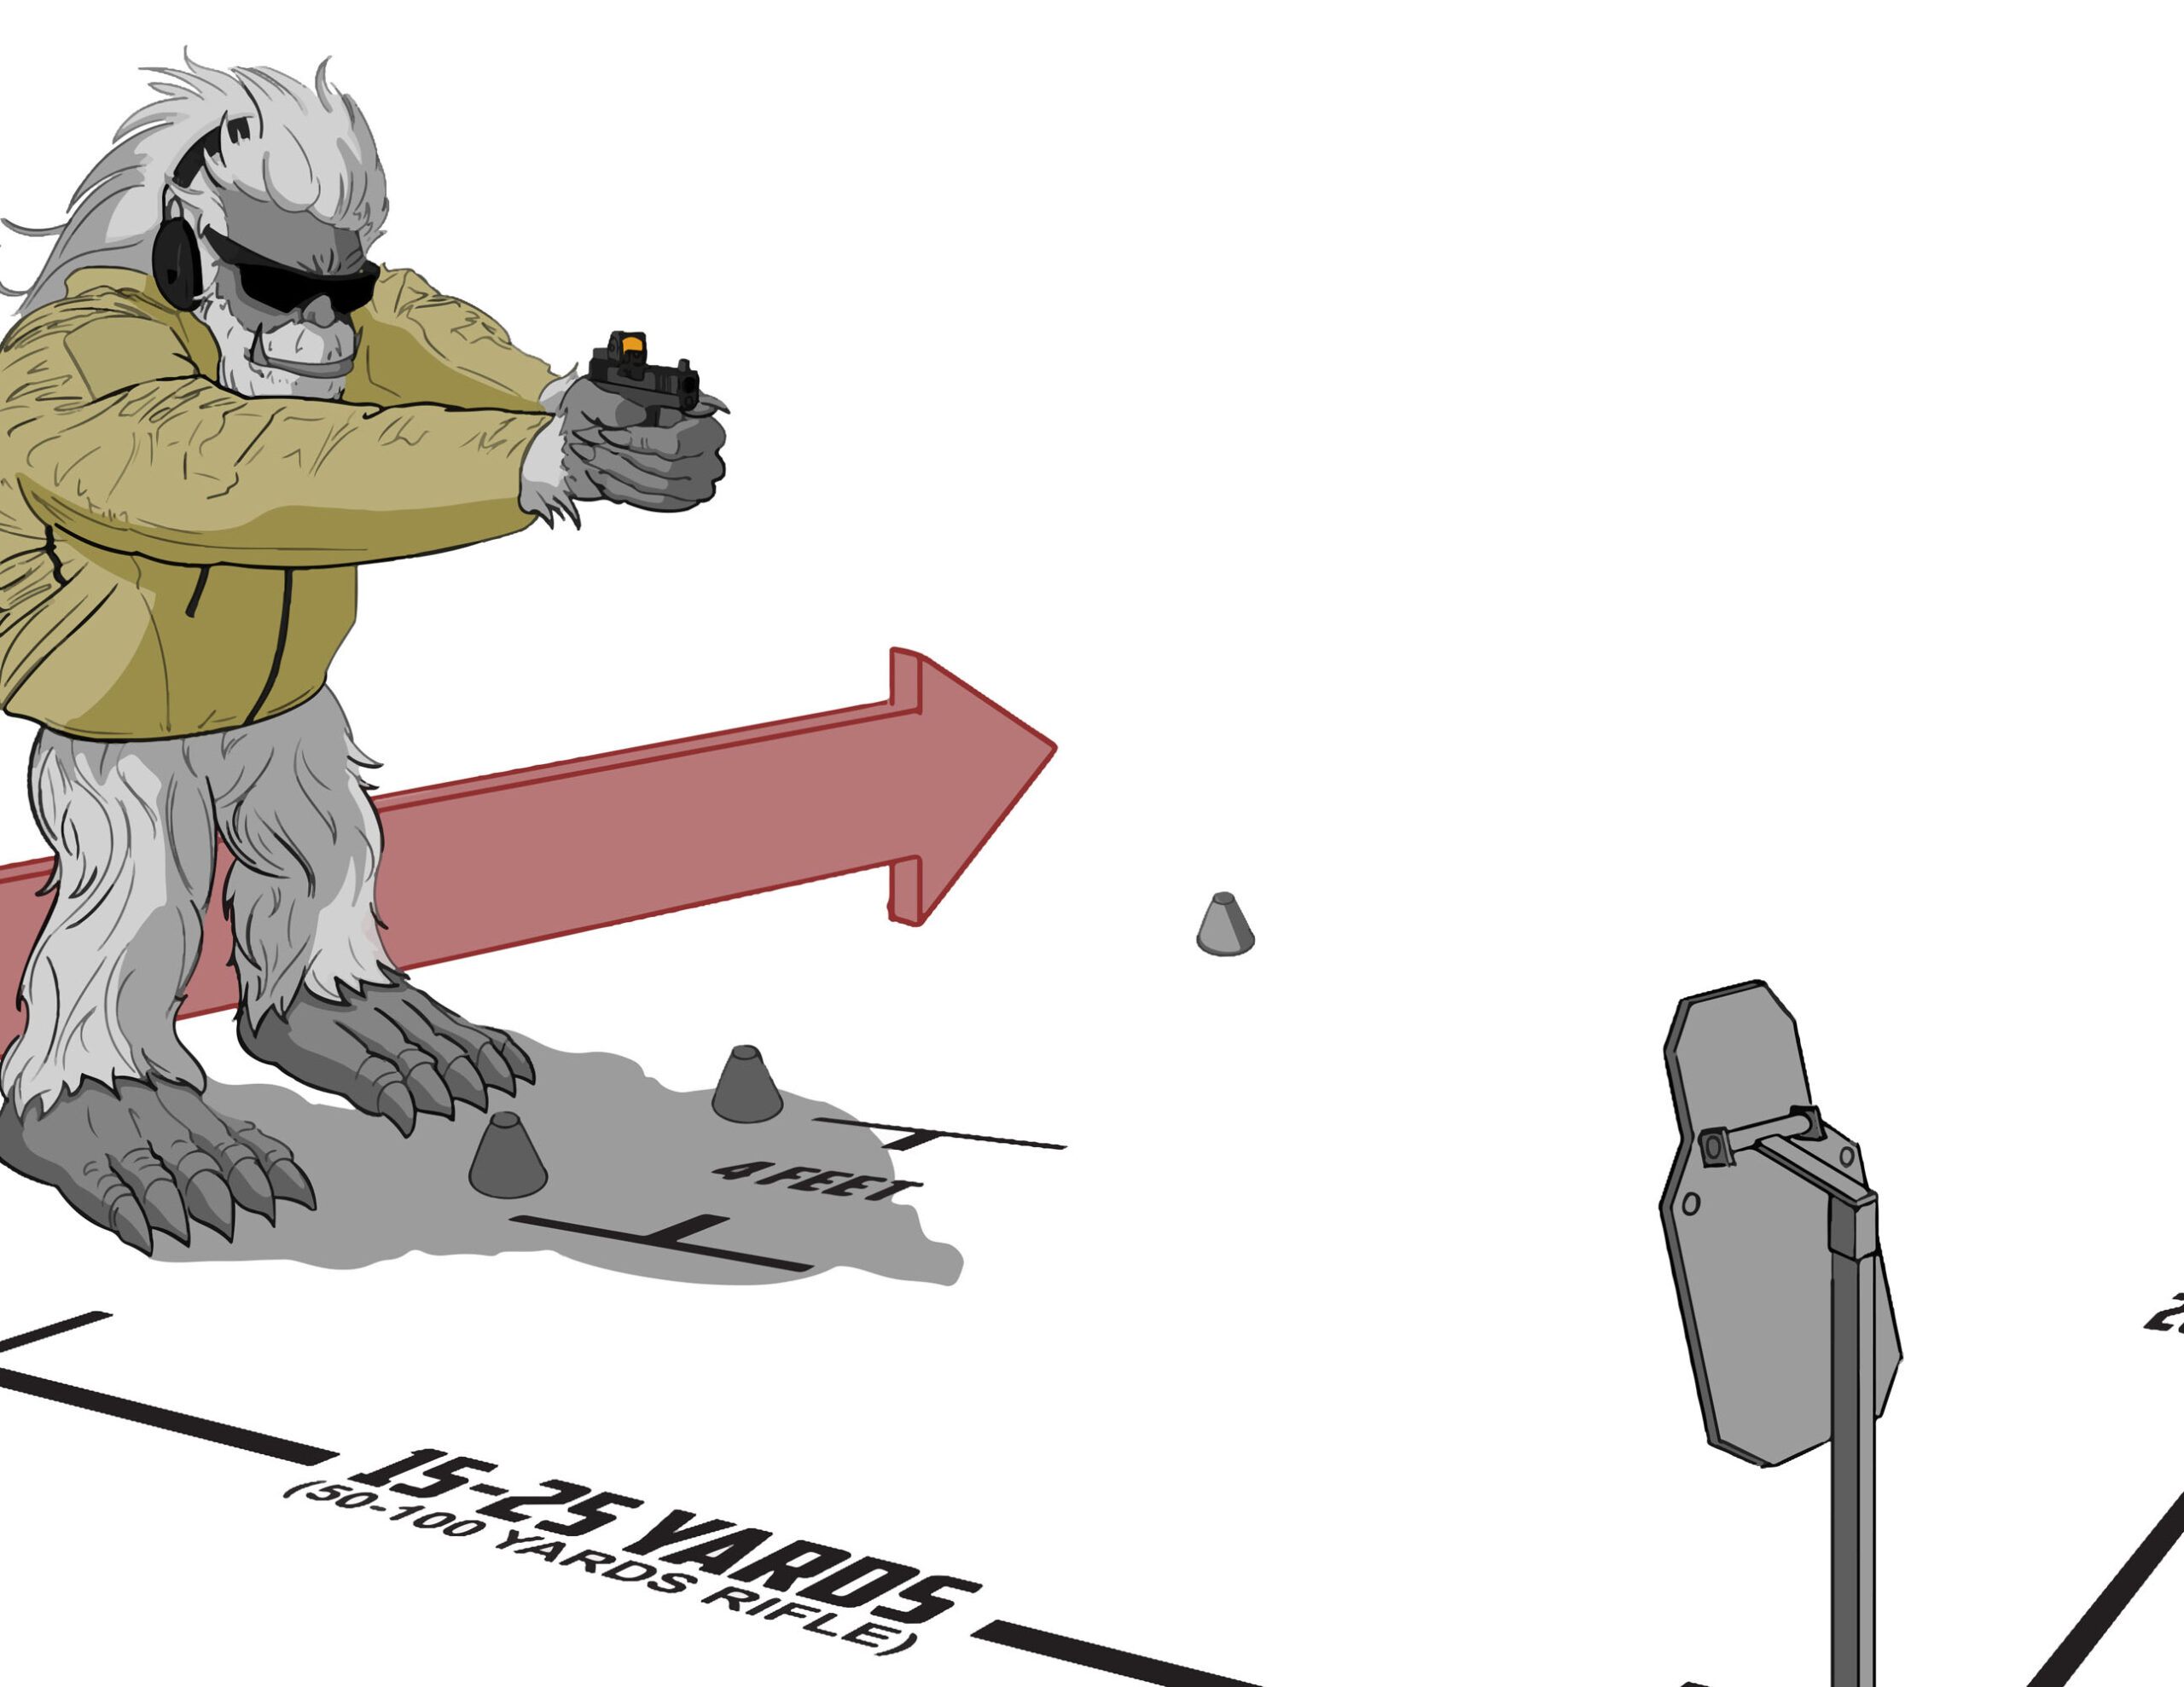
•Place the steel targets to the left and right limits of the range at approximately 20 to 30 yards apart. Rotate the targets inward towards the center of the range.
•Place one cone matching each piece of steel up range at 15-25 yards up range for pistol or 50 to 100 yards for carbine
•Midway between the up range cones, place two cones approximately four-feet apart.
Using either pistol or carbine, start at either the left or right outside cone. On the timer, the shooter draws and engages the opposite side steel with one round, then engages the same side steel with one round. Hit or miss, the shooter then moves to the next cone closest to him/her and repeats the process, then repeats the same drill at the next cone, and the next- moving all the way across the range to the opposite side
The shooter repeats this drill in the opposite direction; shooting one round at each piece of steel at each position- hit or miss they then move to the next cone. This is repeated until 30 rounds expended, with as many magazine changes as necessary.
To change it up, the shooter can instead engage the closest piece of steel first, then the opposite side steel.
In more advanced classes with competent students, one shooter starts at each outside cone at the same time, shooting the same drill, bypassing each other at the middle cones (or wherever they cross paths) while maintaining a one meter muzzle rule and alternate muzzle positions to clear the second person and any other students or spectators. Yeti uses this variation of the 4 Cones Drill more when he is training Police SRT/SWAT members, as well as to drill white light use in low- to no-light training.
Working on your shooting skills, whether if you’re running this drill or another is important to skill building and practical familiarization with your gun. But remember, the focus must be on safe weapons handling. Aggressive movement, fast acceleration and deceleration, uneven terrain, increased heart rate, and weapon transitions across larger spaces all contribute to greatly increased information processing. Be aware of your surroundings and other shooters. Stay safe.
Steve Fisher, owner of Sentinel Concepts has been a firearms student and instructor for 20 years. He has worked for NTFT, MAGPUL DYNAMICS, was an assistant instructor for Pat Rogers at EAG Tactical, as well as other programs. Steve is a current industry consultant for various companies including firearms manufacturers, optics companies, as well as other components manufacturers.
Text by John Scott and Steve “Yeti” Fisher / Illustrations by Charles Lasky
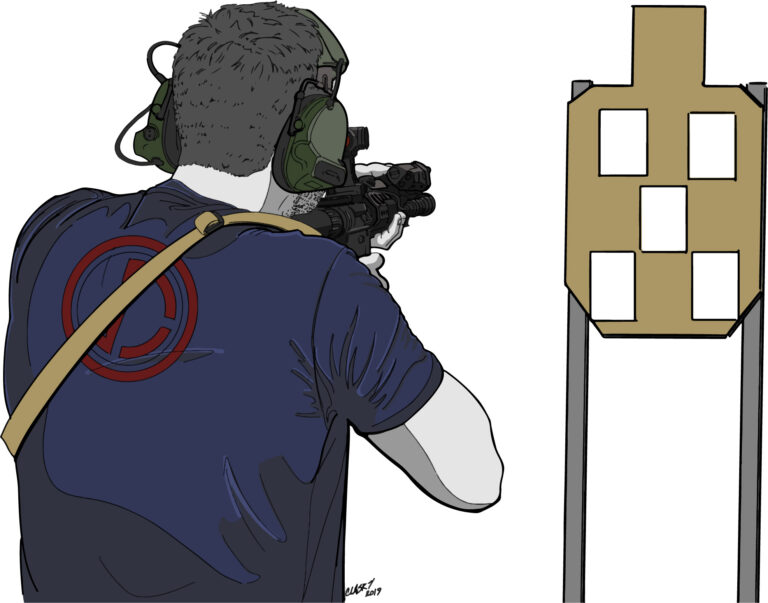
As an avid student and teacher, I use drills and exercises to isolate skills. Drills are not scenarios. They should be viewed as an exercise. Like going to…
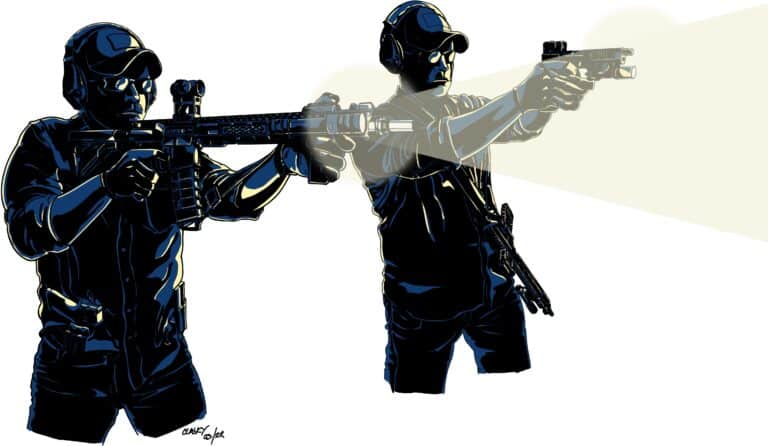
I designed the Button Man to give shooters a low-round-count, low-light-engagement drill that involved both carbine and handgun as well as lateral movement, weapons manipulation, and use of…
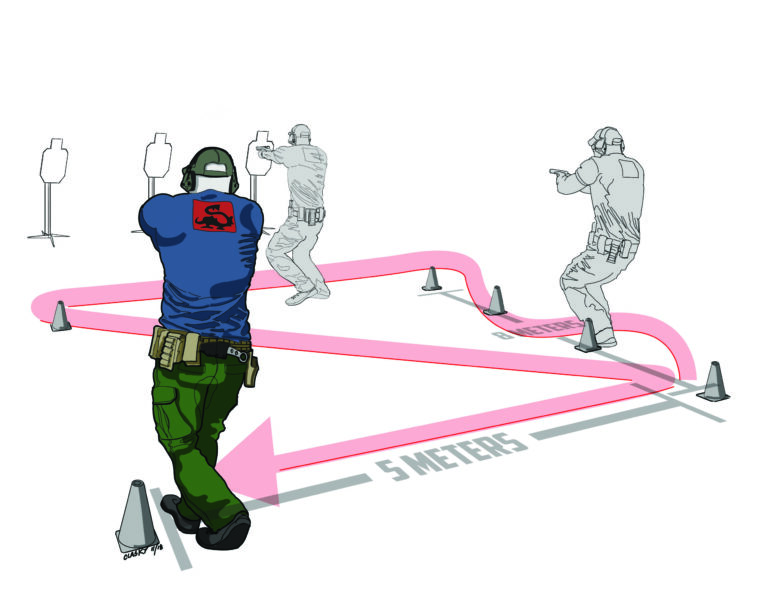
In the teachings of the Martial Arts, there must be a close synchronization between closing and opening distance and the various actions of the hands and feet. The…
As anyone who runs a gun knows, shooting accurately and effectively on the move is a damned hard thing to do. Even professional warfighters and competitive shooters avoid…
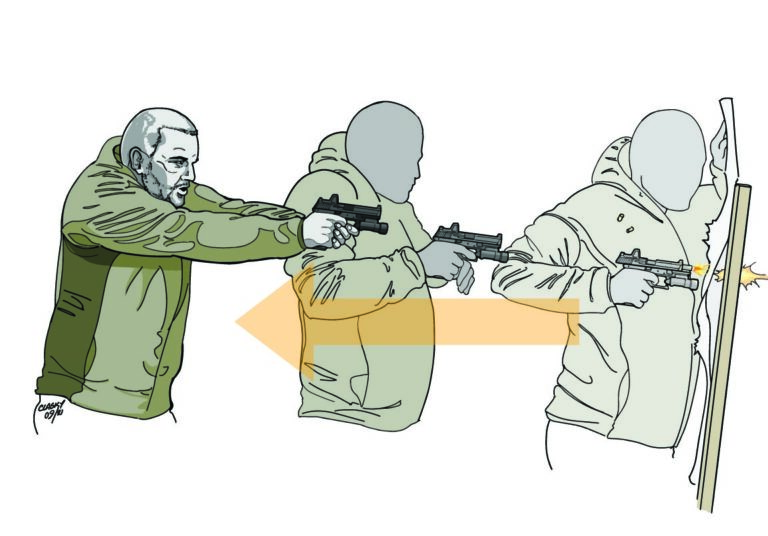
The skill of firing accurate rounds into a threat from retention is an underappreciated and under-practiced skill. Shooting from retention at close ranges can help ensure a threat…
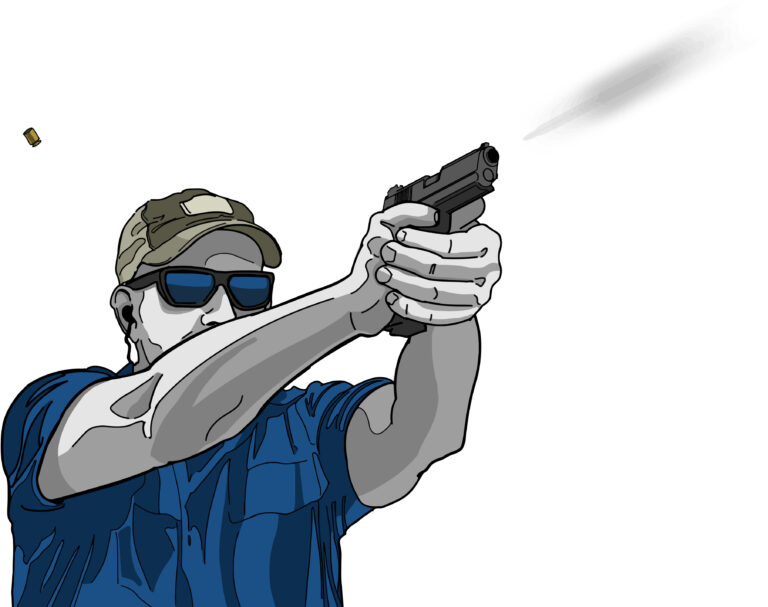
Static-position shooting is great for practicing marksmanship and its fundamentals, but those who are in the professional field understand that practicing single-position shooting is just the beginning. Shooter…
© 2026 UN12 Magazine
© 2026 UN12 Magazine
Wait! Don’t forget to