Torque: Application & Control
I remember my dad teaching me the basics of tools and hardware when I was a little kid. He was not a particularly handy man, but all dads have a work bench and a toolbox. He showed me how to hammer a nail, turn a driver and a wrench, and how to drill a pilot hole. And every lesson about assembling something ended with him saying, “Make it tight so it won’t come loose.” That was the extent of my hardware training until shop class in junior high, where I didn’t learn much more. After all, “tighter is better” seems perfectly legit to the uninformed.
Flash forward to my military career, where we were too focused on jumping out of airplanes and blowing shit up to learn about proper installation of hardware. It seemed that my dad was not the only father to teach his son that you should tighten a bolt or screw as far as it will go before tightening it so hard that veins popped out of your forehead.
Whenever we were issued some new piece of kit, guys would excitedly unbox it, place it on a gun or helmet, and tighten it down so the screw would not move any further. This practice resulted in a lot of broken gear and hardware (snapped bolt heads, stripped screws and threads, cracked plastic).

Most product installation instructions were vague in the torque department at that time. Many read something like “turn screws until tight, then turn another one-eighth to one-quarter turn.” This information was not especially helpful since everyone is able to apply varying amounts of torque to the hardware. What’s tight to a 5’4” 130-pound cardio stud is not going to be tight to a 6’6” 260-pound musclehead.
Needless to say, guys’ optics, lights, lasers, and any other bolted-on piece of kit were installed using wildly different levels of torque. This resulted in everything from accessories falling off guns and gear to cracked or damaged rails, broken rail-grabber mechanisms, and destroyed hardware. And all of this still occurred if the end user read the applicable instructions.
Most guys simply discarded the packaging and installed the product the way they thought it should be installed. I often joke: “Put a soldier in a room with nothing but a bowling ball and come back in five minutes; the ball will be in four pieces and pregnant.”
As it turns out, there’s more to installing an accessory on a gun, helmet, dirt bike, vehicle, and so on than simply making the screws as tight as you can. As professionals, we depend on our gear to do its job in some of the most extreme environments and under the most demanding conditions.
I have talked about the extreme violence of combat in previous articles, discussing the effects it has on the body, mind, and equipment we carry. But the immediate kinetic force of combat is not the only thing that applies stress to our gear. The constant low-level vibration of vehicle transport, ambient temperatures, and even altitude can create enough constant energy transfer to rattle things loose.
It doesn’t matter if you are a Unit operator taking a ride on an MH6 bench to a target or a police officer whose patrol rifle is constantly locked in your squad’s weapon rack as you drive around the city. Vibration—energy transfer—wants to unbolt everything. That’s why it’s important to use proper installation techniques, including torque, when assembling your guns and gear.
Most any accessory worth putting on a weapon or piece of gear designed for the social activity of combat is going to come with instructions. These instructions are (usually) written by the designers and engineers and checked by lawyers in an effort to ensure the end user has all the information he needs.
Companies that build true combat-ready products want to make sure their gear does everything it can to serve the end user so he/she can survive and win the fight. After producing a combat-ready product, the manufacturer ships it out and their direct control of how said product is implemented is complete.
That manufacturer’s number-one priority is to design/test/produce a product that will be an asset to the user, be as safe as the intended use allows it to be, and will withstand the rigors of the intended use. A more distant, self-serving priority is that the product will not do anything to embarrass or tarnish said manufacturer’s reputation. The bottom line is that manufacturers want to make sure their products are set up in the best possible way to perform as intended.
Before I began working at Unity Tactical, I was unaware of just how important proper installation of accessories was. As a former operator, I surely wanted my gear to be set up as securely as possible. But I certainly did not always follow the directions. Let’s examine some basic truths about mechanically mating two objects in the context of firearms accessories. Since I’m a bit of a knuckle-dragger, I’ve enlisted the help of my friend and coworker, Blake Gettig, Senior Staff Engineer at Unity Tactical, and we’ve compiled some pro tips below.
QUALITY TOOLS
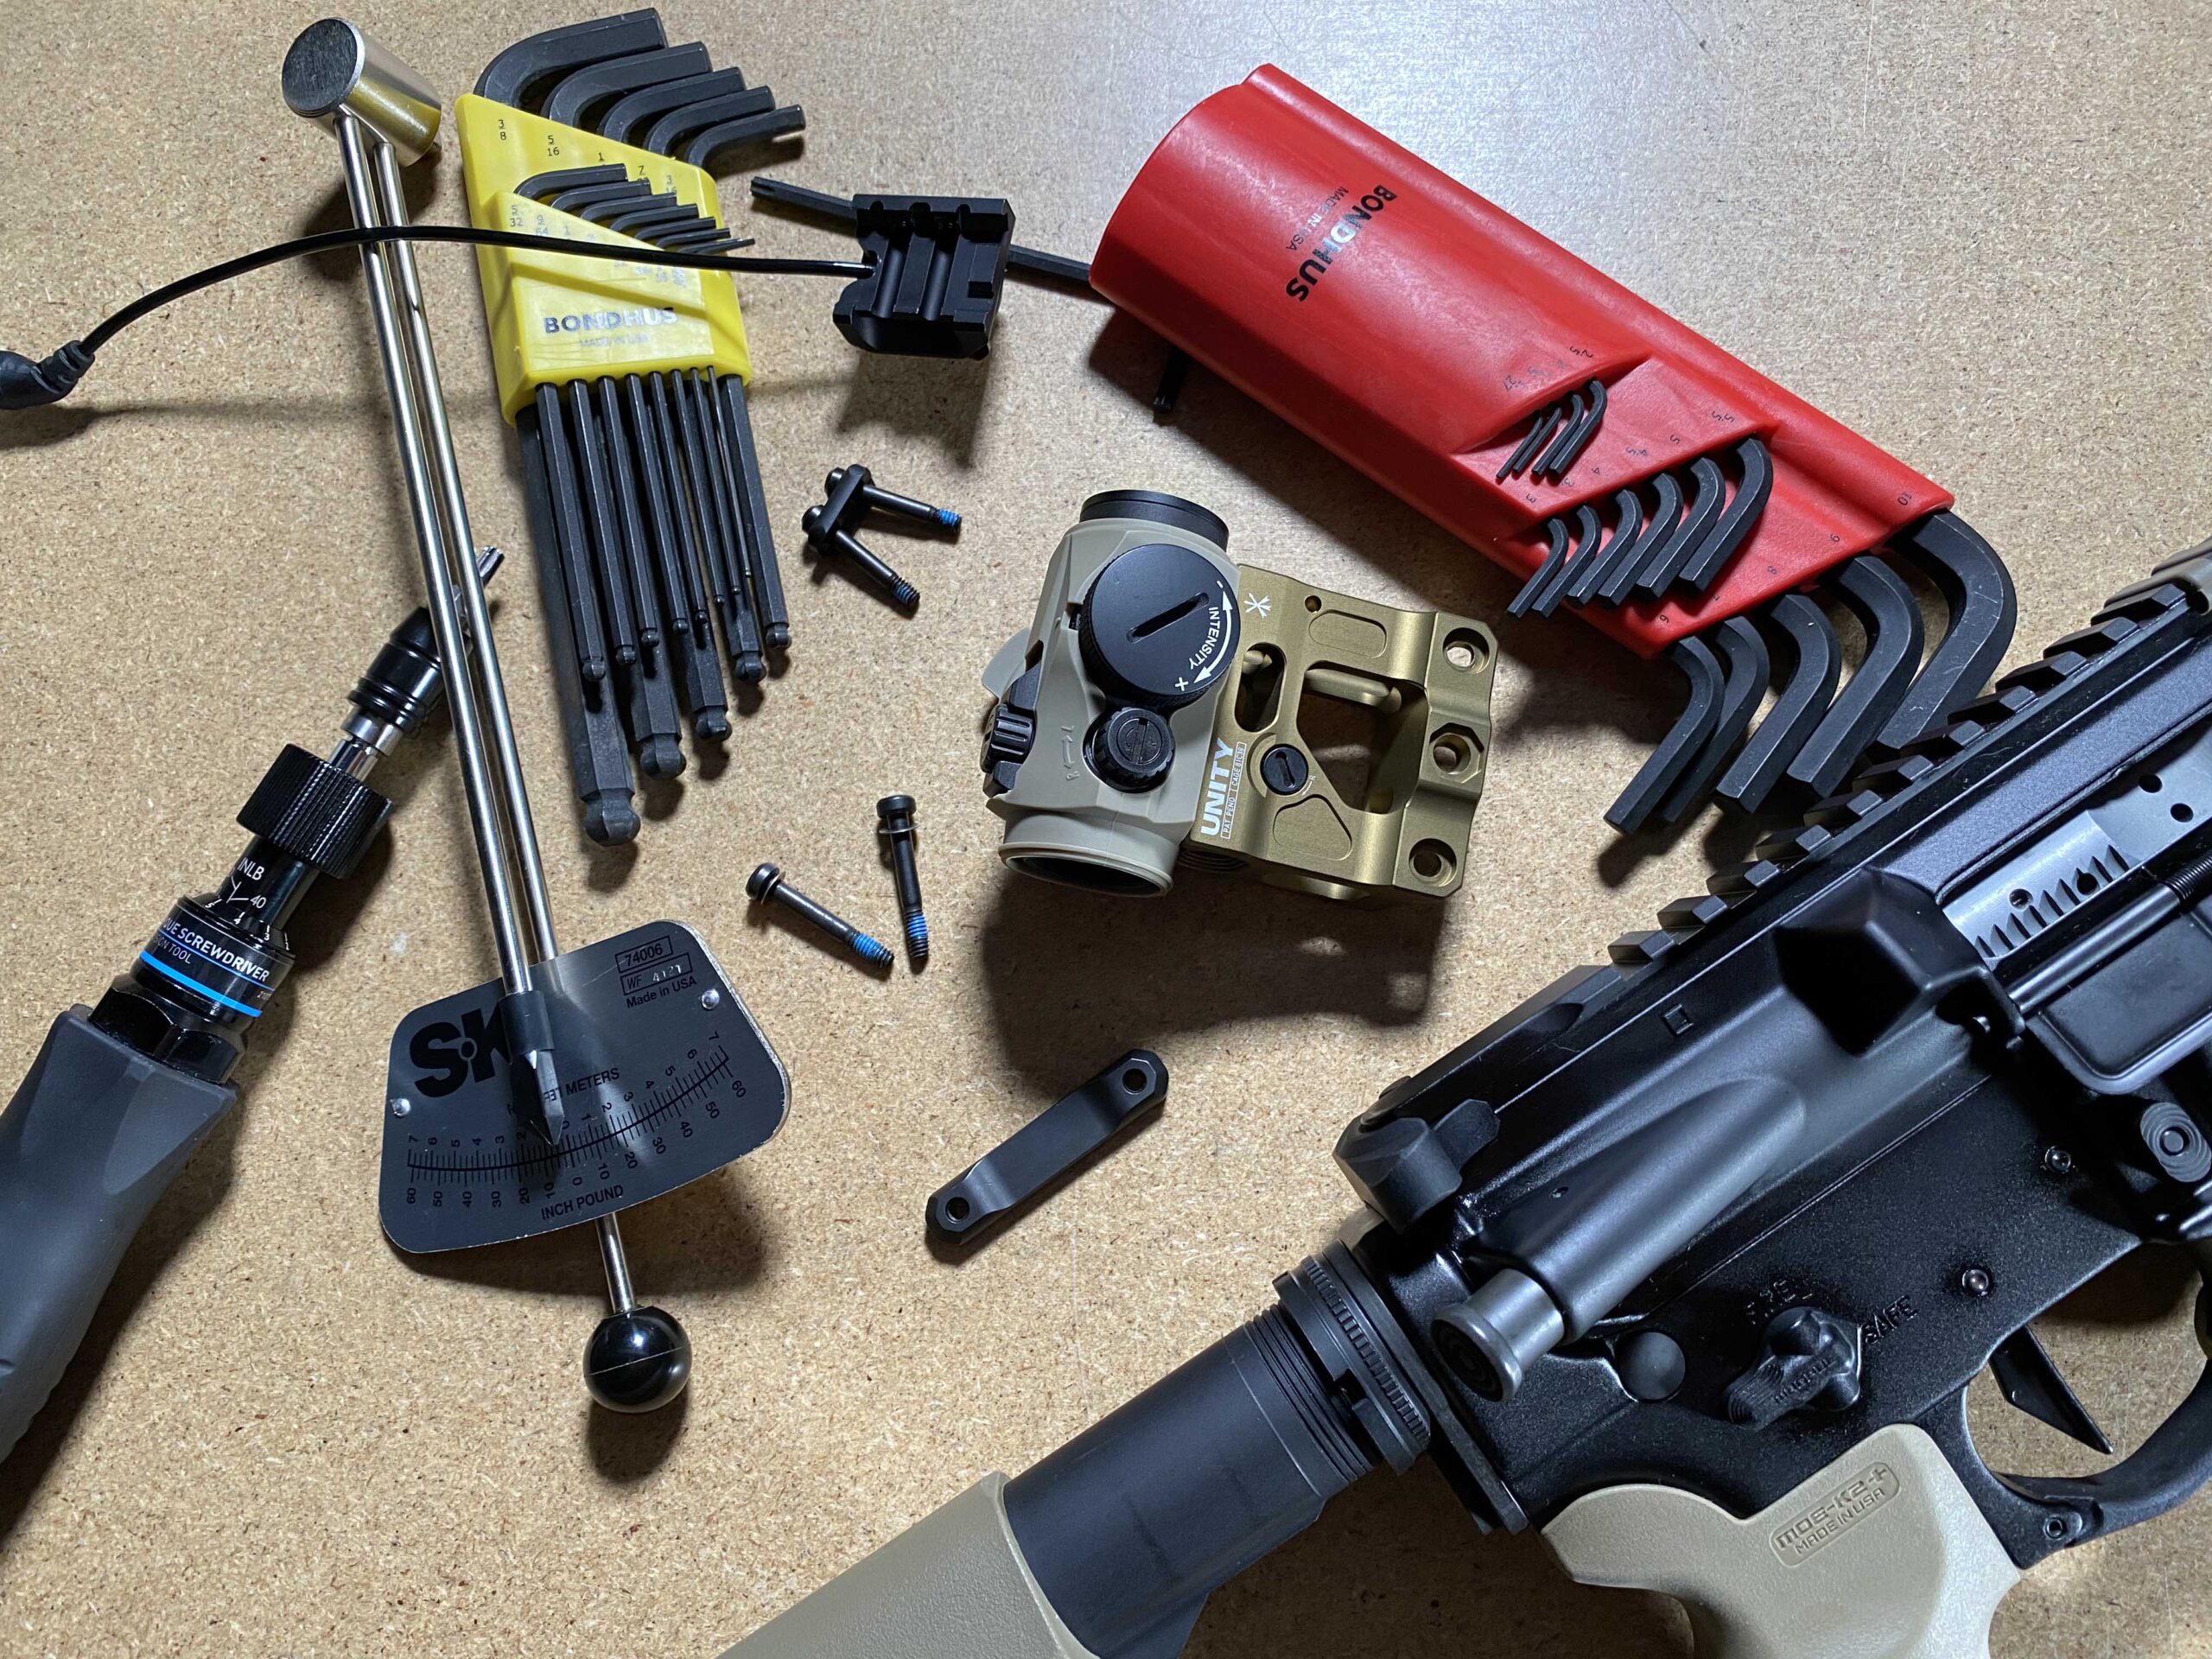
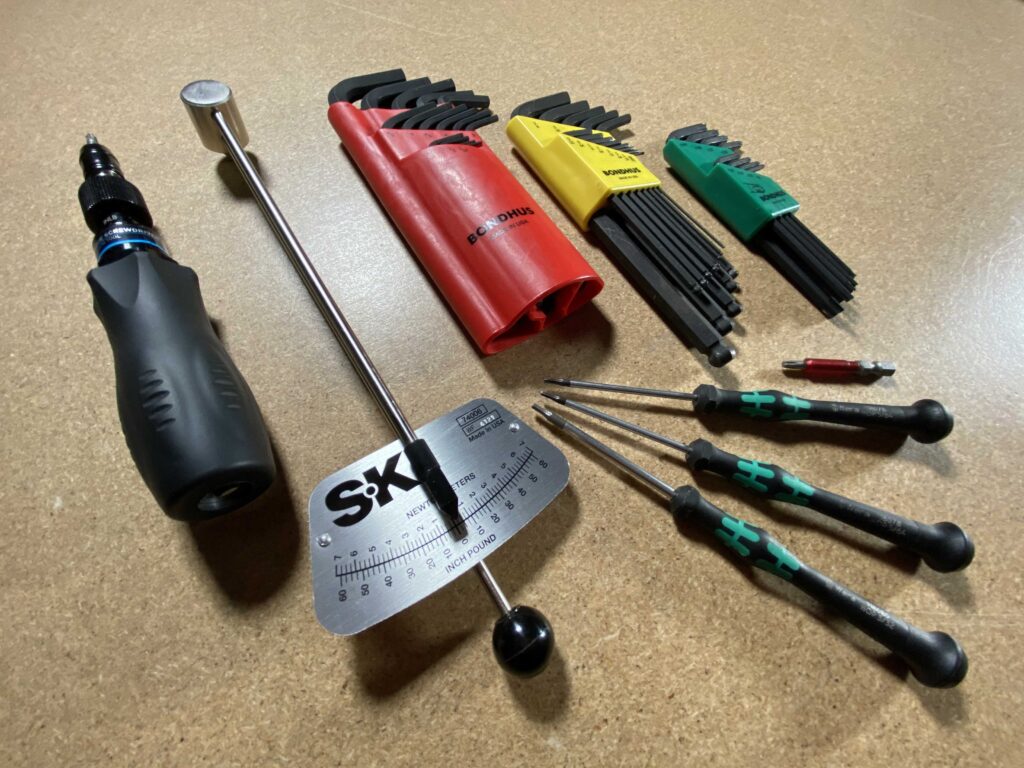
Having the proper installation tools is a prerequisite. Your gun bench should have a selection of quality drivers for standard, metric, and Torx fasteners. These are the tools you will utilize most when installing weapon accessories such as optic mounts, lights, lasers, switches, and furniture.
Much like professional-grade weapons and gear, quality tools are an investment and cost more money. Avoid buying tools found on the shelves of big-box stores and items sourced from China that prioritize low cost over durability and performance.

That said, all tools are consumables, but a quality set should last through many jobs under daily use. It’s important to keep them in good condition by only using them for their intended purpose—a precision flathead driver should not be used to pry open a paint can. Screwdrivers do not come in Government Profile. Worn tools should be removed from service and replaced. These make great candidates for future custom re-purposing; a worn pin punch can be reshaped into an excellent castle nut staking tool. Recommended brands include but are not limited to Wiha, Wera, Bondhus, SK, Wright, and Proto.
TOOL ENGAGEMENT
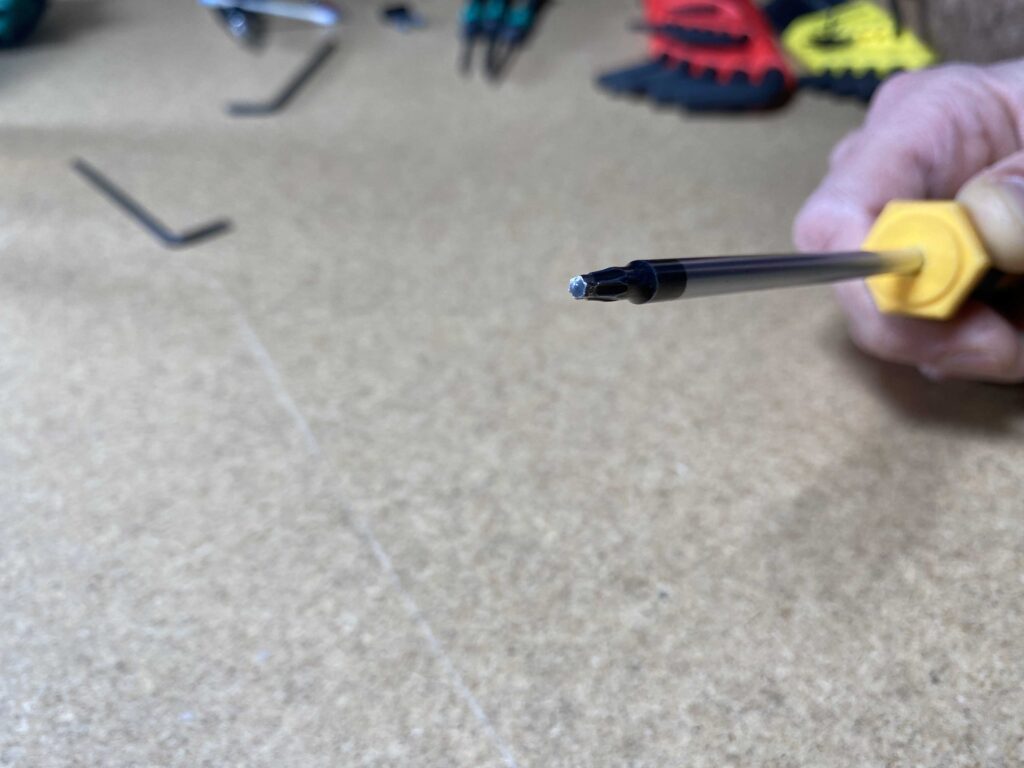
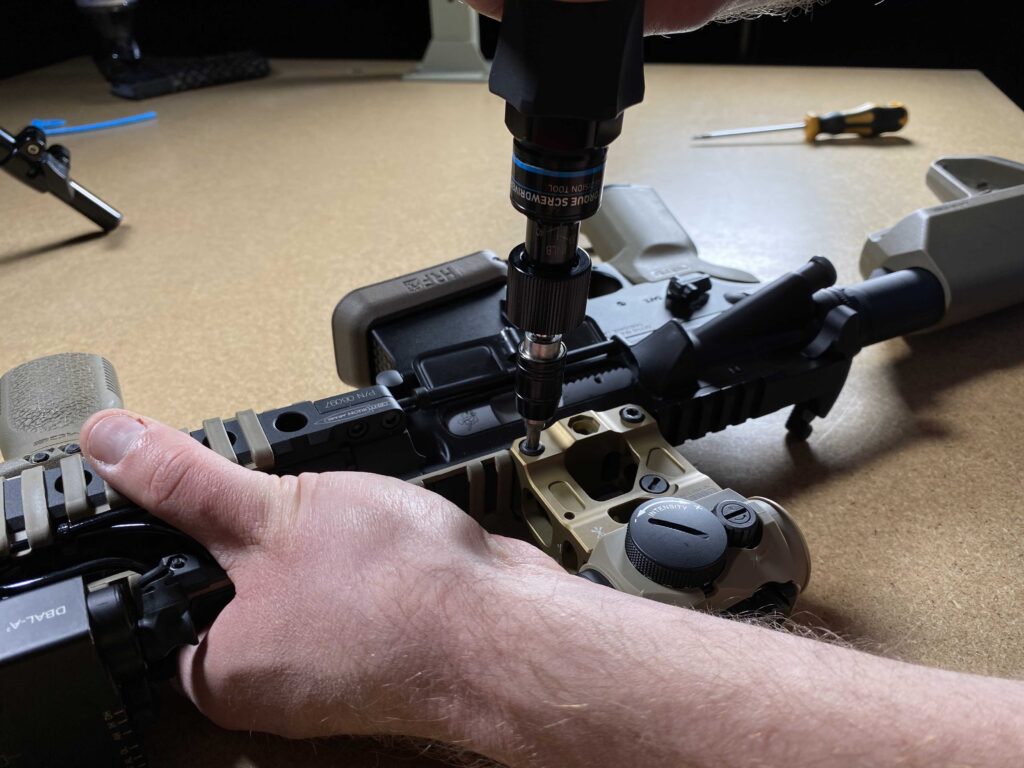
Before tightening hardware, it’s important to ensure the driver is fully engaged, bottoming out into the mating fastener prior to applying torque. Ball drivers, which allow up to 30 degrees of axial misalignment, are great for running down and hand-snugging screws in awkward positions, but they are not the best choice for applying final torque to a fastener.
It is best practice to keep the driver perpendicular to the fastener when tightening. Shallow engagement and/or off-axis tightening can cause the driver to slip and could potentially damage both the tool and the hardware. Applying positive pressure into the fastener socket while tightening is a helpful preventative measure.
Rounded or stripped hardware should be replaced whenever possible. If you experience excessive movement between the tool and hardware, it’s a good idea to stop and take stock of the situation before proceeding.

BOLTED JOINTS AND TORQUE
When two surfaces are clamped together with a threaded fastener, a bolted joint is created. As a screw is tightened, it stretches in tension like a spring. A linear clamp force is then applied across the mating surfaces of the joint. When we tighten the hardware joining our weapon accessories, what we really care about is that there is enough clamping force generated to prevent the mating surfaces from slipping during use. Once the clamp load is overcome and the surfaces have slipped, the tension in the screw is lost and the bolted joint fails. This translates to your parts hitting the deck in the middle of LARPing in your mom’s basement.
It’s difficult and impractical to measure linear clamp force in a screw without strain gauges or ultrasonic methods, and that’s where torque control comes in. Simply put, torque is the rotational equivalent of linear force. A bolted joint designed around a targeted clamp-force capacity needs a practical and repeatable method to correlate the tensile force on the screw to an equivalent tightening torque value. Many factors go into this mathematical correlation including the diameter of the fastener, material strength, coefficient of friction, and the accuracy of the tool.

In the United States, we are cursed with the Imperial unit system and measure large fastener torque values in foot-pounds (ft-lb), while the smaller hardware commonly use on our accessory mounts is measured in inch-pounds (in-lb), requiring careful distinction. The availability of in-lb torque drivers in the field is a recent development and partly contributed to the meat-headed approach to tightening screws and breaking hardware.
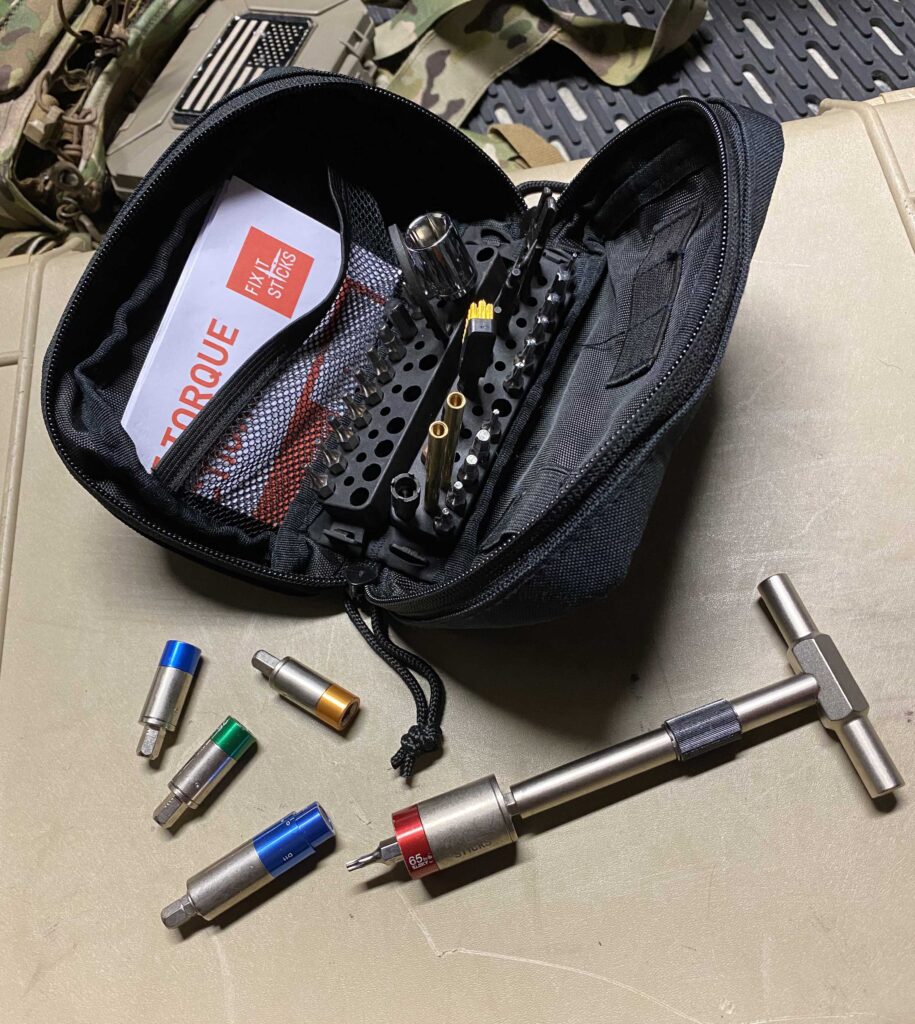
Torque tools are not one-size-fits-all implements. It is advisable to have a tool sized accordingly for every range of torque values specified on your firearms and accessories. Click micrometer-style wrenches and screwdrivers are some of the easiest to use; however, basic beam-style tools are a quality economical choice if you’re on a budget.

Fix-It-Sticks offers one of the most complete mini torque driver kits on the market and come with pre-set torque limiters tailored to most common weapon applications. They have the added advantage of being compact enough to easily fit into your gear loadout or range bag.
SEQUENCING AND PATTERNS
Most bolted joints require a pattern of multiple fasteners to provide the required clamping force, and manufacturers will commonly advise that the hardware be tightened in a specific pattern to evenly distribute force across the surface of the mating parts. Unfortunately, this is something that is often unknown to end users who forgo reading the instructions.
Even force distribution is critical in bolted joint design as it can directly affect how applied forces such as weapon recoil are transferred between mating components. An applied force will always take the path of least resistance, and this means the most ridged interface. If the clamping force is evenly distributed across the joint, the most ridged interface is directly through the clamped, mating surfaces. However, if the load is not evenly distributed, the pathway becomes the fasteners themselves, causing relaxation or separation of the mounting interface. Worst case, the screws can rapidly fatigue and break off completely.
For most applications, it is best practice to tighten fasteners in an alternating cross pattern, tightening gradually by a quarter- to half-turn at a time. For example, think about tightening the lug nuts on a vehicle after changing a tire, or installing scope ring caps. If you start tightening the upper right corner, next in line is the lower left, and so forth, working through the pattern.
THREAD LOCKING COMPOUNDS
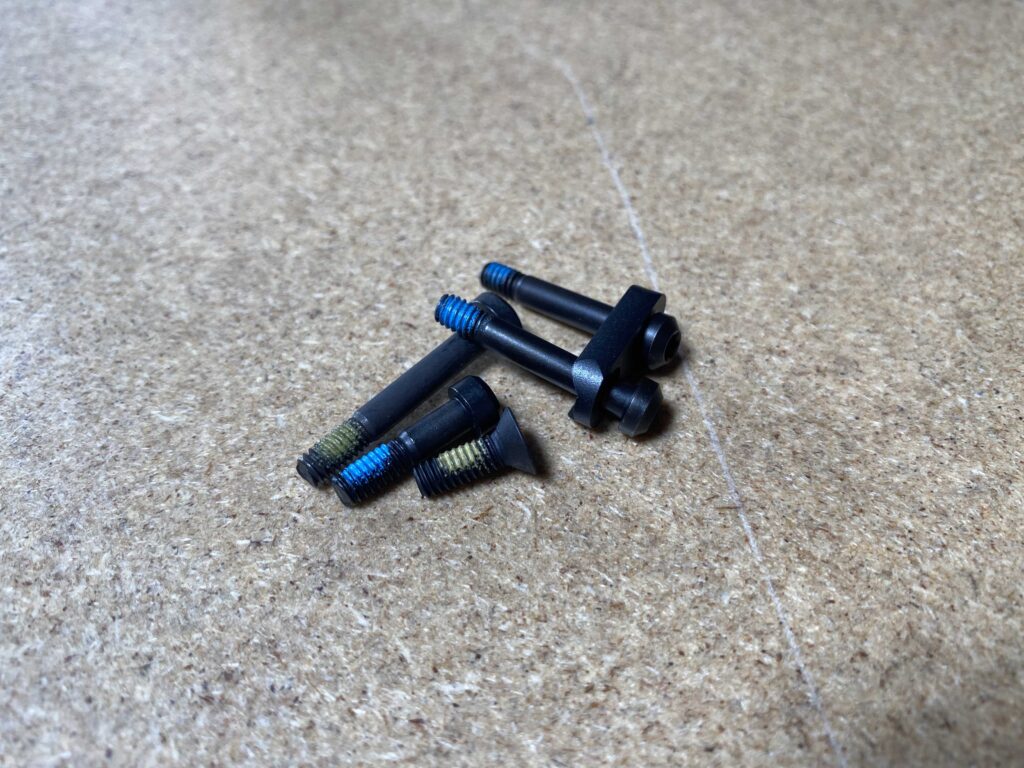
Thread locking compounds are used extensively in firearms applications to combat the loosening of fasteners from cyclic recoil forces and exposure to environmental extremes. Thread lockers primarily come in two types, liquid and a pre-applied patch. Both work by filling the excess clearance in the mating threads.
Pre-applied patches are usually made from a nylon material. Patched hardware can typically be removed and reused up to five times before the patch noticeably degrades. The variability in patch application thickness can sometimes require a break-in rundown of the hardware before installation. As always, read the manufacturer’s instructions… always!
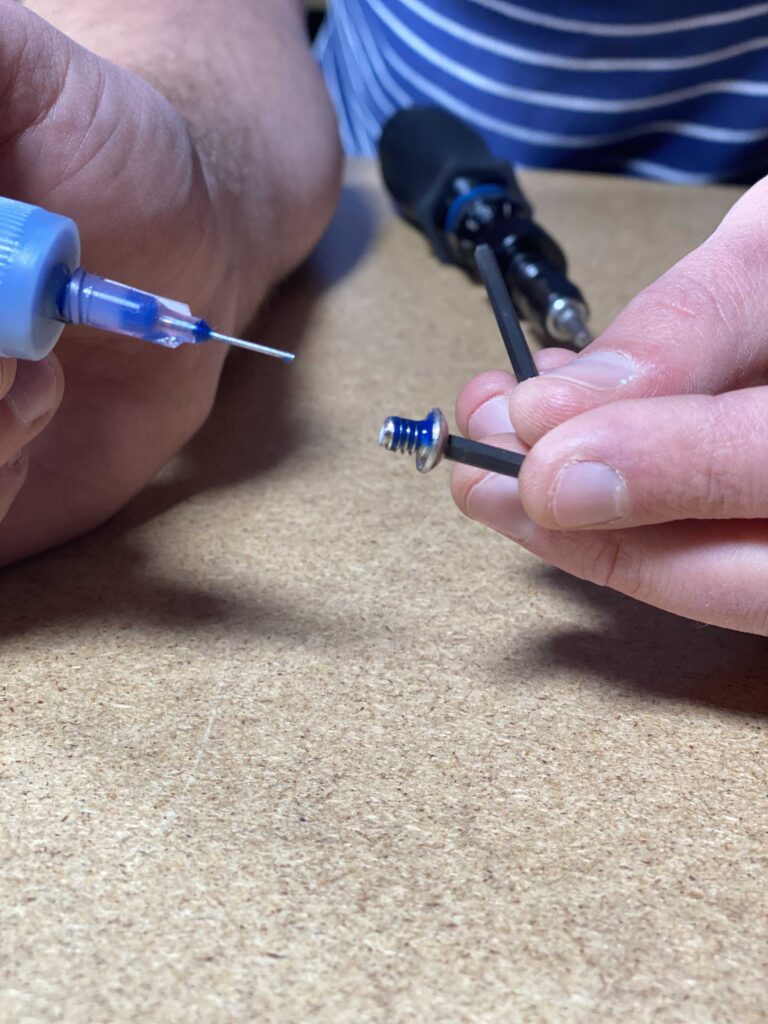
Liquid thread lockers are commonly dimethacrylate ester-based and cure anaerobically during thread-to-thread contact while tightening. More does not always mean better, and the misapplication of liquid thread locker is a cardinal sin. A small drop of liquid thread locker applied to the first few leading threads is enough; the liquid will distribute evenly as the fastener is run down.
Excess application of liquid thread locker can adversely affect the manufacturer’s torque-to-clamp load correlation and fail the joint in some cases. Use the correct-strength liquid thread locker for the application. Blue, medium-strength liquid thread locker is appropriate for most applications.
Red, high-strength liquid thread locker should only be used when necessary, such as in high-temperature applications. Red liquid thread locker requires heat for removal, so it’s advisable to avoid using it on painted or anodized aluminum parts. Do not apply liquid thread locker to fasteners inserted into threaded inserts.
Threaded inserts are designed with a light interference fit to the screw and the breakaway torque generated when loosening cemented fasteners can cause the inserts to back out, frustrating a certain Swedish optic manufacturer’s service department.
TRUST, BUT VERIFY
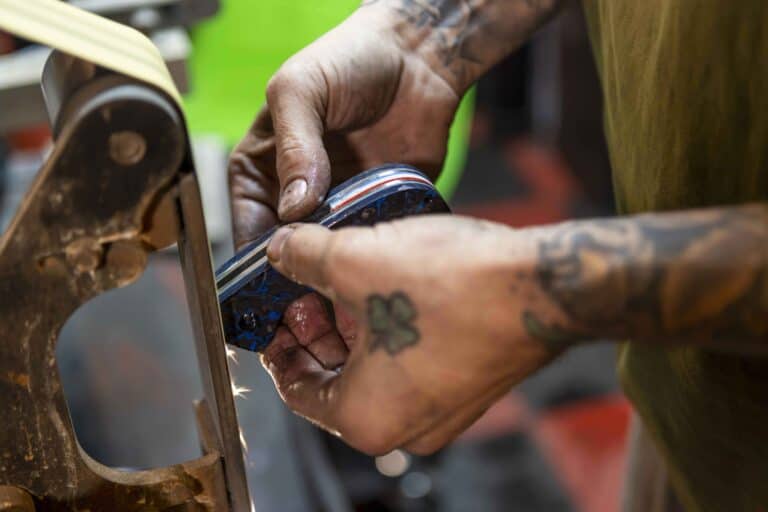
Once you have installed and tightened your hardware to the manufacturer’s specifications, the mount or accessory should stand up to the rigors of use. Regardless, it’s good practice to periodically inspect and verify. A simple quality-control technique used in the manufacturing industry is to create a witness mark on the head of the fastener and the adjacent surface with a paint pen. If you notice that the line is broken, you know that the joint has been compromised and your hardware needs to be re-torqued.
Proper installation of parts and accessories on your guns and gear will do more than prolong their service life. It will help set you up for success in the fight. It provides you with the confidence that your gear will do its job so you can focus on doing yours. Preparing for the fight is all about the details.
Text & Images by Charles “Chip” Lasky & Blake Gettig