Do It Yourself: 1911 Grip Safety Installation
Disclaimer: Always take safety precautions when working with tools or other dangerous goods. This DIY should be done at your own risk. Verify your results with a certified gunsmith prior to using the final product.
If you are a fan of the 1911, or Government Model pistol, you pretty much know that there is nothing “drop-in” about it. Sure, from the factory these guns look like they can be mass produced, and some of them actually are. But if you are a 1911 enthusiast, you know just about every replacement part for the pistol requires some type of fitting. This is not to say that if you want to change out a part or two you have to find a machine shop or a competent gunsmith to do your work. Actually, quite a bit of work on these pistols can be done in a do-it-yourself fashion.
We took it upon ourselves to demystify the fitting of 1911 parts by installing and fitting a Wilson Combat Beavertail Grip Safety onto a Colt Series 70 1911. It wasn’t hard to do, but required some patience. We were able to complete the job over a few hours on a Friday evening. With all of the items ordered from Brownells, we just needed a little bit of elbow grease, the right files, and a few other small items that can be found at the local hardware store.
Any cutting of a frame might seem like a massive undertaking, especially since the frame is the serialized part of your weapon. You might think that if you screw up, that’s it; you now have yourself a serialized paperweight. That’s not necessarily the case, so give yourself more credit! When taking on this DIY, give yourself time, work with your files, and in a few hours’ time you’ll have a nicely cut frame and can now add your new grip safety.

With the 1911 fitting jig, most of the guesswork is taken out of the process by properly seating the jig in the frame, securing it, and then getting to work. The fitting jig is made of hardened tool steel and your files will not cut it. What it will do is allow you to get very close to the needed 0.250-inch radius for a properly fit grip safety.
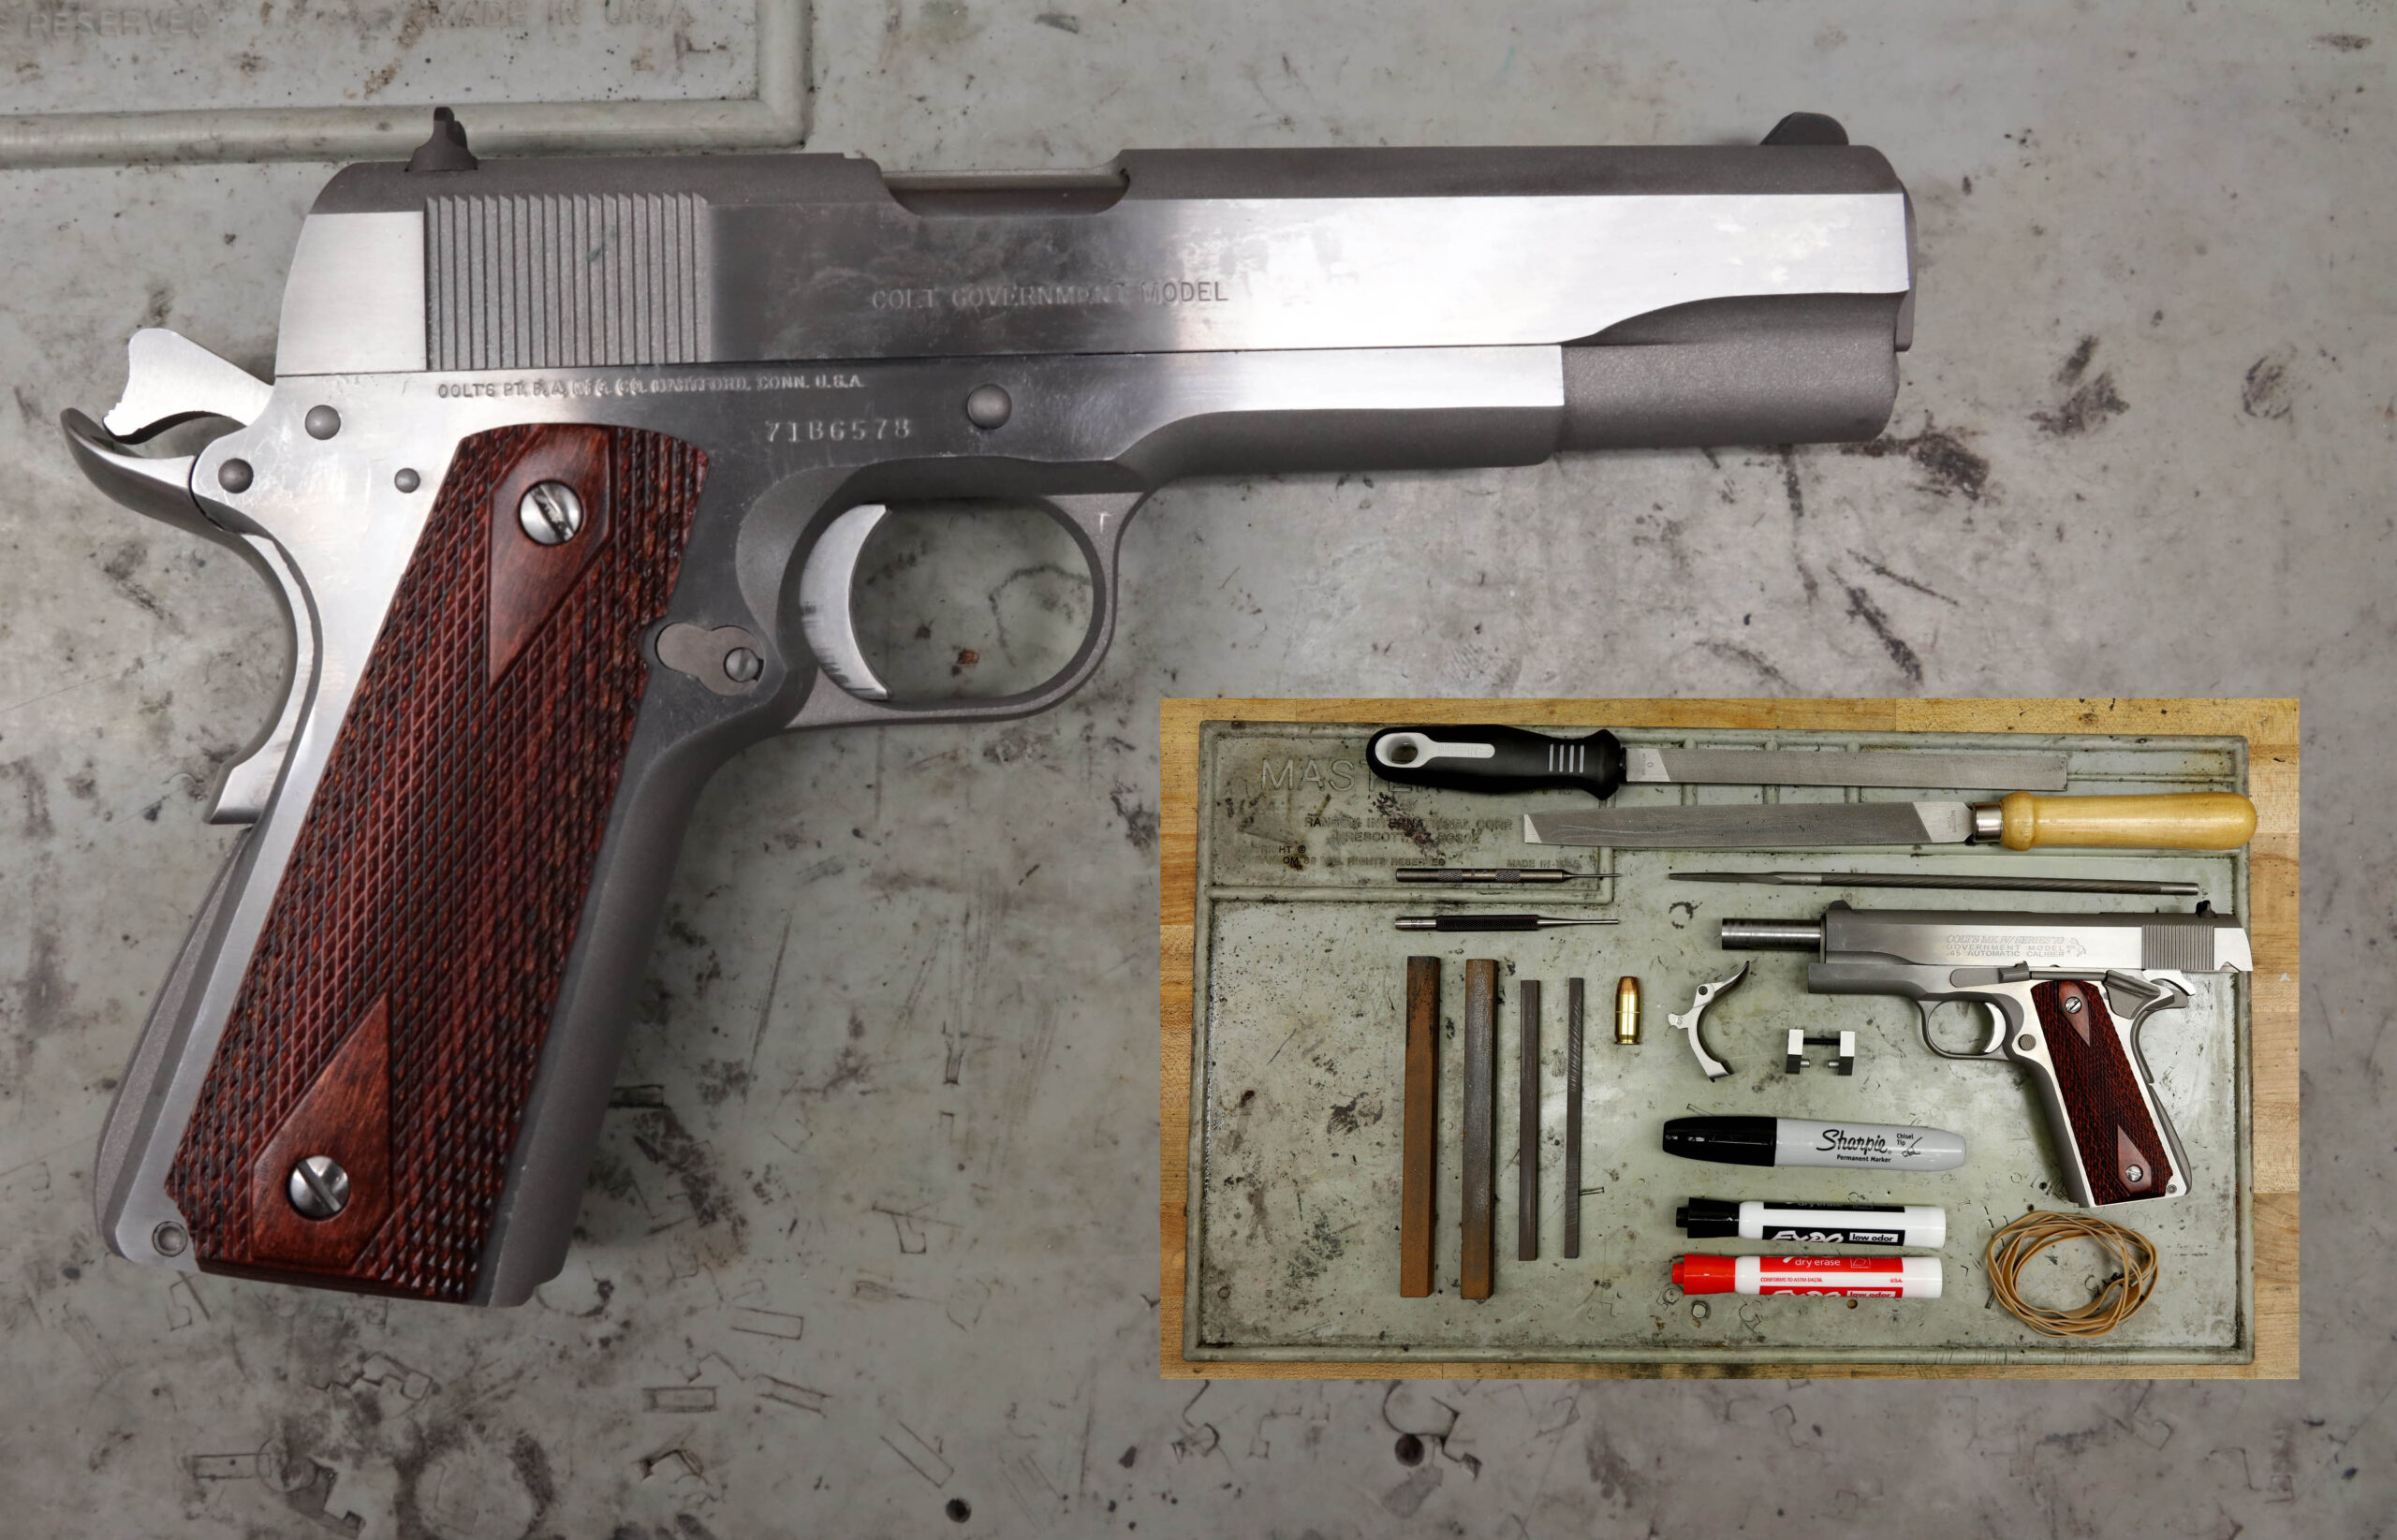
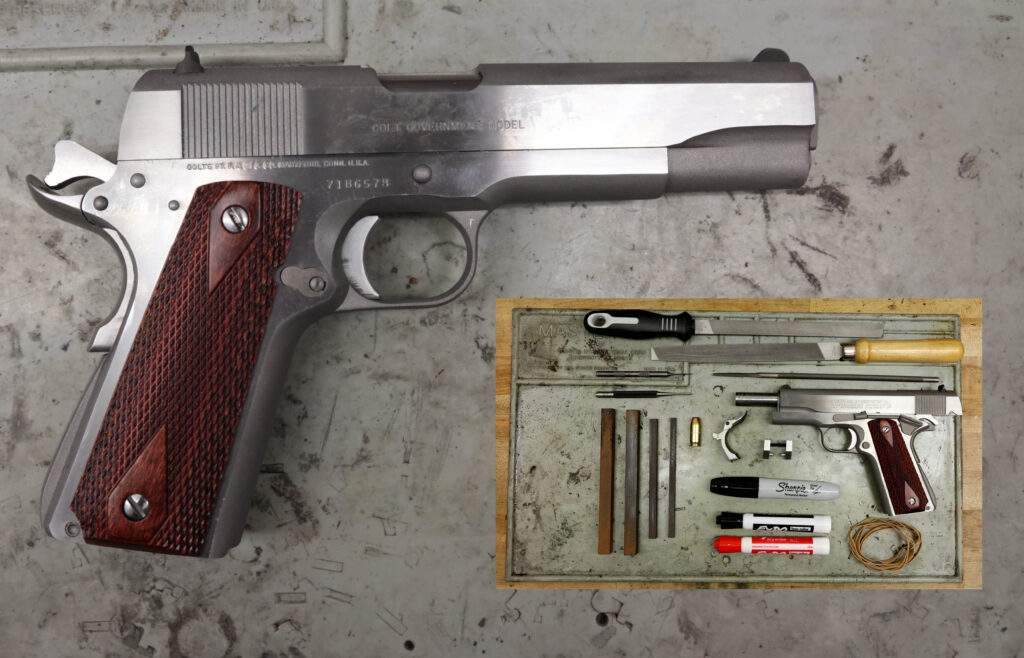
What’s Needed
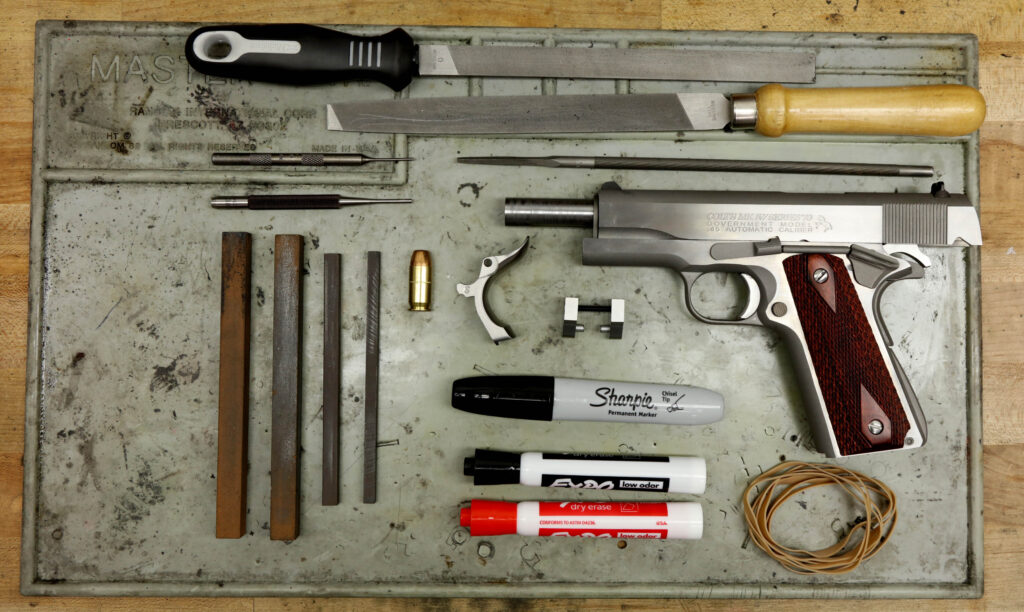
Wilson Combat Beavertail Grip Safety
Wilson Combat 1911 Beavertail Fitting Jig
Metal files
Sandpaper (various grits up to 600)
Markers
Rubberbands
Bench vise
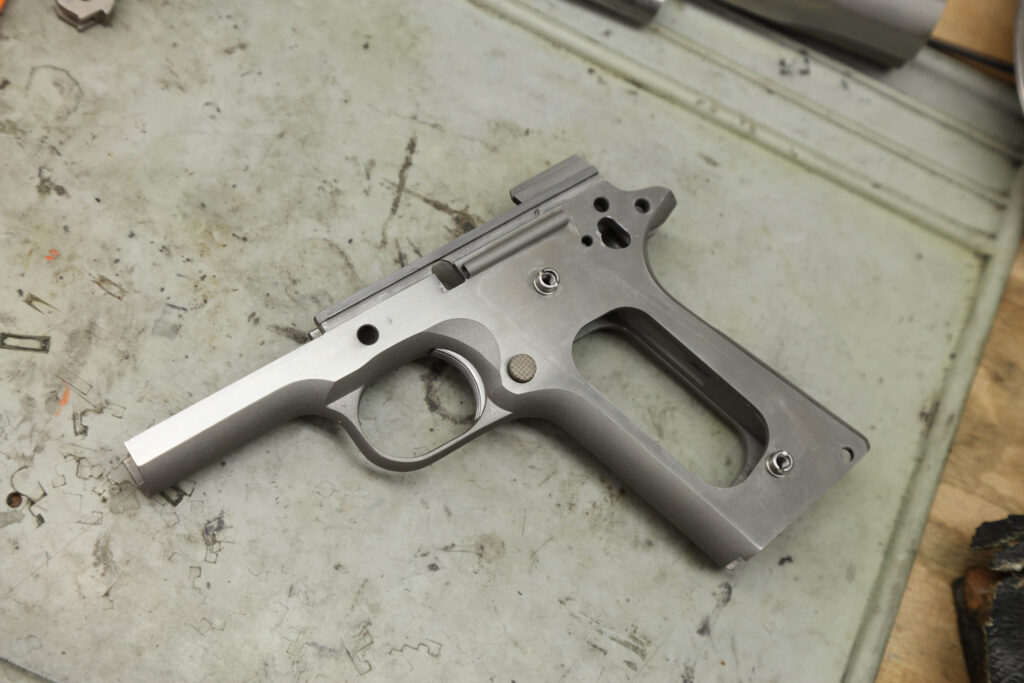
STEP 1 Disassembly
The first step is to disassemble the 1911 down to its frame. You can leave the trigger and magazine release in place. Be sure that the pistol is unloaded before beginning and follow your pistol’s owner’s manual for proper disassembly procedures.
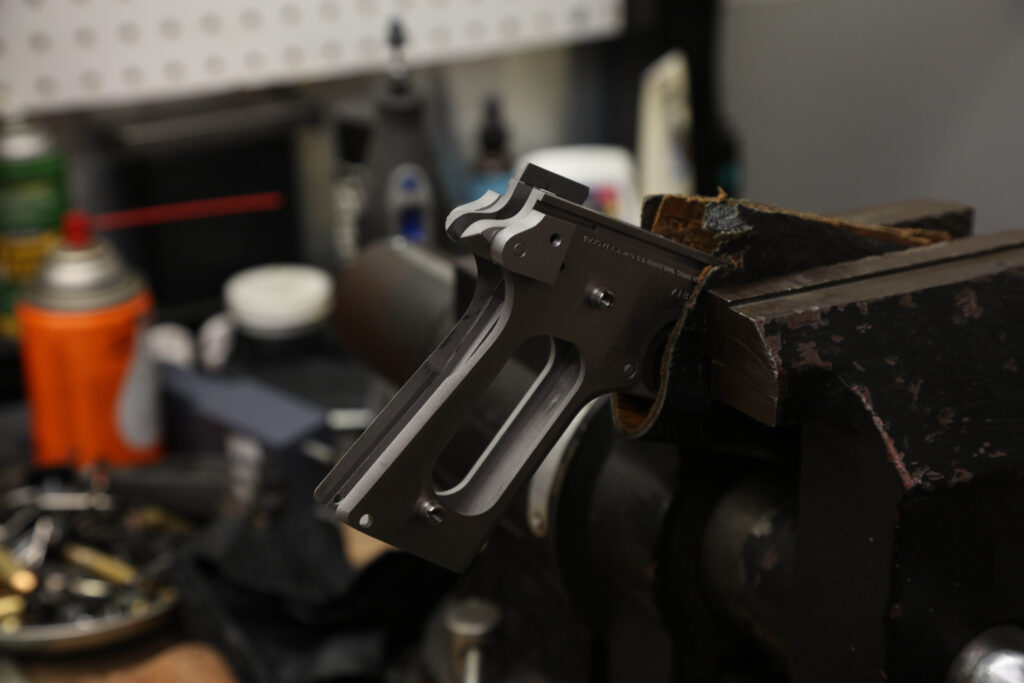
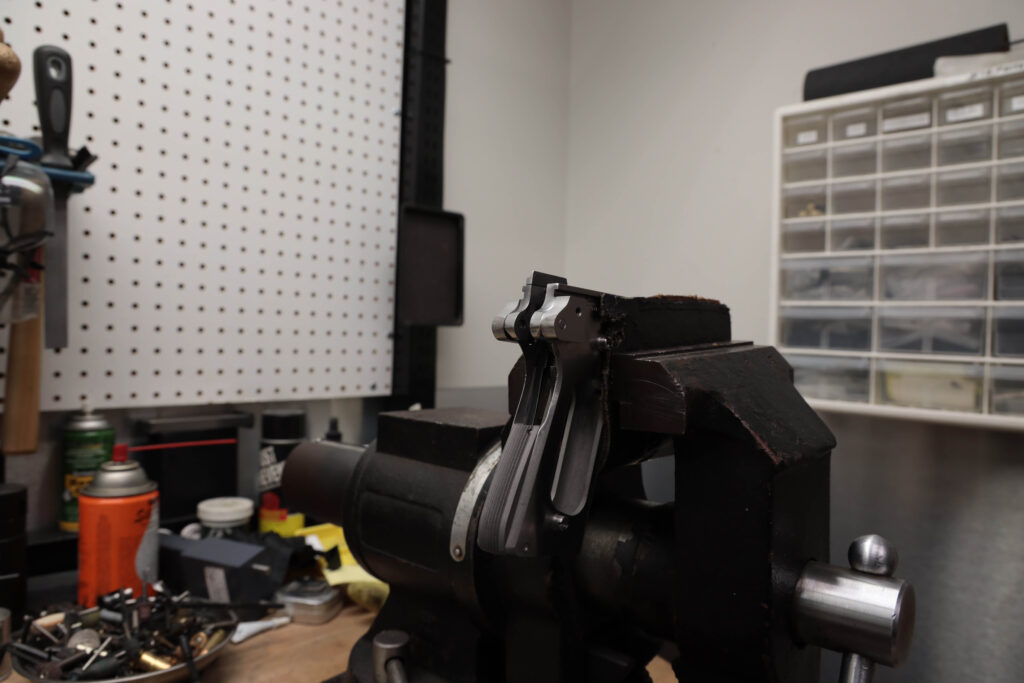
STEP 2 Set up the jig
In the small tool shop I have at my disposal I was able to set the 1911 frame in a bench vise. The jig is quite simple to secure through the use of the pins built into the jig and the supplied screw.
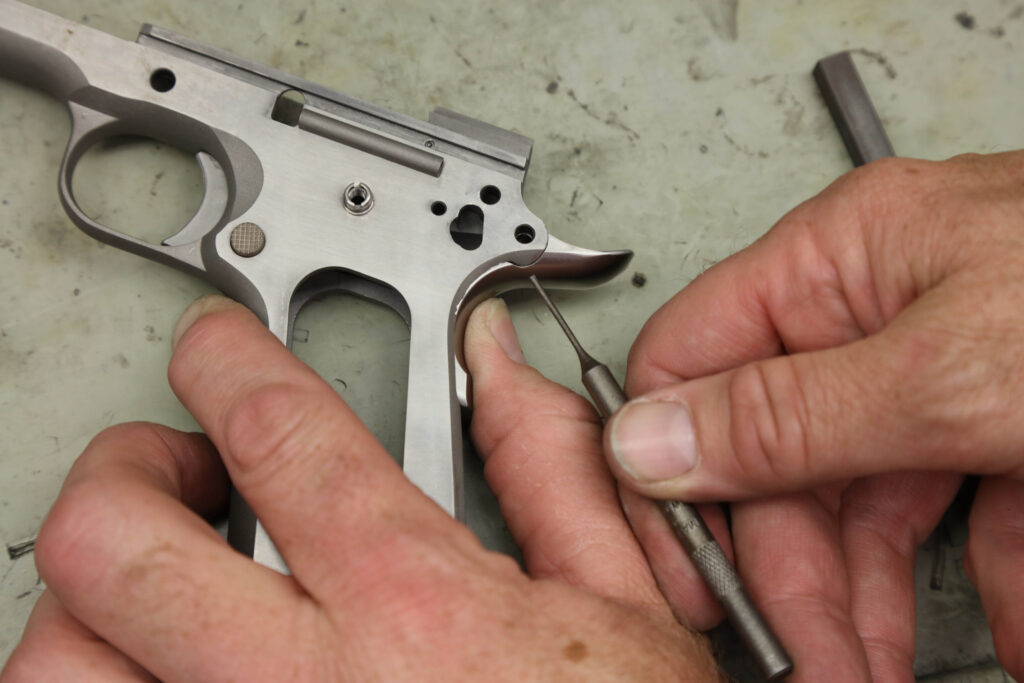
STEP 3 Measuring Up

Once the jig is on the frame you can see how much of the frame material needs to be filed down. Using the jig as a reference point, I used a pin punch to scribe the area that will need to be filed down. This step is optional; I marked it just to visualize how much material I would be taking off.
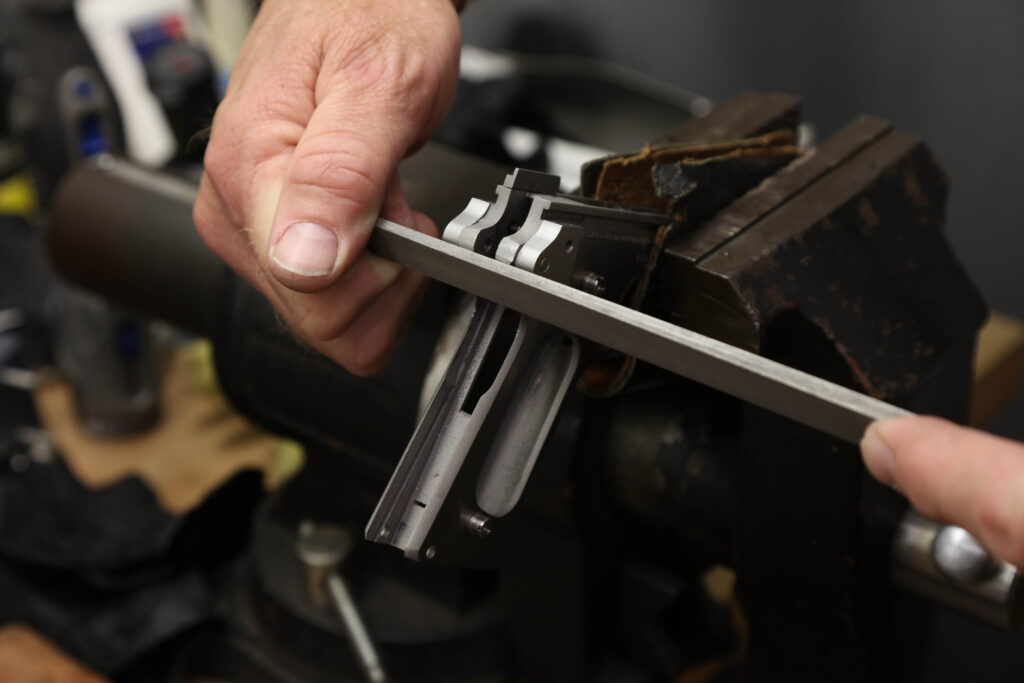
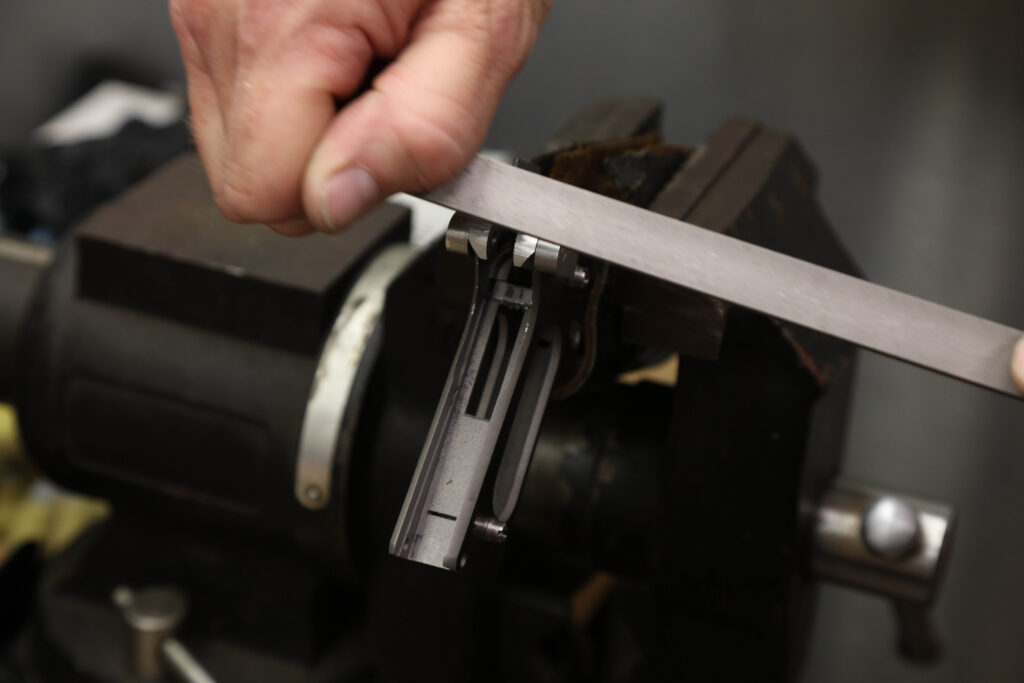
STEP 4 Rough filing
With the frame secured in the vise, I started working from right to left and always did my best to keep the file level and straight. This helped in not having to work one side against the other. It also took off even amounts of steel each time the file swiped past the frame. Little by little I was seeing the radiused contour starting to look like it would begin to accept the grip safety. Using the bastard ,or rough, file and following the outline of the hardened tool steel jig, my 0.250-inch radius was starting to come together.
STEP 5 Refining the shape
As I got closer to the needed radius I began using a second, finer file to cut the steel. Again, by working straight and level my finer swipes followed the jig perfectly. Remember to work slowly—it’s always easier to take material off than to add it back on. A handy tip is to use a marker to mark the safety where it contacts the frame. This is a good way to see which areas of the frame are making contact. Marker ink on the safety will leave telltale signs on the frame if it’s making contact.
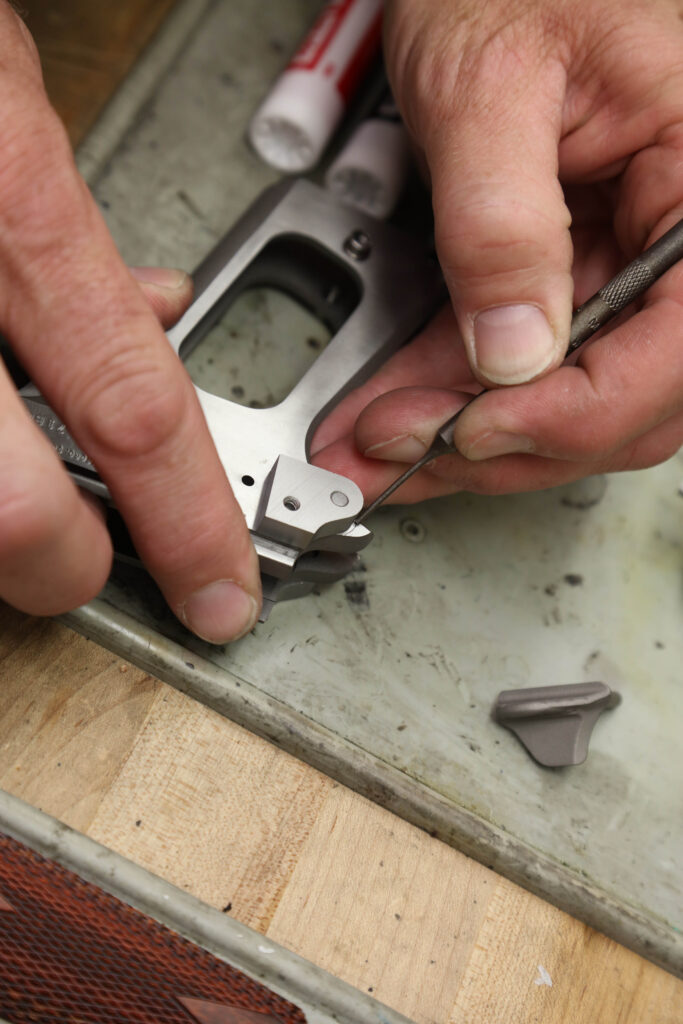
STEP 6 Checking fitment
It was at this point that I started taking the jig off and placing the Beavertail grip safety into the frame. This allowed me to check the hole where the thumb safety enters into the frame and passes through the grip safety. As more steel came off the frame the holes in the frame and the grip safety started to align. From time to time I would place a safety into the frame to see how close it was to passing all the way through. A rubberband will help keep the safety in the frame for quick reference.
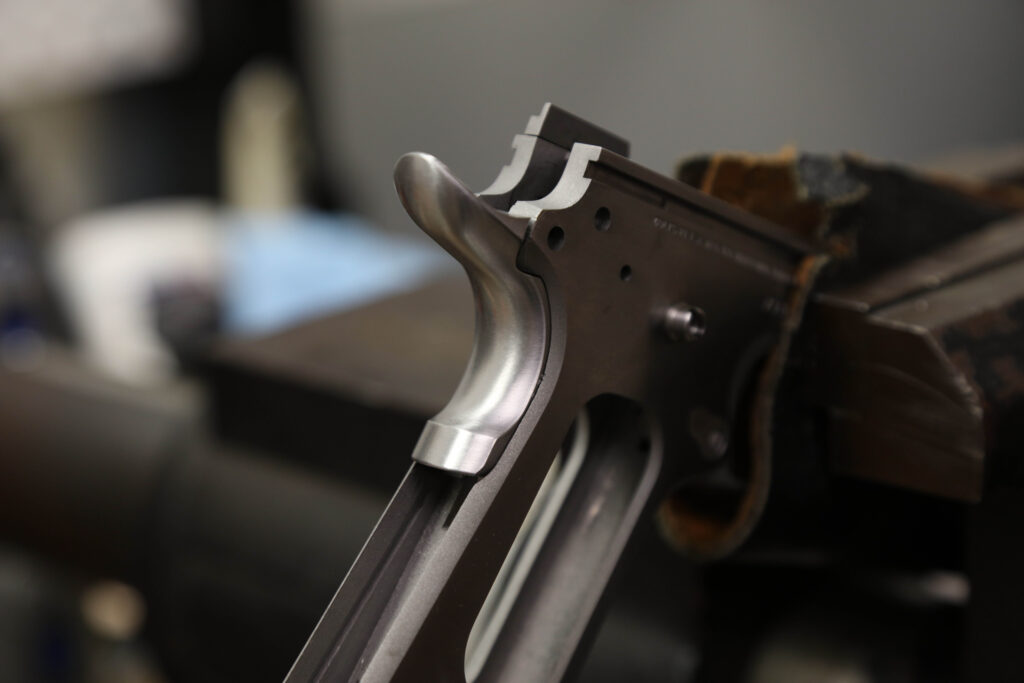
STEP 7 Fine filing
I used a fine round file to take the little bit of excess steel off the top portion of the frame. This allows for the grip safety to be in the resting position when your hand is not on the pistol. After about two and a half hours of working I finally had a good fit.
STEP 8 Cleaning up
When the beavertail fit into the frame and the thumb safety passed through perfectly, I started using long strips of different grits of sandpaper to take out some of the filing marks. In about another 20 to 30 minutes I was happy with the results.
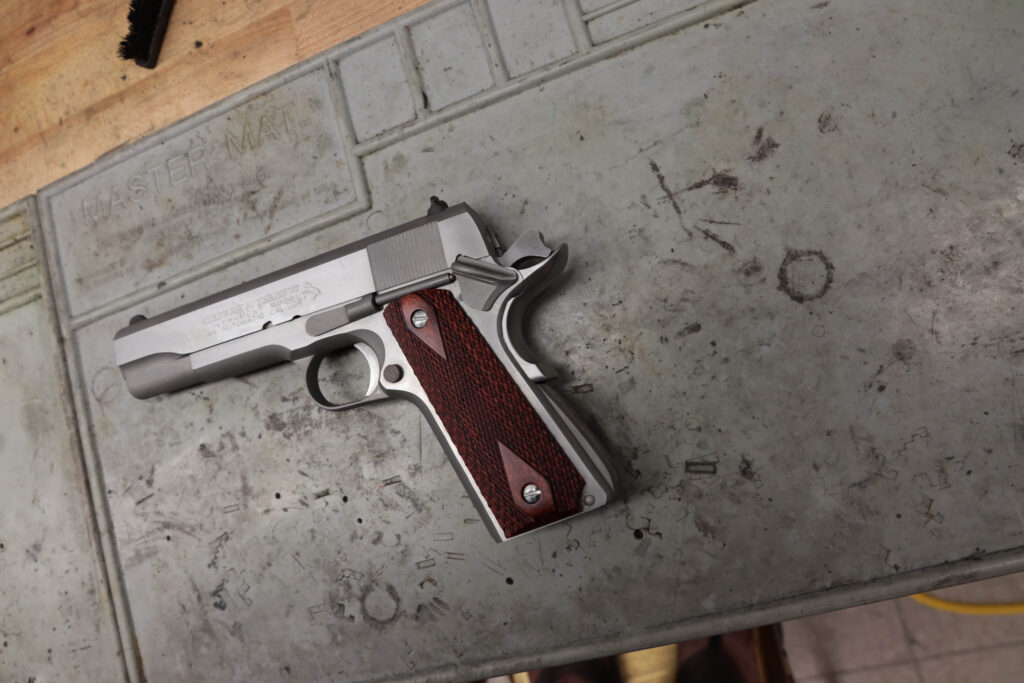
STEP 9 Reassembly & safety check
Once the thumb and grip safeties fit together it was time to reassemble and make sure everything worked. While there are areas on the underside of the grip safety that should be fitted to the other internals, I simply checked the 1911 with a function test. Everything worked once it was put back together. With the thumb safety down and the grip safety not depressed, the trigger could not be pulled. Once the grip safety was depressed I had the hammer down with a press of the trigger. Not bad for three hours of work.
Conclusion
Before this pistol goes into the inventory or gets placed out in the field, I will fit the internals and make sure I have a nice trigger pull. That will take a bit of filing, polishing, and a bit more time, but that’s best left for another article. This DIY project was quite fun and did not break the bank with parts and tools. Good luck!
Text by Jason Davis and images by Jerry Tsai & Danny Chang