Applying Carbide
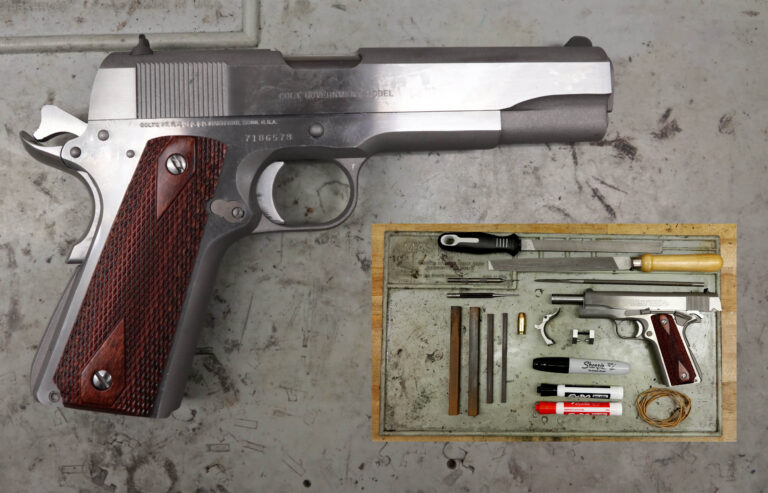
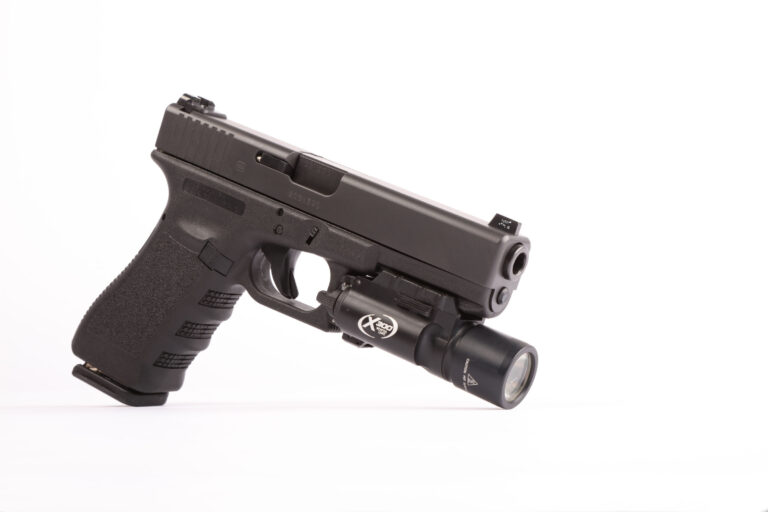
Ensuring the perfect amount of traction on your firearm’s control surfaces can be a tedious process. Although there are plenty of grip-enhancing options such as polymer stippling, metal checkering, and stick-on grip tape, the amount of traction you end up with can vary from cheese grater-like to almost non-existent.
If you’re willing to get a little arts-and-craftsy, we’ll show you a simple method of traction enhancement that competition shooters and gunsmiths have trusted for years. We’re not certain if there’s an official name for the process, so we’ll just call it carbide coating. In our case, we’re using a material called silicone carbide. Silicone carbide can be applied to any non-porous surface by way of an epoxy that you want to increase the traction of.
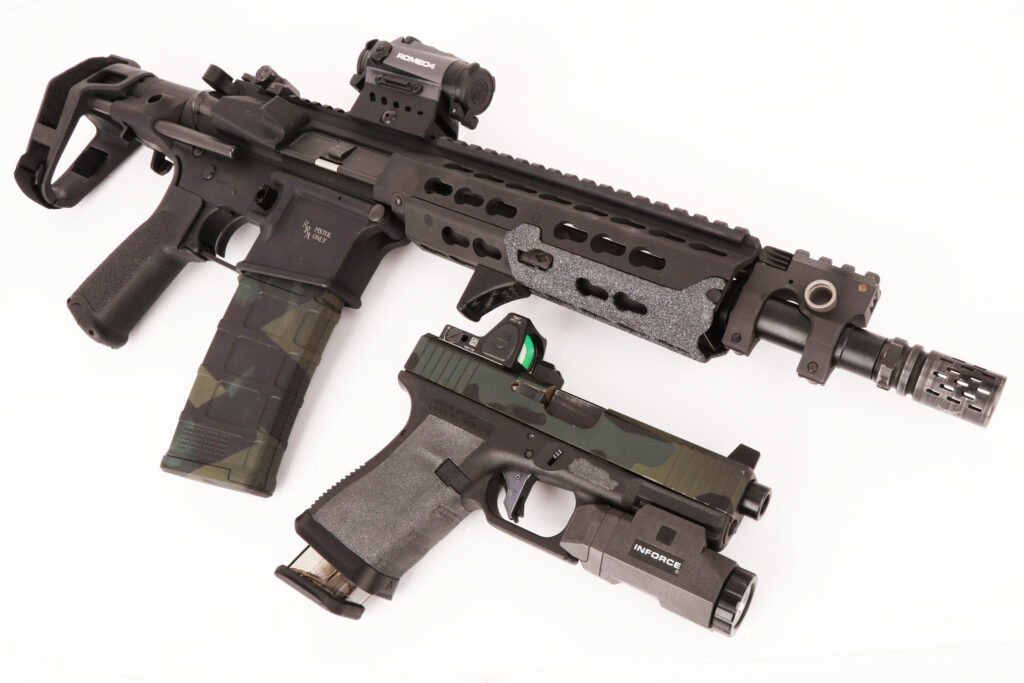
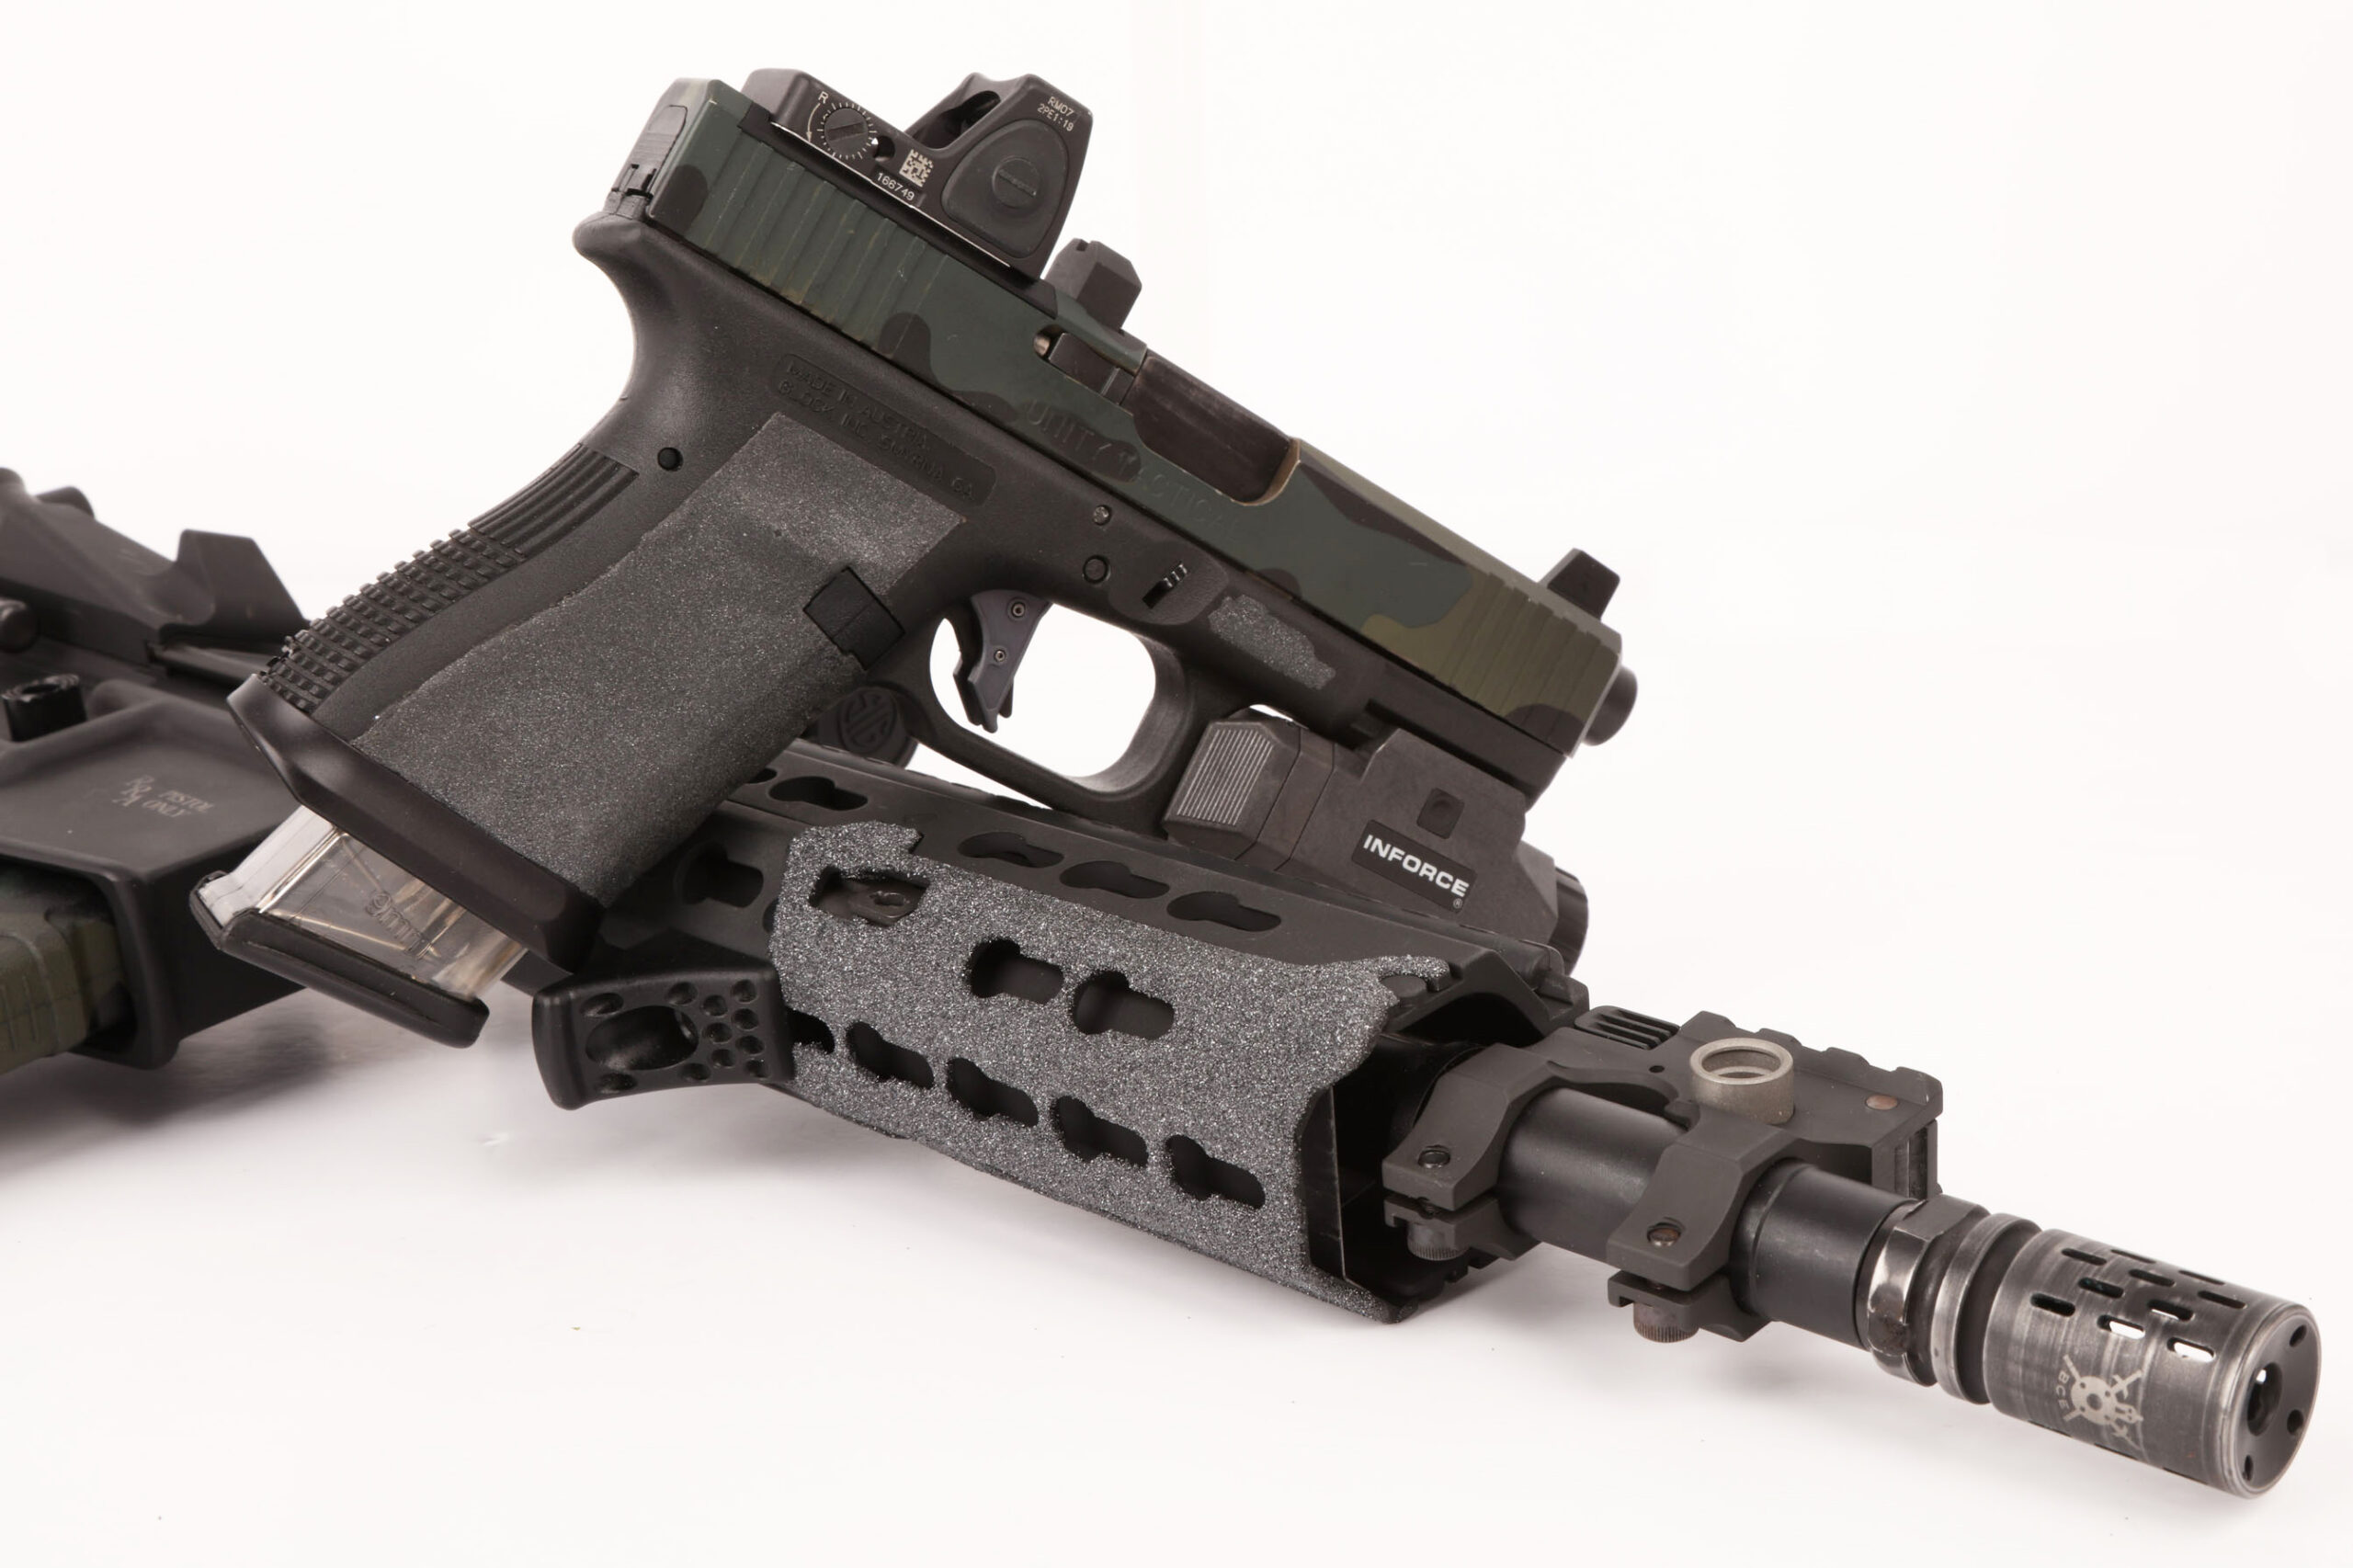
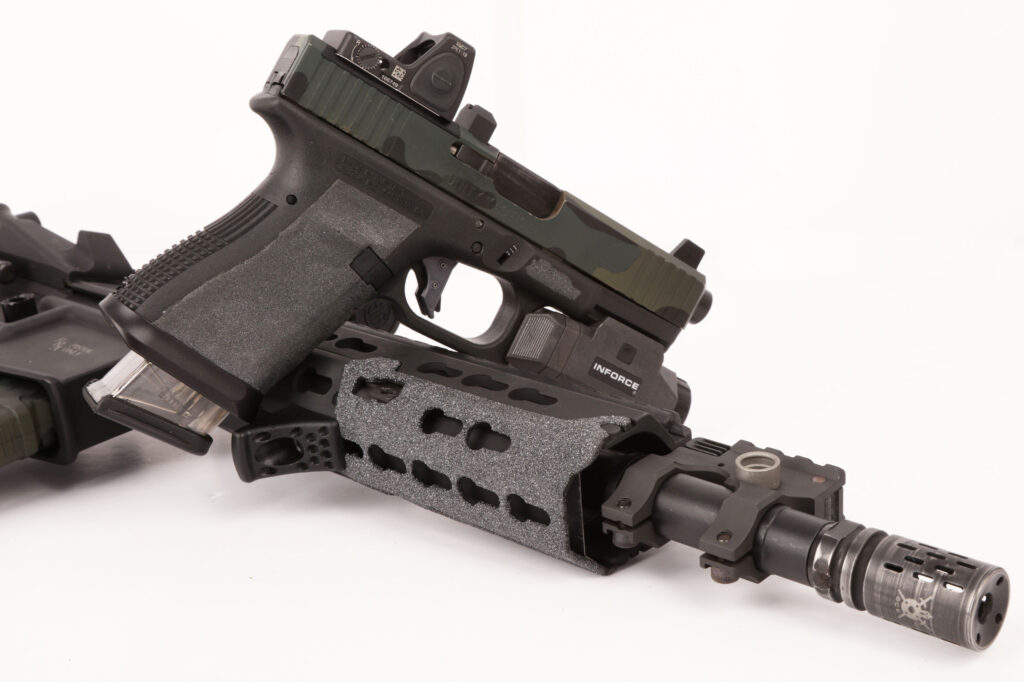
As mentioned, carbide coating has been popular with competition shooters as well as with high-end gunsmiths for years. Silicon carbide-coated surfaces such as handguards, grips, and pistol frames create just the right amount of grip in the right areas—and it looks pretty cool to boot.

The effect you get is very similar to skateboard grip tape, minus the thickness of the tape. The durable coating goes on much thinner than grip tape, and it’s seamless, too. We also found that it’s a good method for helping to hide imperfections such as ill-advised Dremel work or a botched stipple job.
Silicon carbide is the coarse material that gives skateboard tape and some types of sandpaper its gritty surface. It is used in many commercial and industrial applications such as on cutting and sanding tools. There are many benefits to silicon carbide applications, including a varied selection of silicon carbide grits to help you fine-tune the perfect amount of grip that you’ve been looking for. Follow along here to see how silicon carbide is applied to a firearm’s surface.
First off, your workspace should be set up in a well-ventilated area. This coating process is a messy undertaking, so we do not recommend doing it on any surface that you don’t want to permanently stain or damage. We suggest setting up your workspace over a disposable, protective covering. We’re working with a sand-like material, and as you probably have already discovered, sand can get everywhere. Be generous with the mount of protective covering you use. Once you have your protective gear on—gloves, mask, safety glasses—move on to Step 01.
Disclaimer: Always take safety precautions when working with tools or other dangerous goods. This DIY should be done at your own risk. Verify your results with a certified gunsmith prior to using the final product.
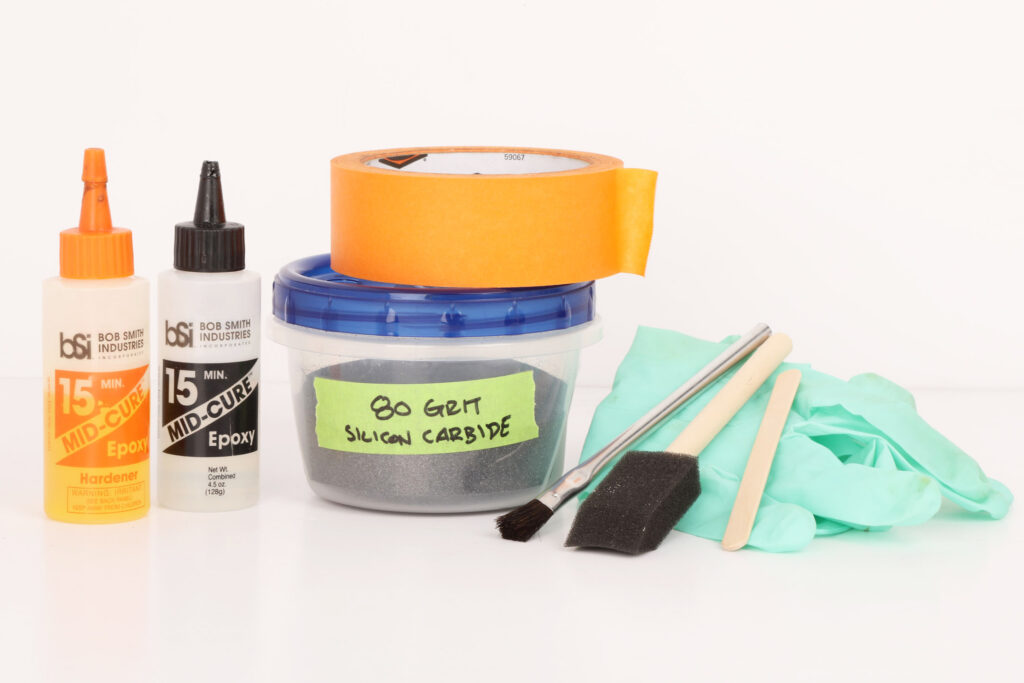
What’s Needed:

Silicon Carbide Powder
Two-Part 15-Minute Epoxy
Mixing Stick
Disposable Brush
Latex Gloves
Face Mask
Safety Glasses
Masking Tape
Item To Be Coated
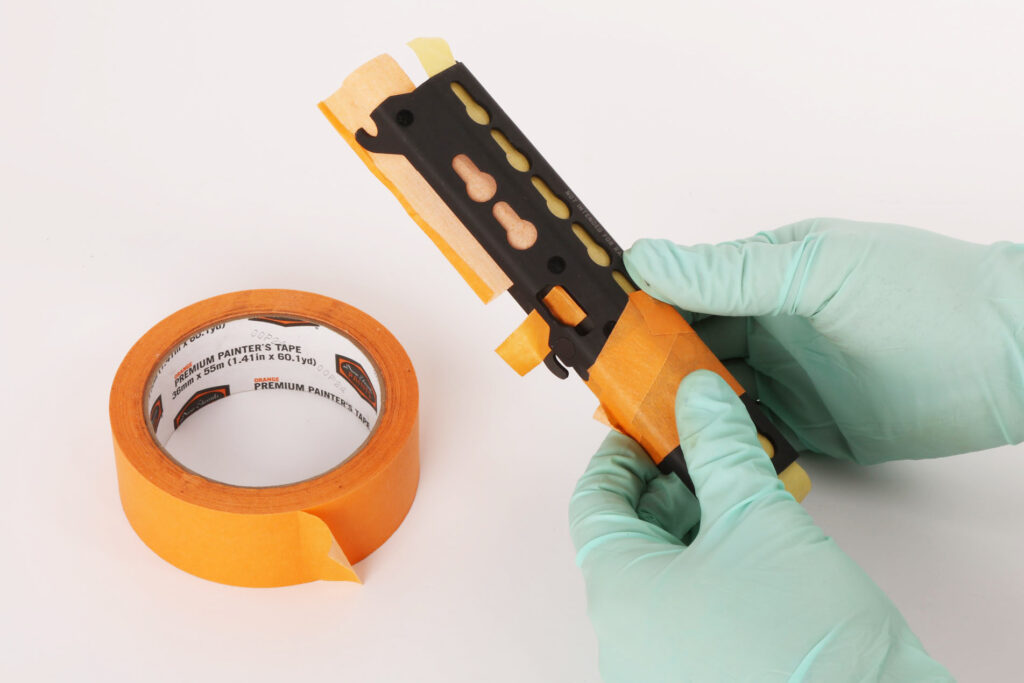
01) Preparation
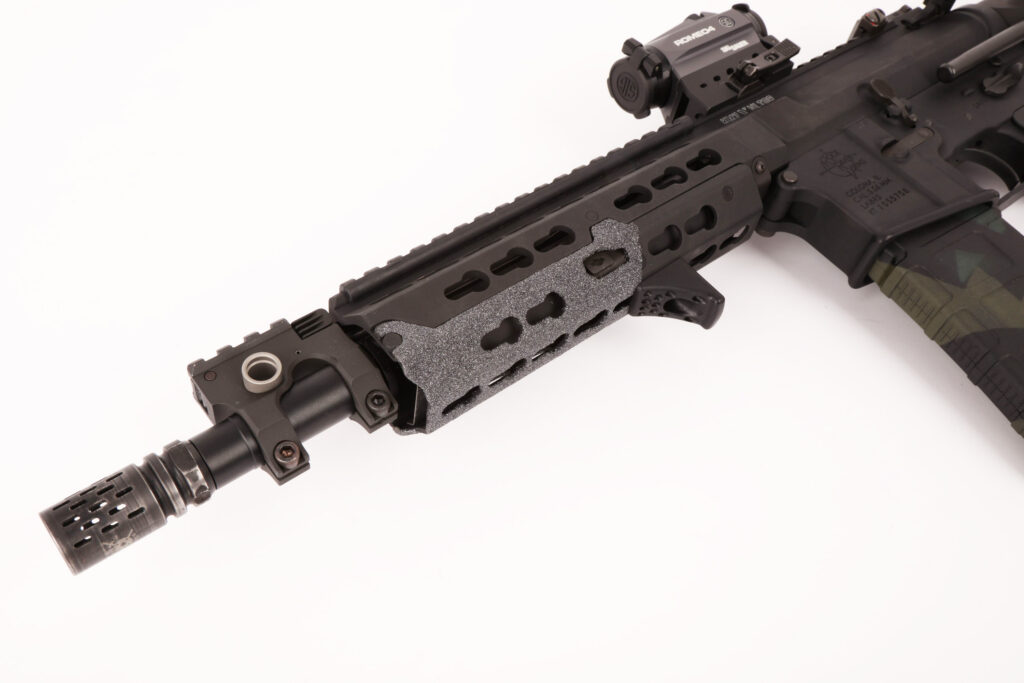
Figure out where you want traction to be added to your item. Here, we’re adding carbide to the bottom portion of a VLTOR VIS-KM upper. Make sure that the item is clean and free of oil, dirt, and other debris. If you are coating polymer, a good cleaning and degreasing is enough. If you’re coating metal, it’s a good idea to scuff up the surface with a bit of sandpaper or steel wool. After you do so, make sure you thoroughly clean the area before proceeding. Take your time and carefully mask off all areas that you do not want coated. You can get creative here and mask the surface off so that the final product will reveal a nice design.
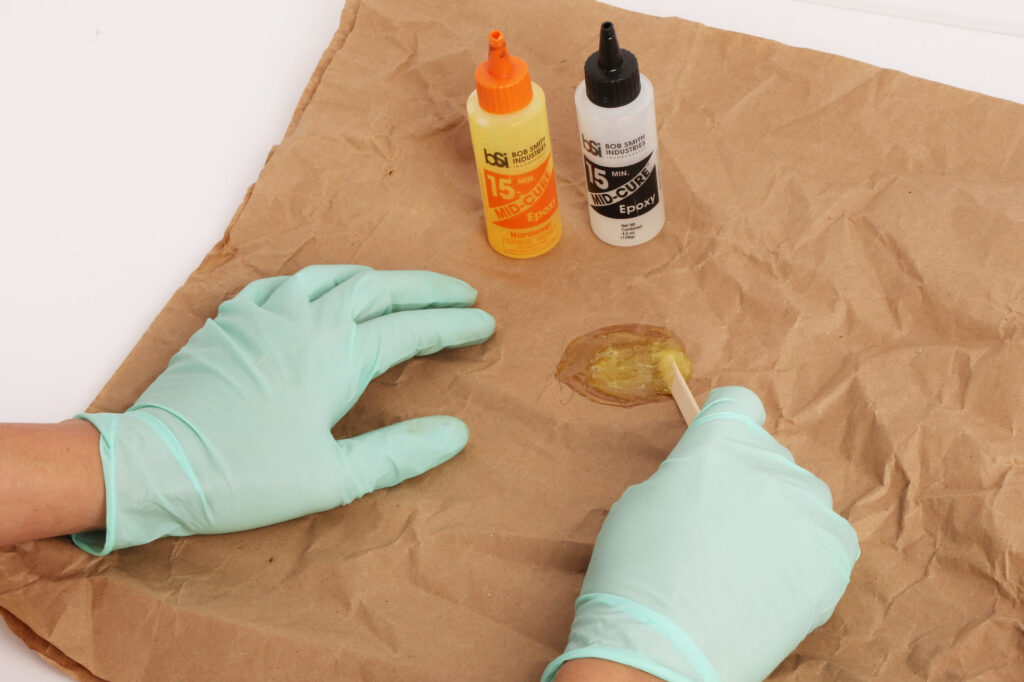
02) Epoxy
Here we’re using a two-part epoxy as the adhesive base for the silicone carbide powder. We chose a 15-minute epoxy, but you can use a faster- or slower-drying epoxy depending on how quickly you work. Be sure that you follow the epoxy’s instructions for proper mixing. Preparing a little more than you think you will need is a good idea because you don’t want to run out of epoxy during the next step. Please note that applying epoxy is permanent. Be sure you want to coat your item permanently before proceeding, because there’s no hitting undo.
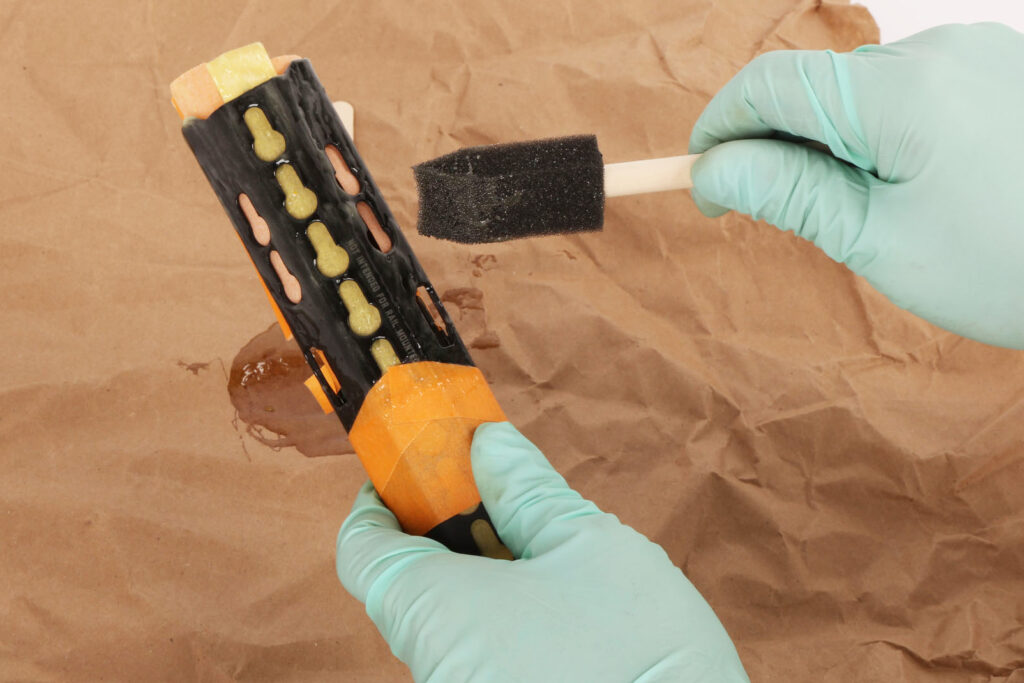
03) Application
We use a disposable foam brush to apply the epoxy. Apply it in a thin, even coat on every portion of the application area. Keep in mind that you’re working against the drying time of the epoxy, so work briskly without getting careless. Carefully inspect your item 360 degrees to ensure you didn’t miss an area. The epoxy coating should look smooth and glossy, but not runny or have any drips. Note that when coating items such as this handguard, mounting points may be affected by the added thickness of the epoxy and carbide.
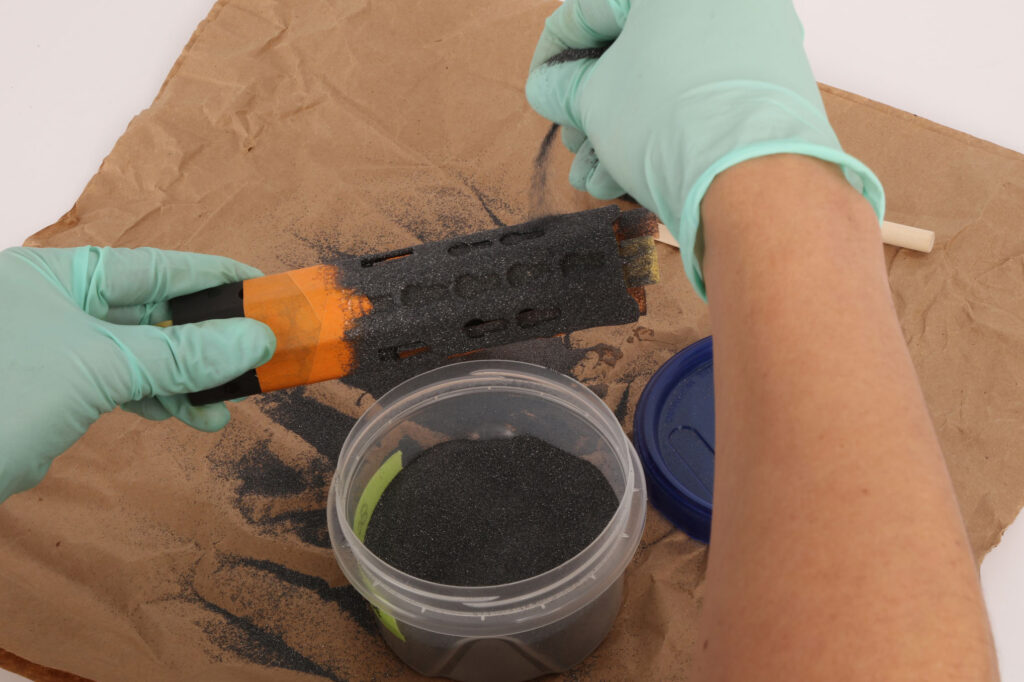
04) Sprinkle
After triple-checking that you have enough epoxy on the item and that the coated surface is smooth and without runs, sprinkle the silicone carbide powder over the epoxy coating. (If you do see any drips forming, remove them with the brush before sprinkling.) Be sure to keep turning the item and slowly sprinkling the powder, making sure you don’t miss any portion. Work quickly so that the silicon carbide is applied to the epoxy before the epoxy begins to set.
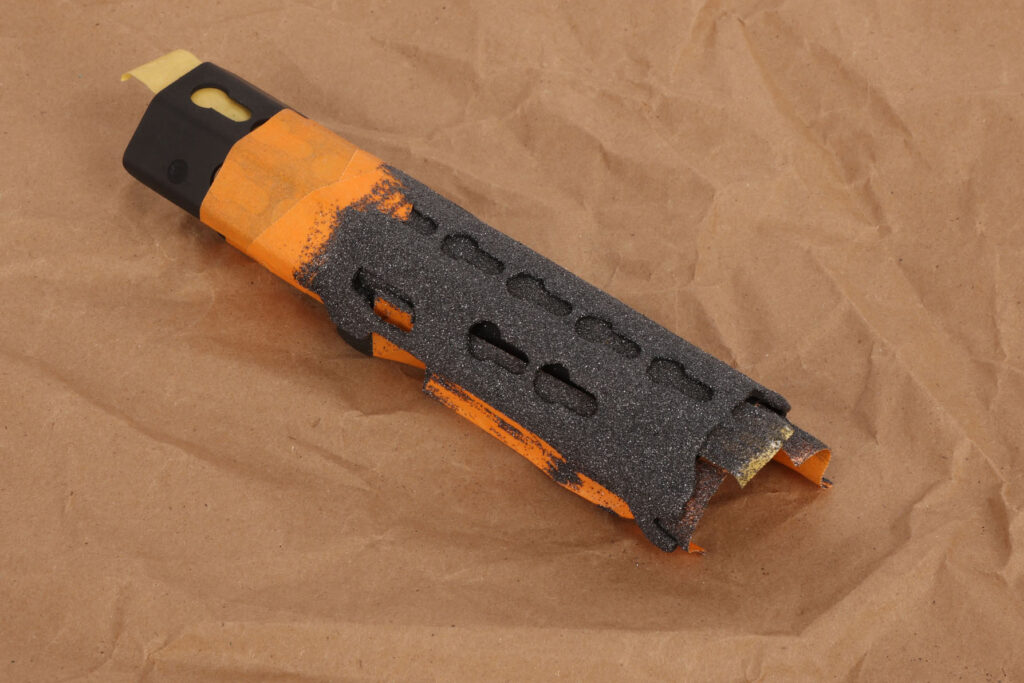
05) Setting
After the entire surface looks evenly coated with silicone carbide powder, carefully set the part aside, making sure that the coated surfaces are not touching anything else. According to our epoxy’s instructions, the item can be handled in about 45 minutes and fully dries in 3 hours. We were a bit more cautious and leave it to dry completely before handling it.
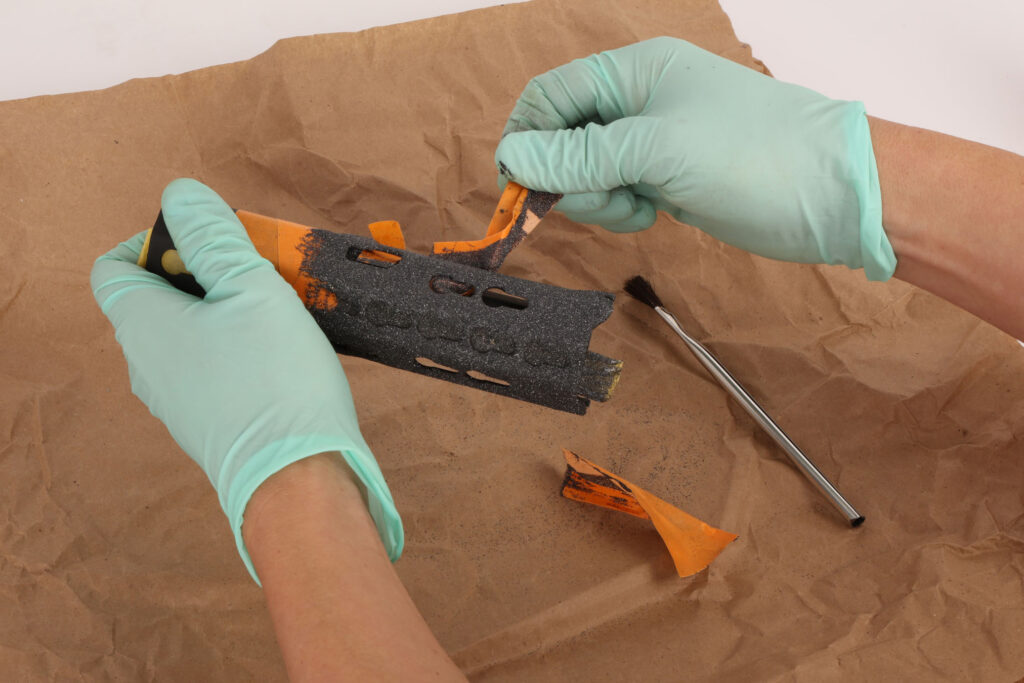
06) Clean Up
After the epoxy is fully dry, use a soft brush to lightly remove any loose powder from the item. Also remove any masking tape that you may have used as well. Now you can inspect the item and revel in the professional job you did. Be sure to use caution when cleaning up your workspace, as the silicone carbide power can get everywhere. If needed, a vacuum can be used to clean up excess powder.
Bottom Line
As far as longevity is concerned, we have several items that have been coated for well over a year now, and they still look and feel like they were coated today. Over time you may lose a little silicon carbide, but overall the coatings will last a long time even with consistent use. If the coating does eventually wear off, you can easily coat it again.

This process only took us about 45 minutes from start to finish. It’s a simple weekend project that can add much-needed traction to any surface that you want. You’re not limited to just guns—really, you can coat just about any surface. Got a slippery magazine or flashlight? Go ahead and give them the silicone carbide treatment.
Text by Martin Anders and images by Michael Grey
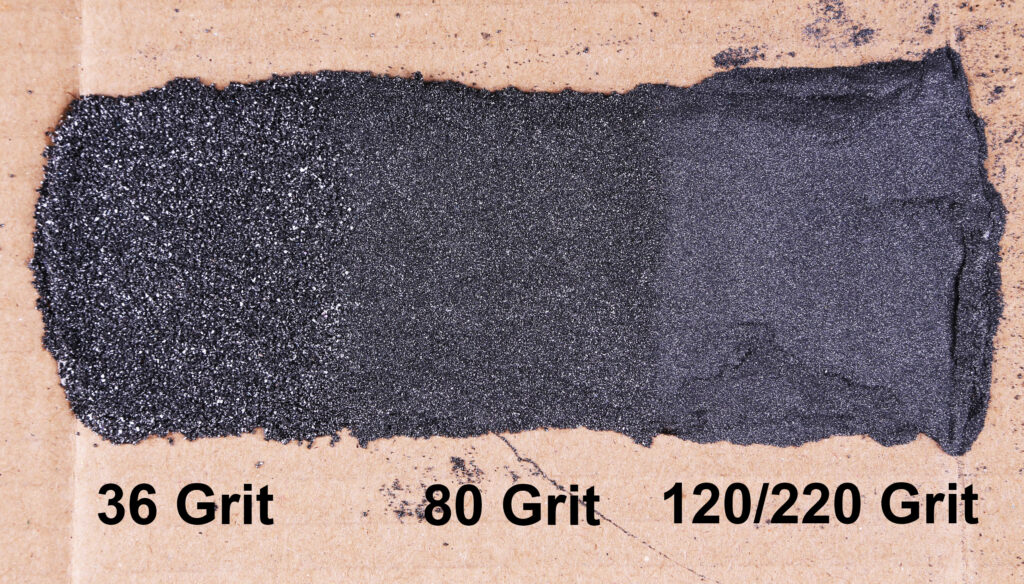
Silicon Carbide Grit
Silicon carbide is available in an array of grits. The smaller the number, the coarser the grit; the larger the number, the finer the grit. As you can see, 36 grit is very rough and is probably as coarse as we’d want to go. The opposite end is a mixture of 120/220 grits, which is much like very fine sand. In this step-by-step guide we used 80 grit. If you’re uncertain about what grit to use, we suggest buying several different grits to try out.