Hydro-Dipping at Home
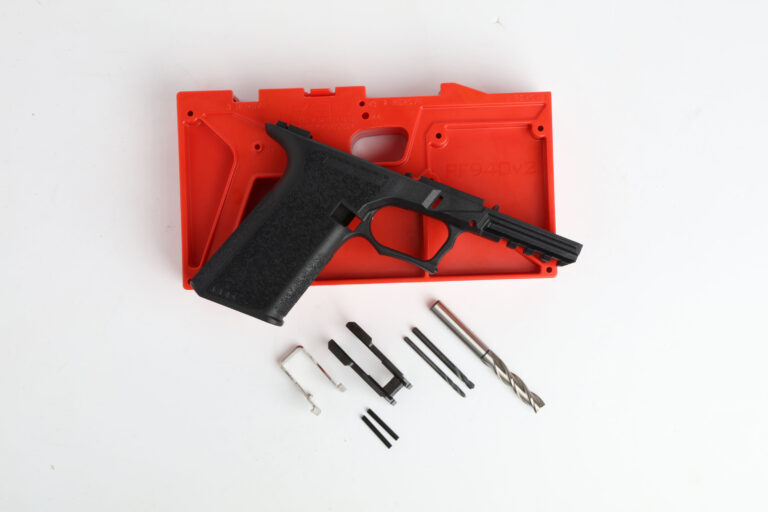
I have to admit that black guns or guns of any single color for that matter, while classic and timeless, can be a bit stale to the eyes at times. Luckily for us, we’re living during a time of unprecedented aesthetic creativity in the firearms world. One only need to fire up Instagram or any number of other social platforms to see the wide array of custom looks that guns are now finished in
One of my favorite things to do during whatever down time I have is to work on my guns. Regardless if I’m installing a new accessory that I want to try or simply performing simple cleaning and maintenance after a trip to the range, getting my hands dirty while working on my guns is one of life’s sweet pleasures. After drooling over some of the guns on IG, I do sometimes wish however, that I had the ability to push my customizing abilities up a couple of notches and be able to perform custom services that many people would send their guns out to professionals to do.
Aside from Cerakoting and other similar sprayed on coatings, I don’t think there’s any other firearms coating process that looks as good and is as protective as hydro dipping. Hydro dipping, also known under many other names such as water transfer printing or hydrographics, is a process that allows for designs that are printed on to a sheet of film to be permanently applied to three-dimensional objects.

There are professional hydro dipping companies that do an outstanding job that you can send your stuff to to get dipped, but if you’re like me, you like to do things yourself. There’s a sense of accomplishment that one feels when tackling a job yourself, especially if it’s one that you’ve never done before. In this DIY article, I’ll take you through my first hydro dipping experience. Read along to see what I did right and what I didn’t. It’s best to learn from your (and other peoples’) mistakes!
My first step was to hit the internet to order up some hydro dipping supplies. After looking around for a website that sold authentic MultiCam patterned film, I found a website called hydrodip.com. Not only did they have both official MultiCam and MultiCam Black hydrogrphic film, they sold hydro dip kits that come with everything you need to do the job with.
Before I go on, I’d like to clarify that this company is not affiliated with this article and is not a promotional sponsor. I simply found them a good source for hydro dip supplies and thought I’d pass on this info to you. I ordered up a kit along with some extras such as a roll of MultiCam and MultiCam Black as well as some extra aerosol activator and cans of paint. A few days later, my kit arrived.
The first thing you’ll want to do is to do your research and read all instructions that come with each of the products. The kit from hydrodip.com comes with clear step-by-step instructions on how to successfully hydro dip just about anything that you can get wet or paint.

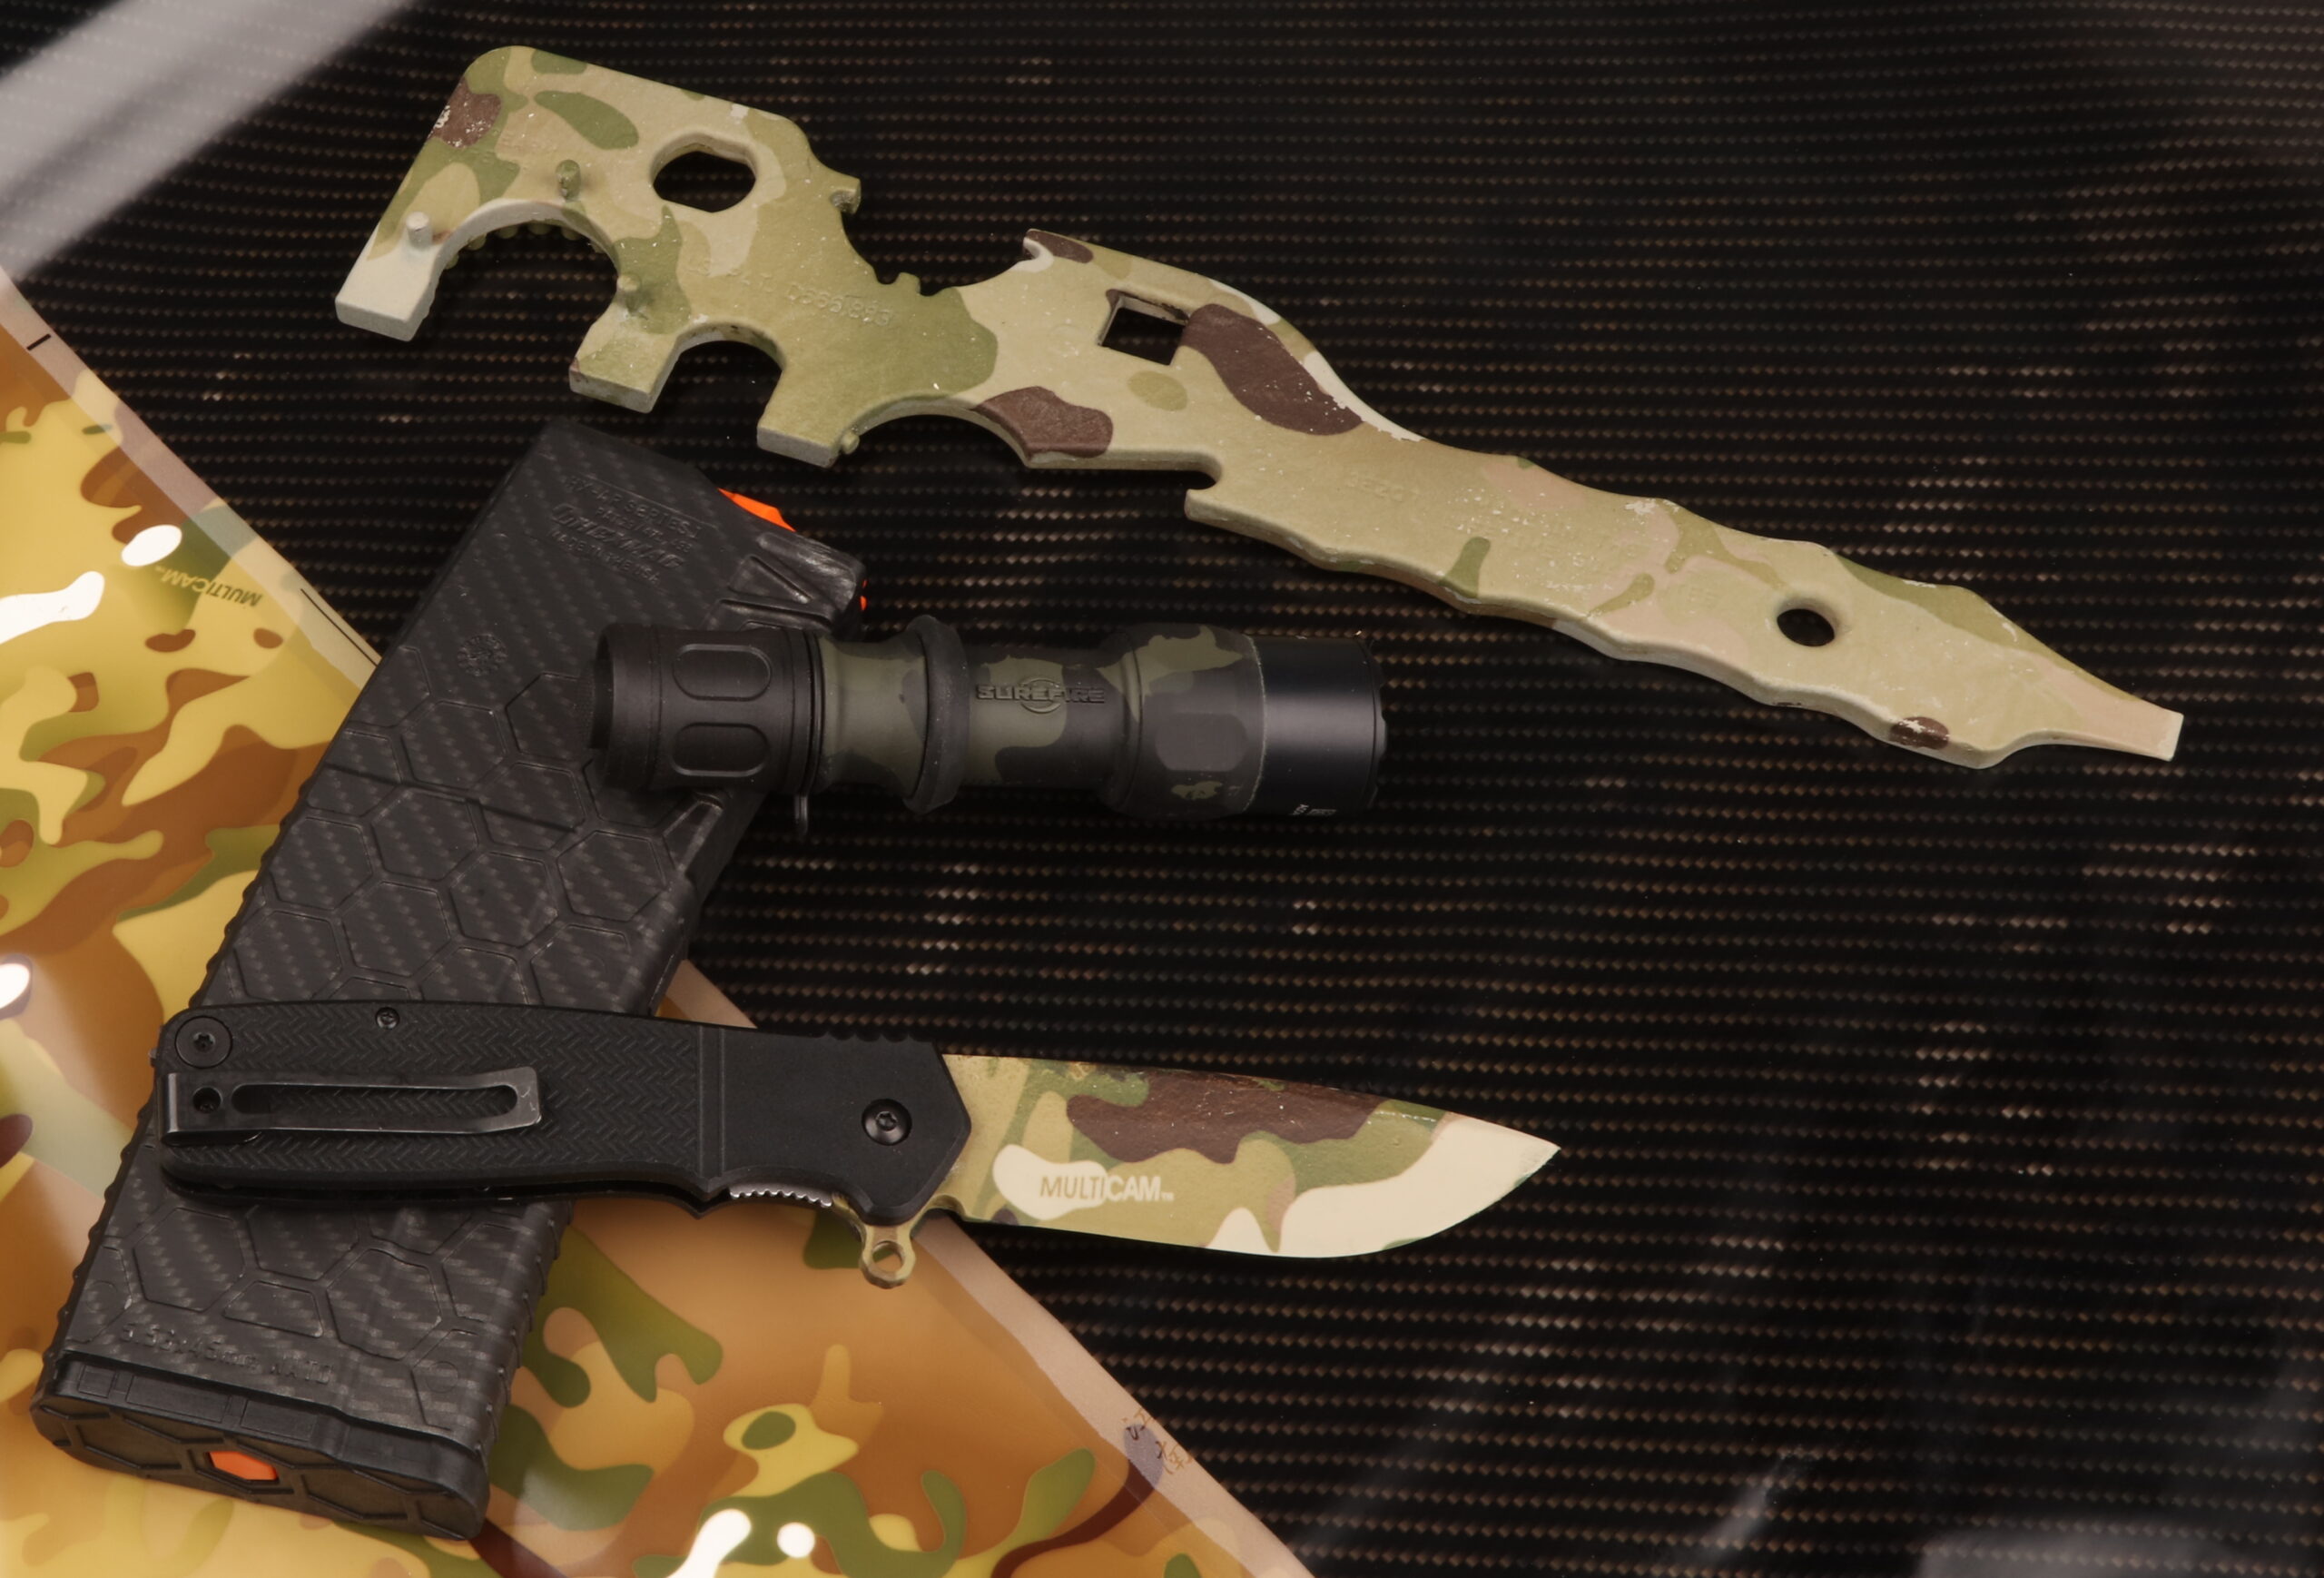
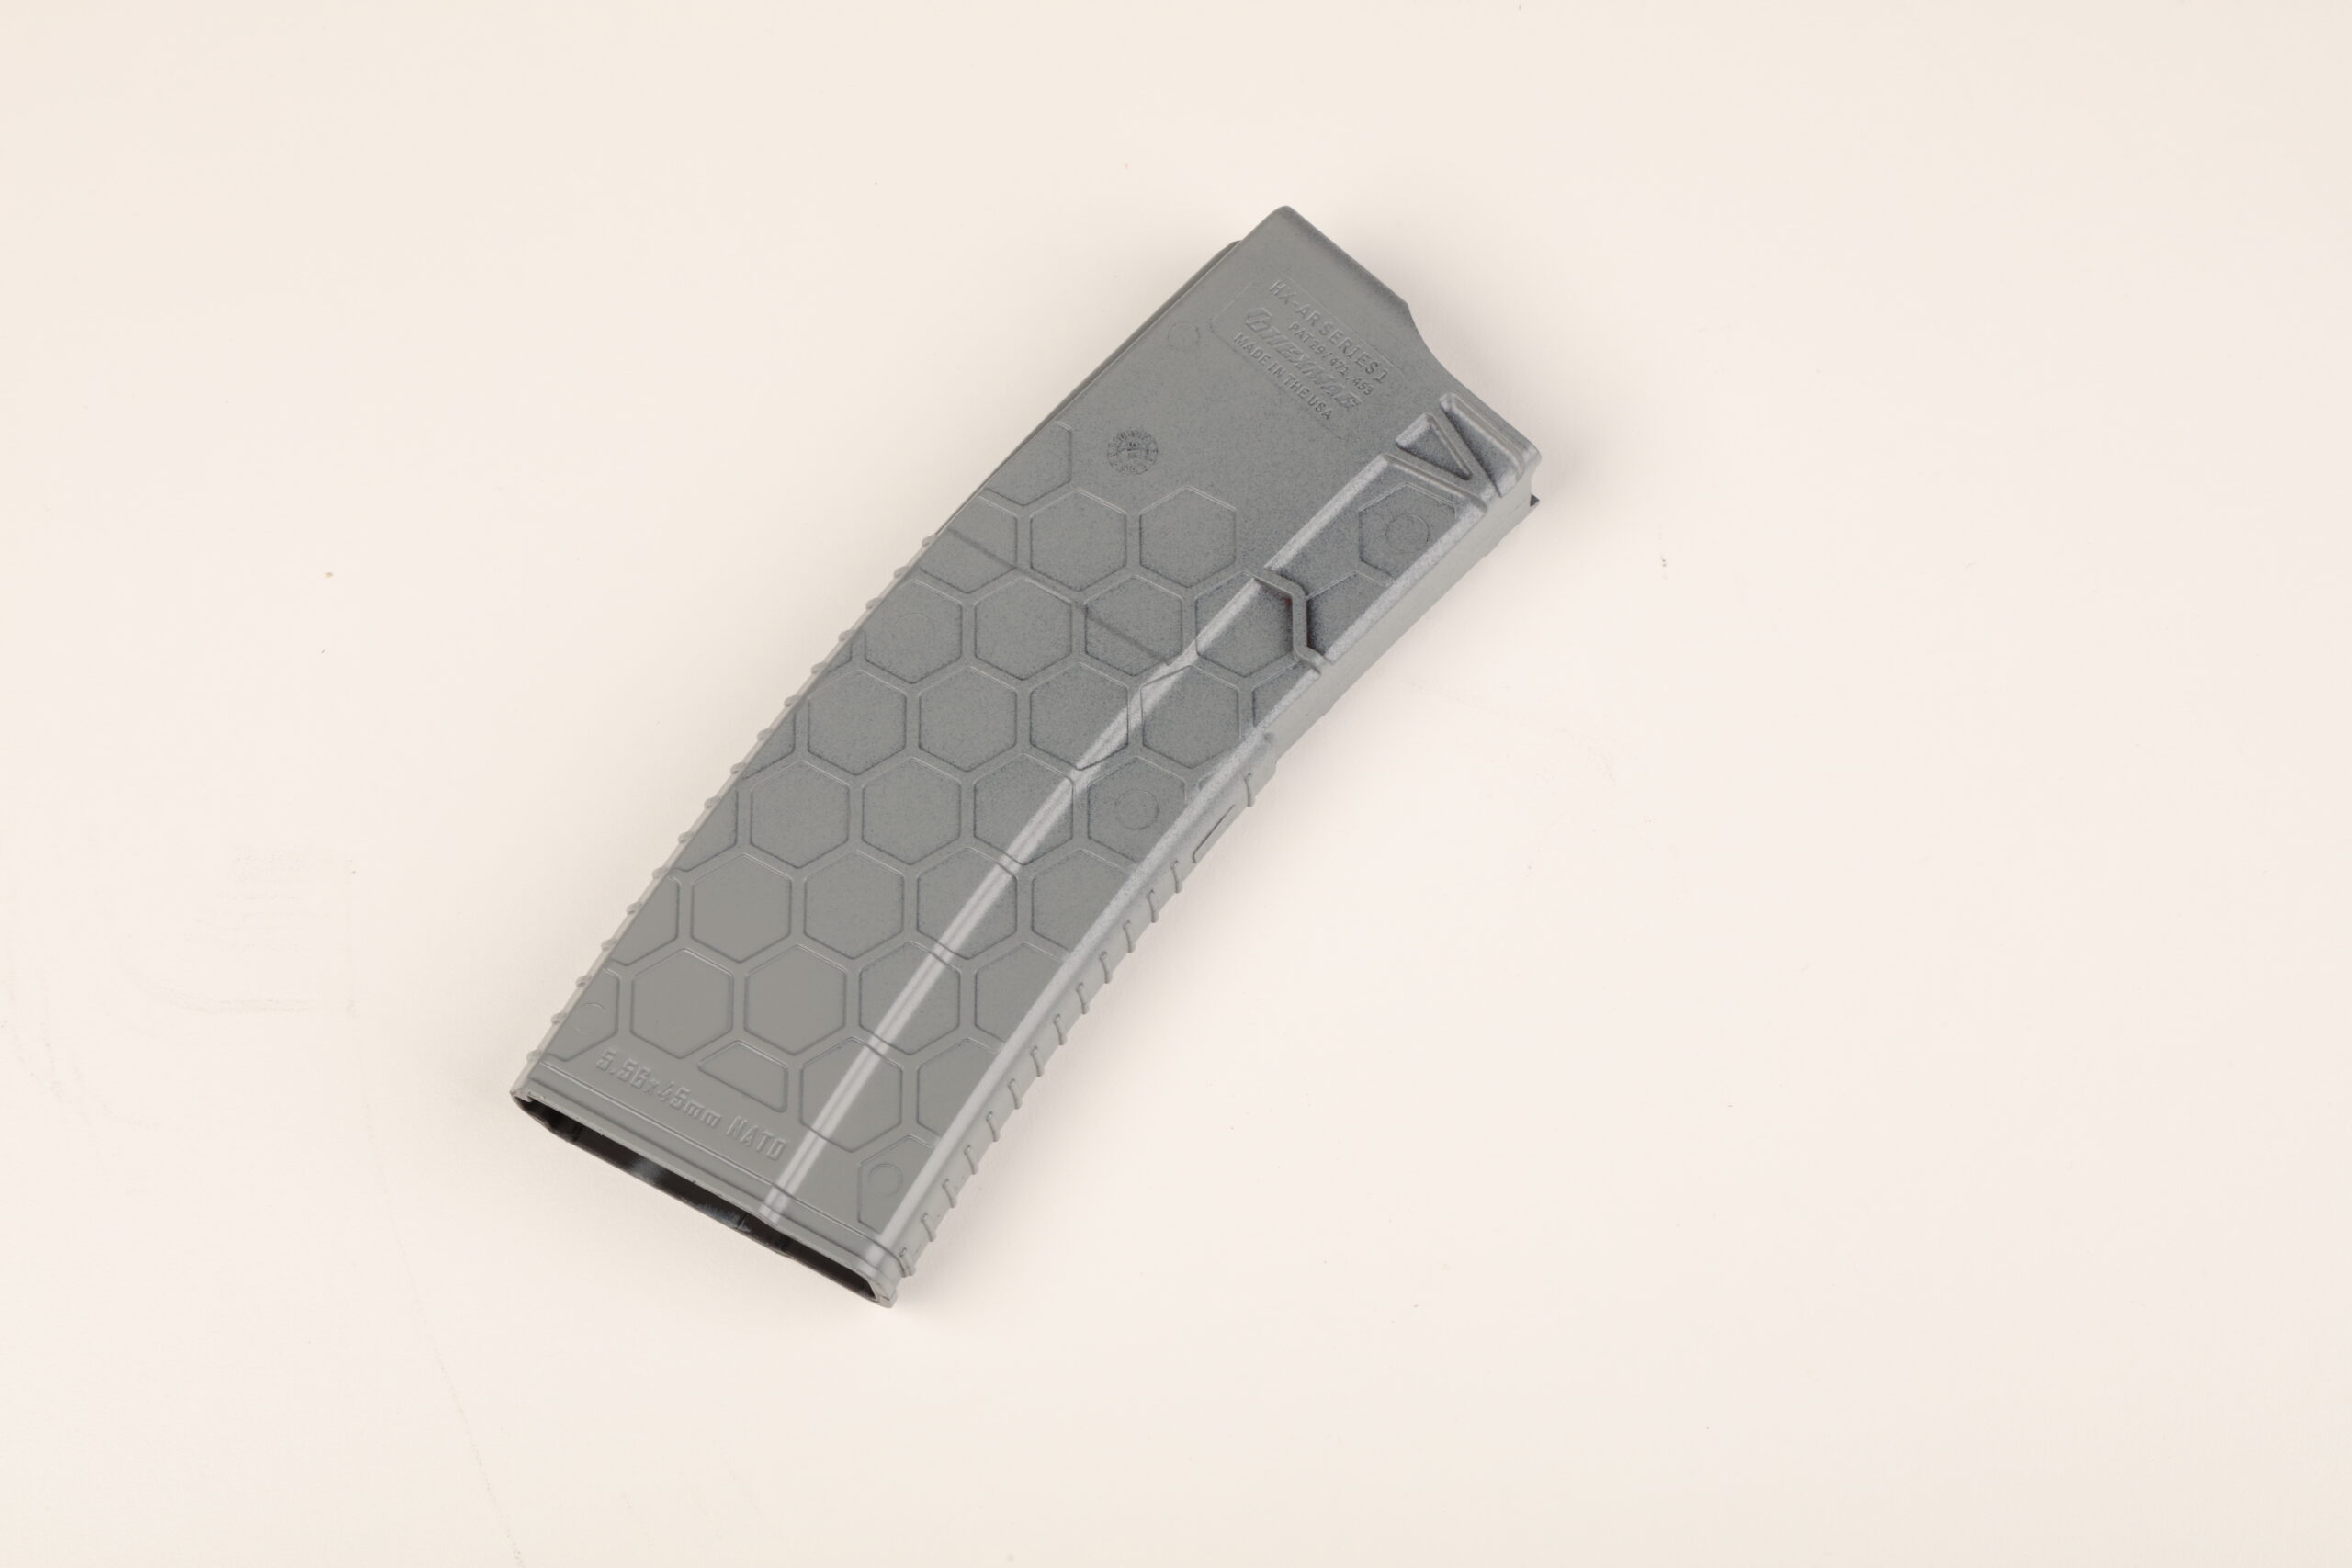
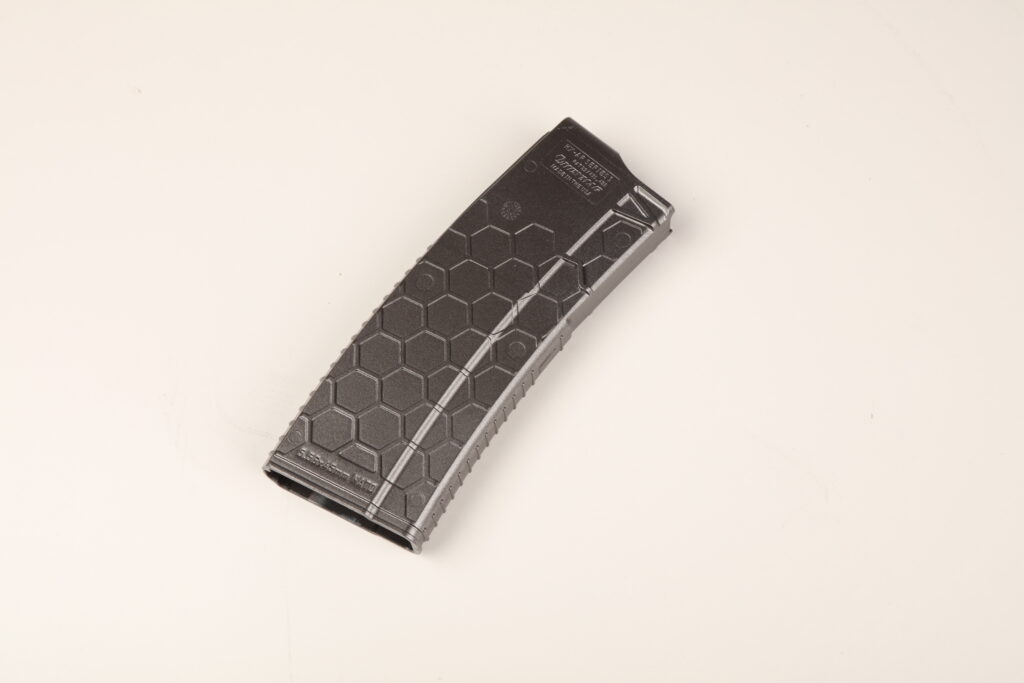
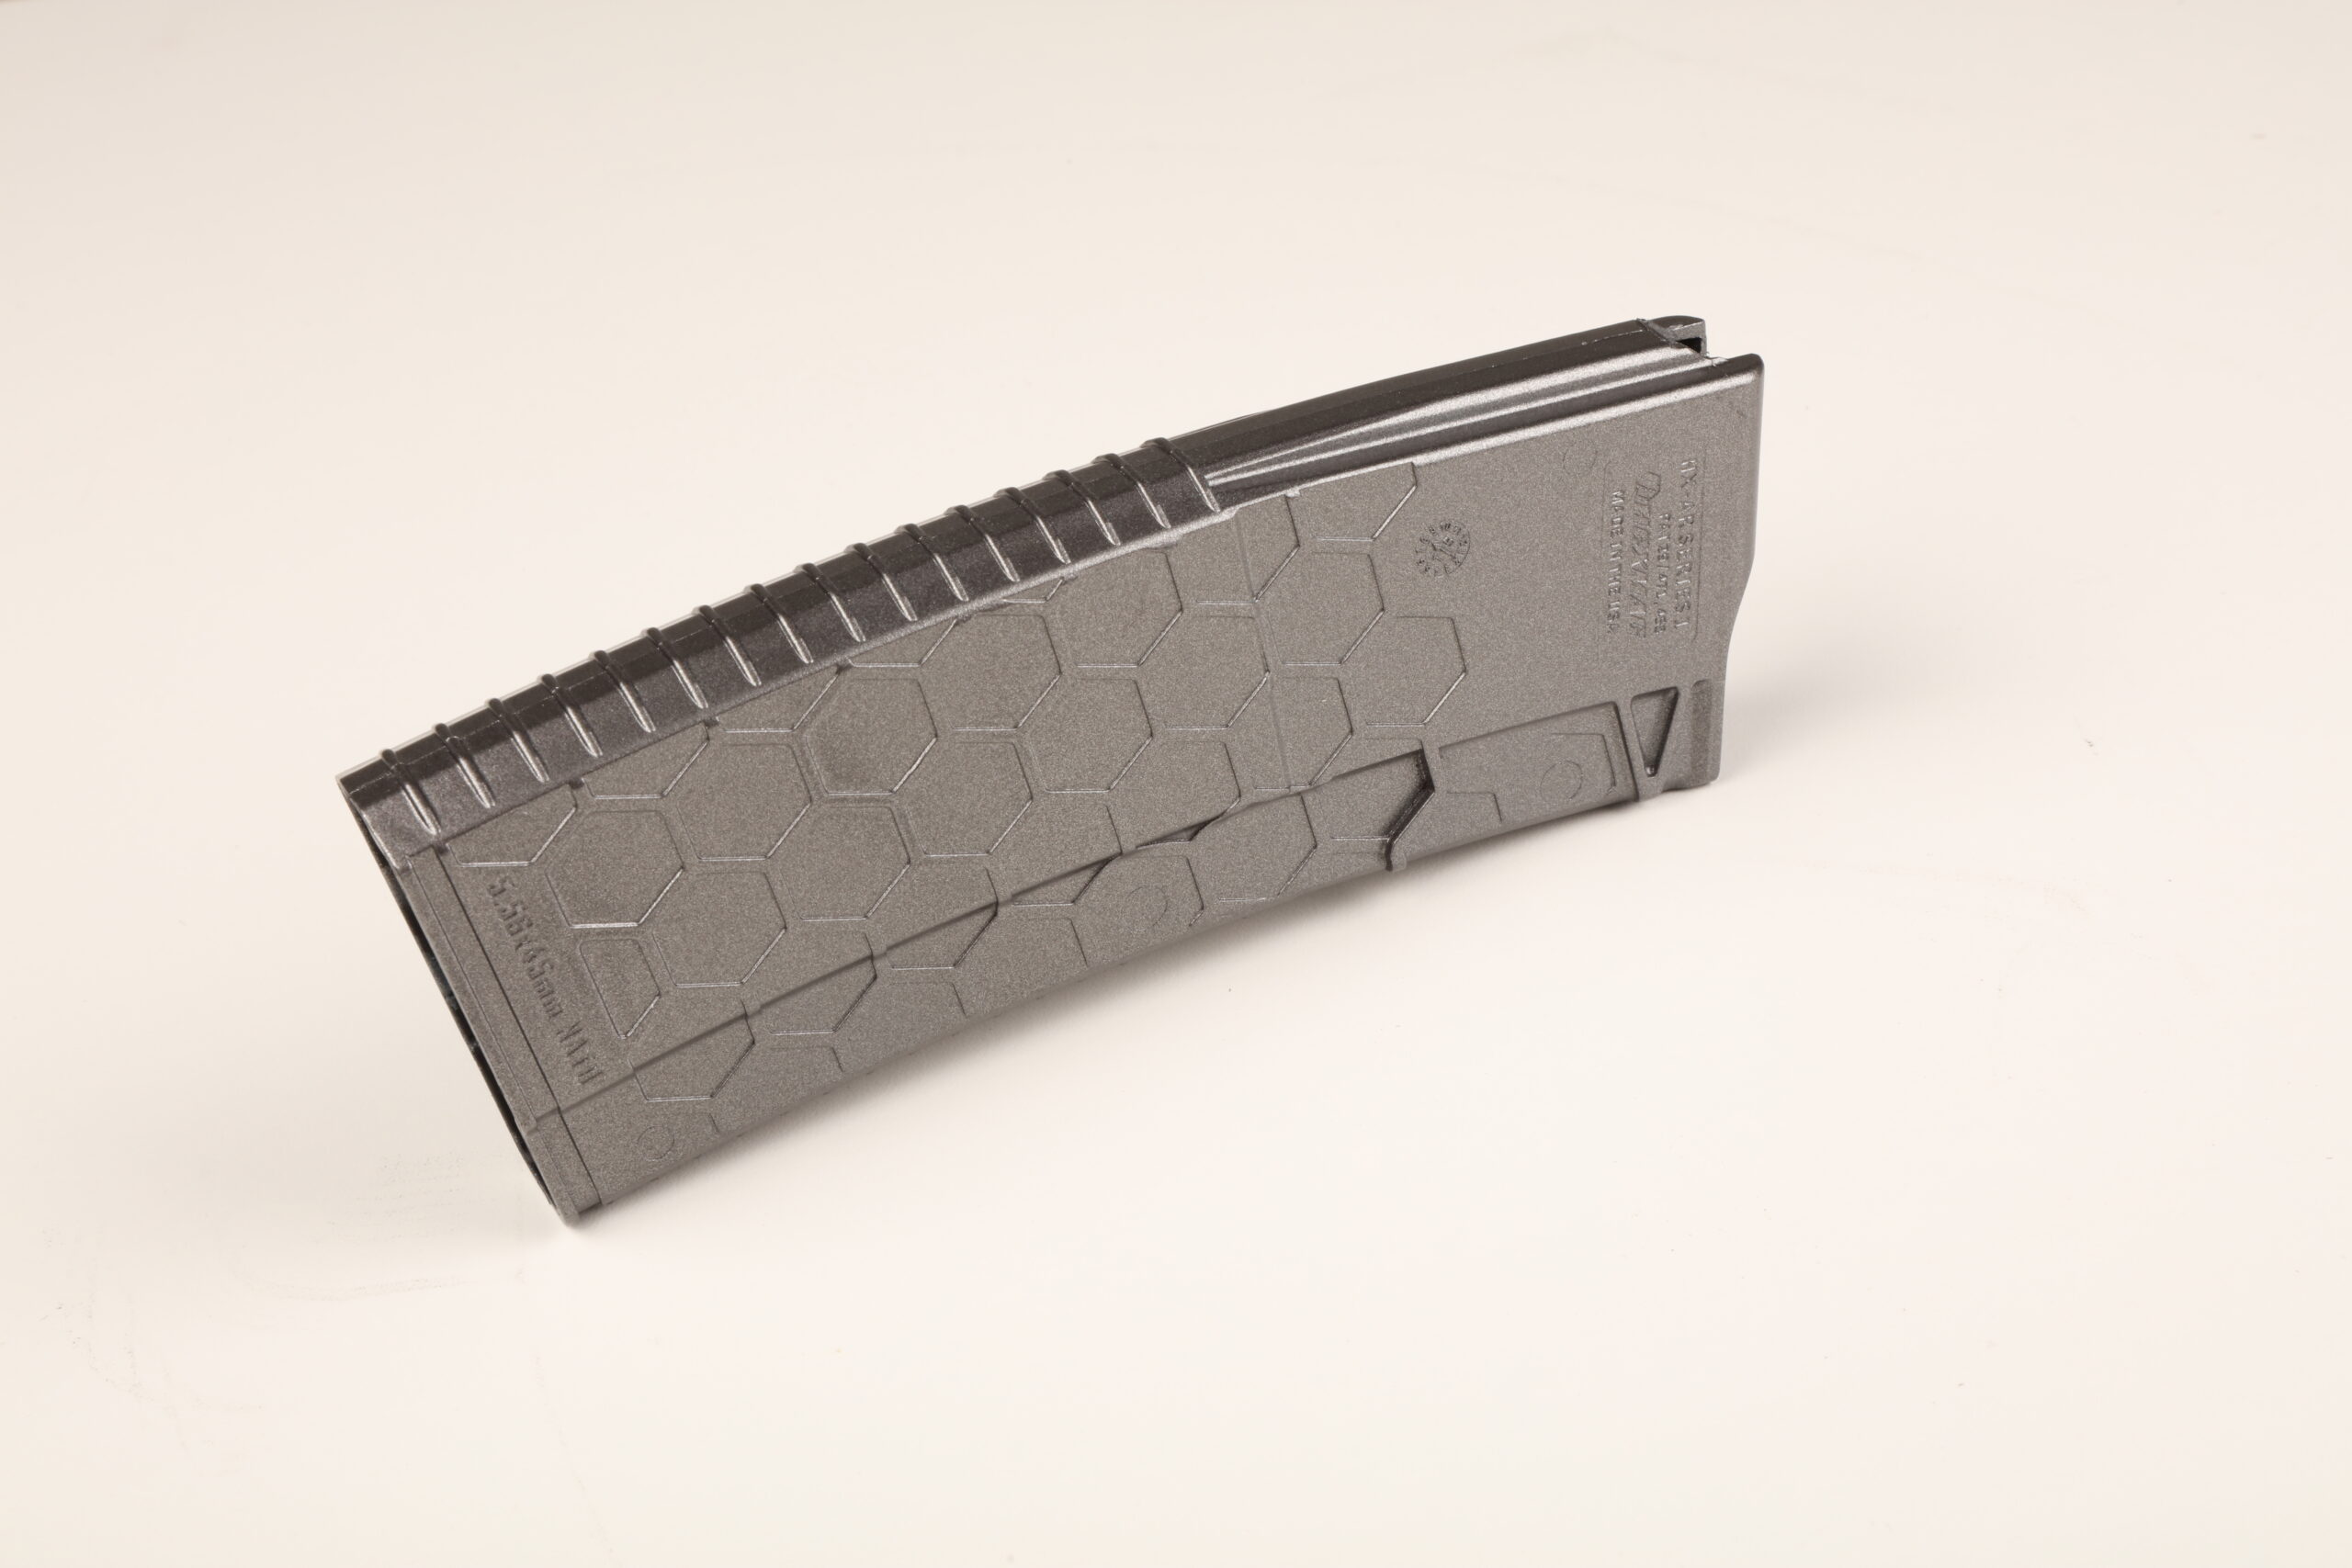
Be aware that this guide is meant as an overview of the process and is not detailed step-by-step instructions. In our following example, we dipped a magazine in a carbon fiber design and a knife blade in MultiCam. You’ll see images of either item during the course of the following steps. Now enough talk, let’s get dipping!
What’s needed
• Preprinted water transfer film
• Film Activator
• Primer Paint

• Base Coat Paint
• Clear Coat Paint
• Mask
• Gloves
• Scouring Pad
• Tack Cloth
• Masking Tape
Preparation
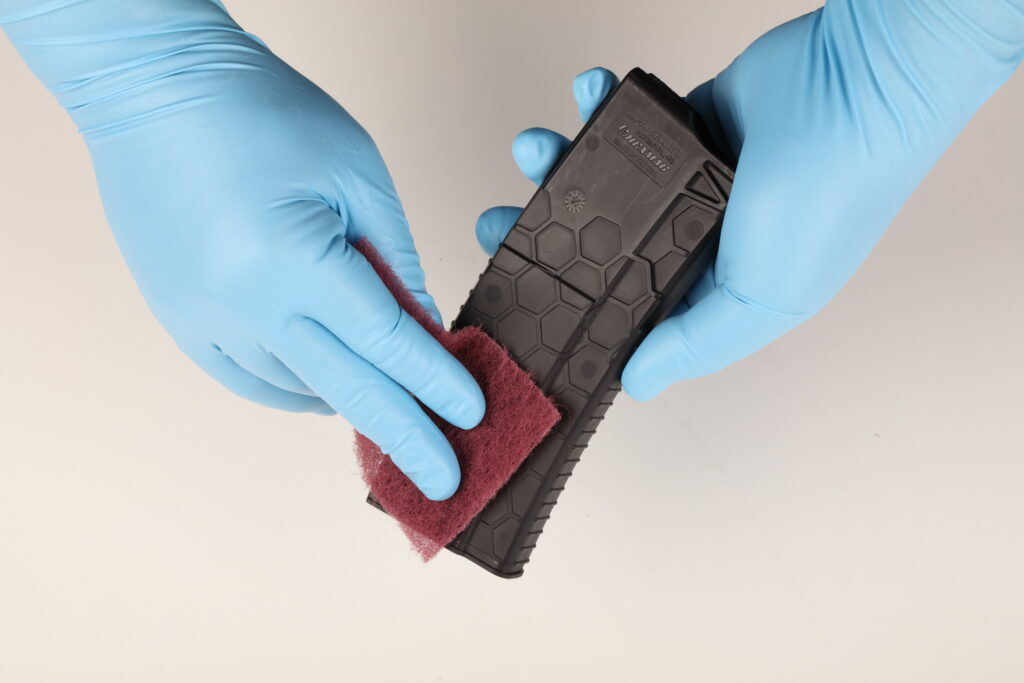
step 1
A durable hydro dip job requires a durable paint job first. Just like with any rattle can paint job, we degreased, washed and dried the items, then scuffed up the parts prior to hitting them with primer. Use masking tape to tape off anything that you don’t want painted or dipped.
Primer
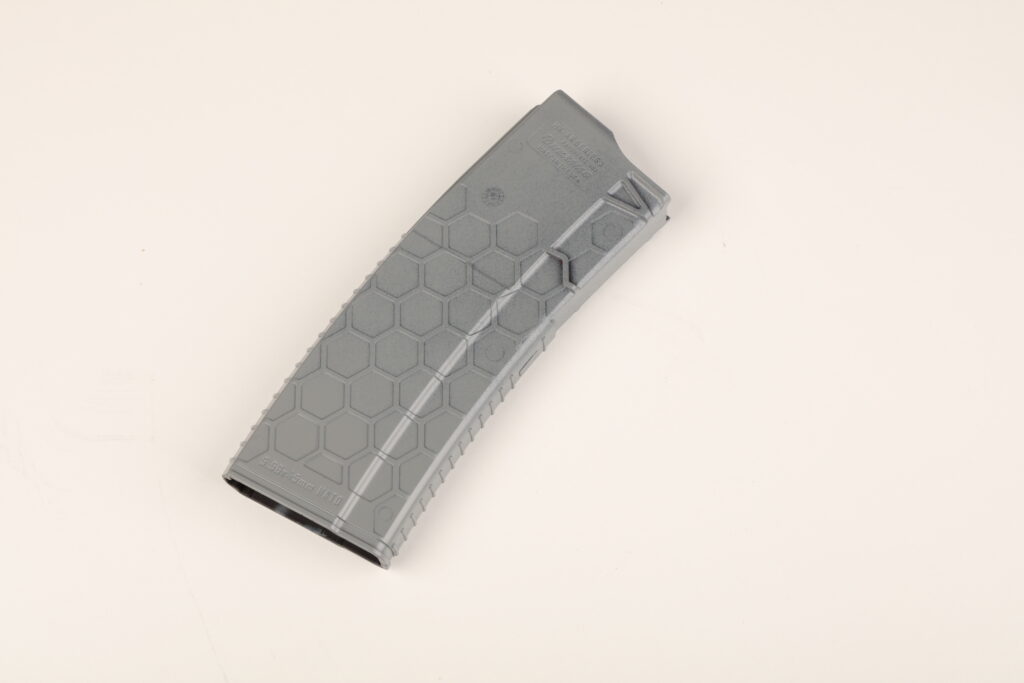
step 2
After making sure that the items were clean and free of lint, we sprayed the items with primer and left them to dry. We can’t be sure if the primer that came with the kit we purchased is really different from regular primer, but we did notice that it went on very smoothly.
Base Coat
Different films have different levels of transparency. This can be a benefit if you want to customize your look a bit more. If you want a blue-toned carbon fiber for example, you can spray blue as a base coat and choose a slightly more transparent film. In our case, we went with the recommended paints for each of the patterned films.
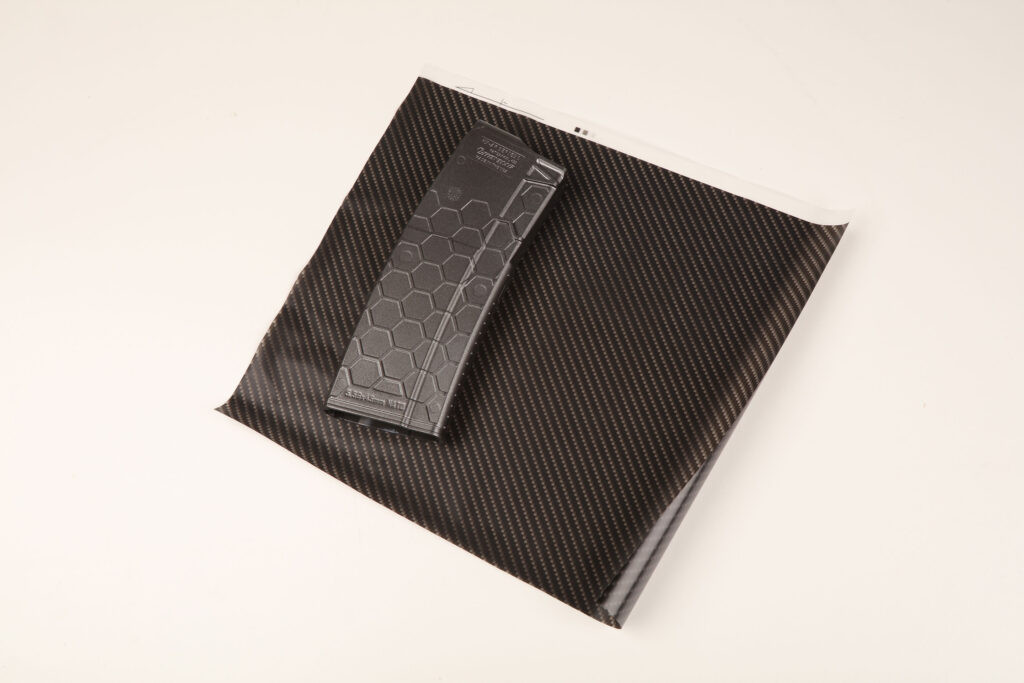
Measure and Cut
step 4
Like wrapping a gift, you’ll want to measure and cut enough film that will cover your entire part. Think three-dimensionally and leave room for thick sections and other protrusions and shapes. You’ll want to make relief cuts to allow the film to properly wrap around the item.
Tape the Film

step 5
As the film is placed on top of water, it will become extremely flimsy and delicate to deal with as it soaks. To keep the film’s sheet-like shape intact and make it more manageable to work with even after it is wet, you’ll want to create a tape frame around the edges of the film. We learned that a complete tape-frame worked best for us, so don’t leave any untapped gaps. Masking tape was good enough for the small parts we dipped, but we hear that duct tape is better for the larger sheets used to dip large items.
Water & Container
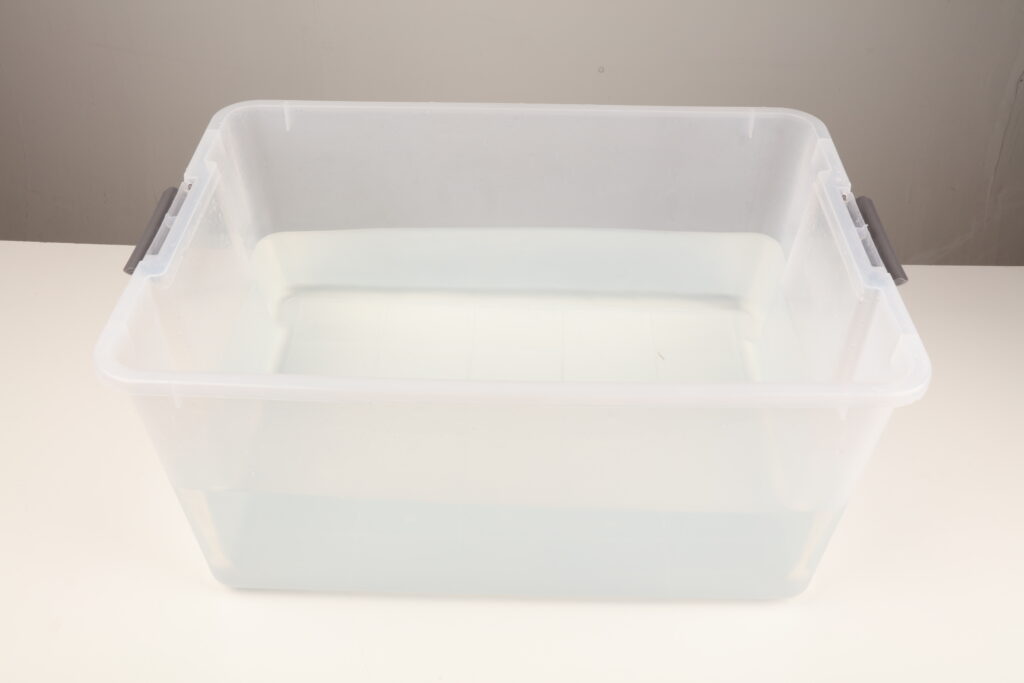
step 6

You’ll want to use a water container that can accommodate enough water to completely submerge the item with ample room around all the sides so you can move the item around. Be aware of water displacement when the item is dunked. Fill the container with water that is about 90° to 100° F. If you use your bathtub, be aware that excess film will stain it, so make sure its lined.
Film Placement
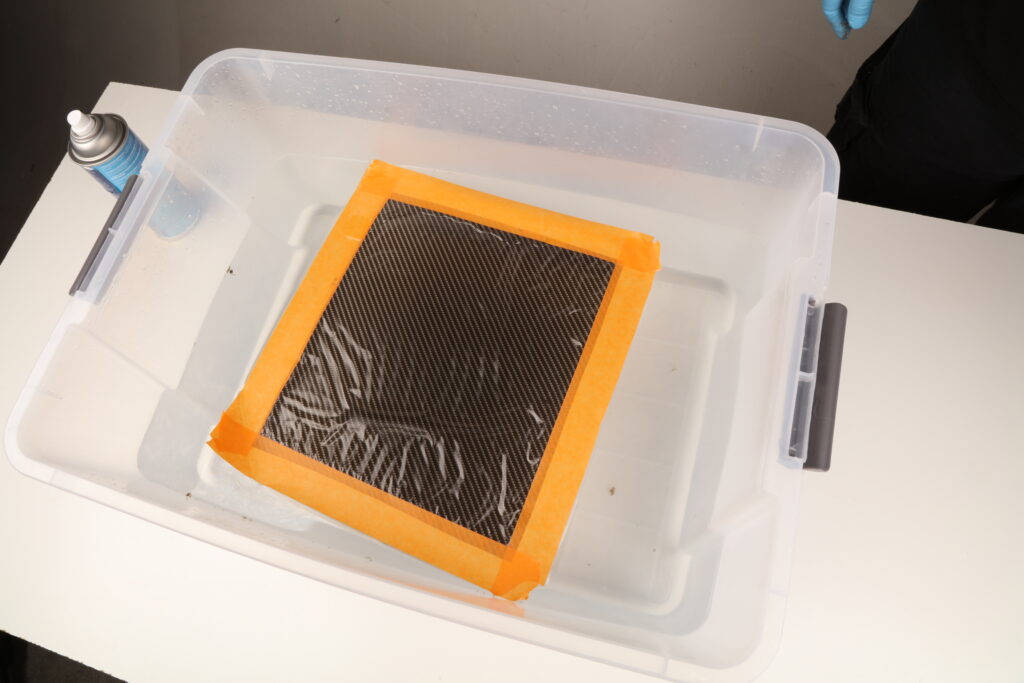
step 7
The film has a sticky side and a non-sticky side. You’ll want to carefully and gently place the film with its sticky side down facing the water. Do not submerge the film; allow it to float on the surface of the water. To determine which side of the film is sticky, wet your fingers and hold both side of the film for a few seconds. It will become apparent which side is the sticky side.
Activator
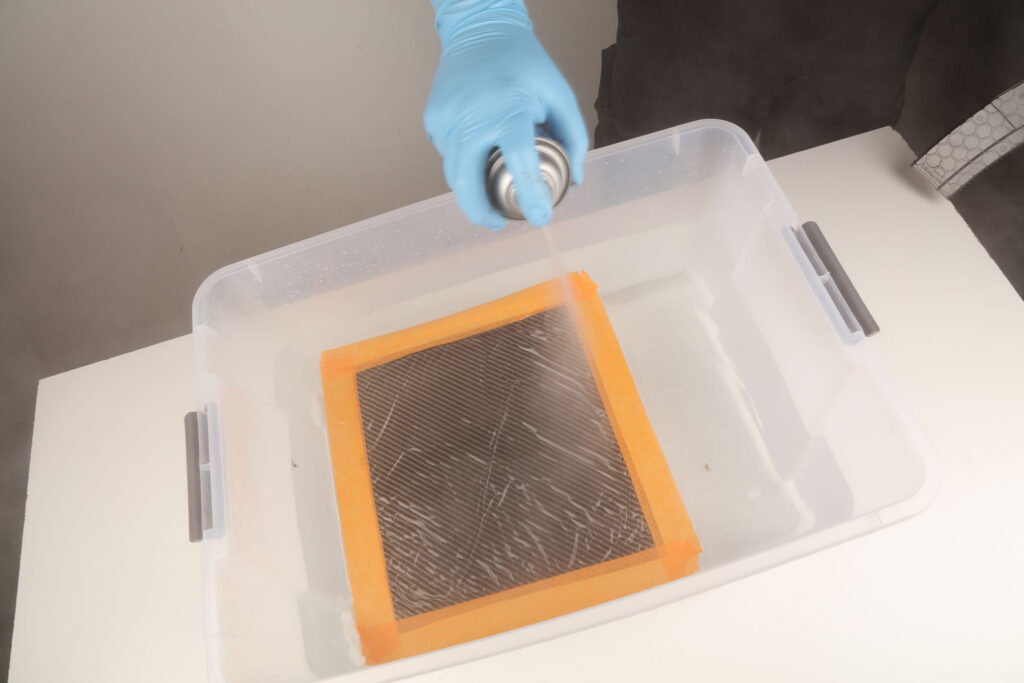
step 8
This is a crucial part of the process. The aerosol activator spray gives off very strong smelling, undoubtedly unhealthy, fumes, so be aware of this when you choose where to hydro dip. Generously spray the activator on the film. There’s plenty more detail to this process so please make sure you read the instructions about its nuances before tacking this step.
Dip
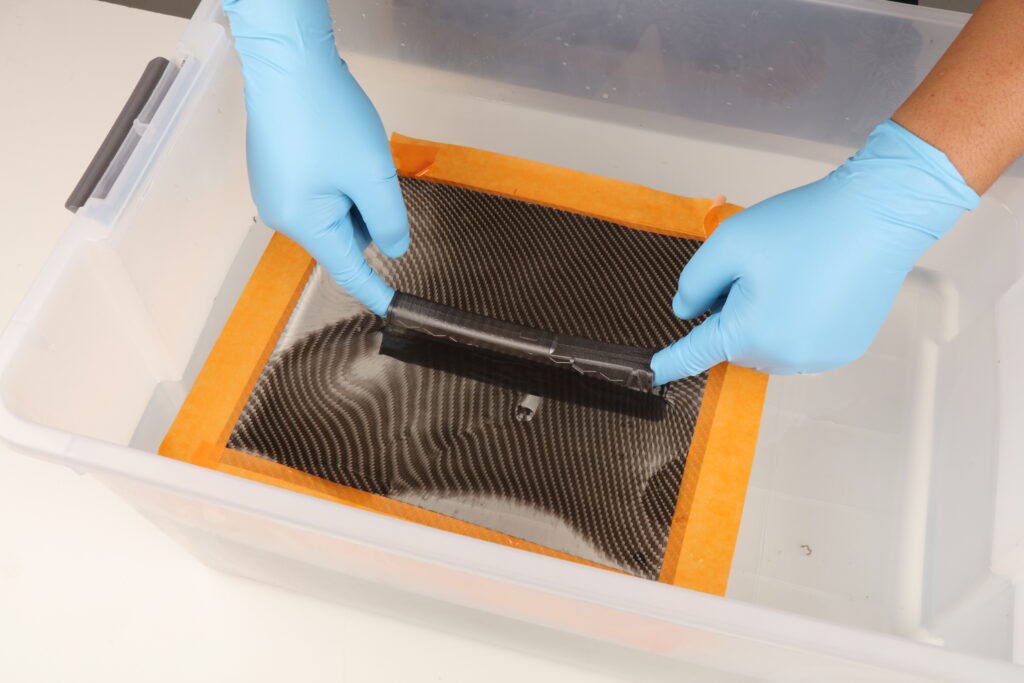
step 9
Finally! This is what we’re here for, the dip. Prior to dipping the item, it’s a good idea to test the film has sufficiently transformed from a film to a syrupy goo before moving forward. There are also more details to this step than we have room here for so do read the detailed instructions on how to determine the optimum dipping window. Basically, you want the film to be gooey to the touch. We found that slowly lowering the item into the film provided us with the best results for film coverage, but this probably varies on the item being coated and other factors.
Review & Rinse

step 10
If all went well you can now bask in the glory of your newly dipped item. The item will be sticky and slimy to the touch just after dipping. Be careful not to touch it. After waiting about a minute, you can gently rinse the item off under cold water to get the slime off of it prior to spraying it with a protective clear coat.
Clear & Complete

step 11
After the item is completely dry, spray it with a protective clear top coat. You can choose from a matte or a gloss coat, depending on what look you’re going for. If you want extra protection, several clear coats can be sprayed but make sure you let each coat dry before spraying the next one.
Bottom Line
Compared to other customizing processes that I’ve tried, I’d say that hydro dipping isn’t hard, but requires finesse and a good deal of experience to pull off well. I did make a couple of mistakes along the way but learned from them pretty quickly. It’s fun and rather addicting. This was my first time working with hydro dip and it certainly won’t be the last. Now, what should I dip next?
Made A Mistake?
When Things Don’t Go As Planned.
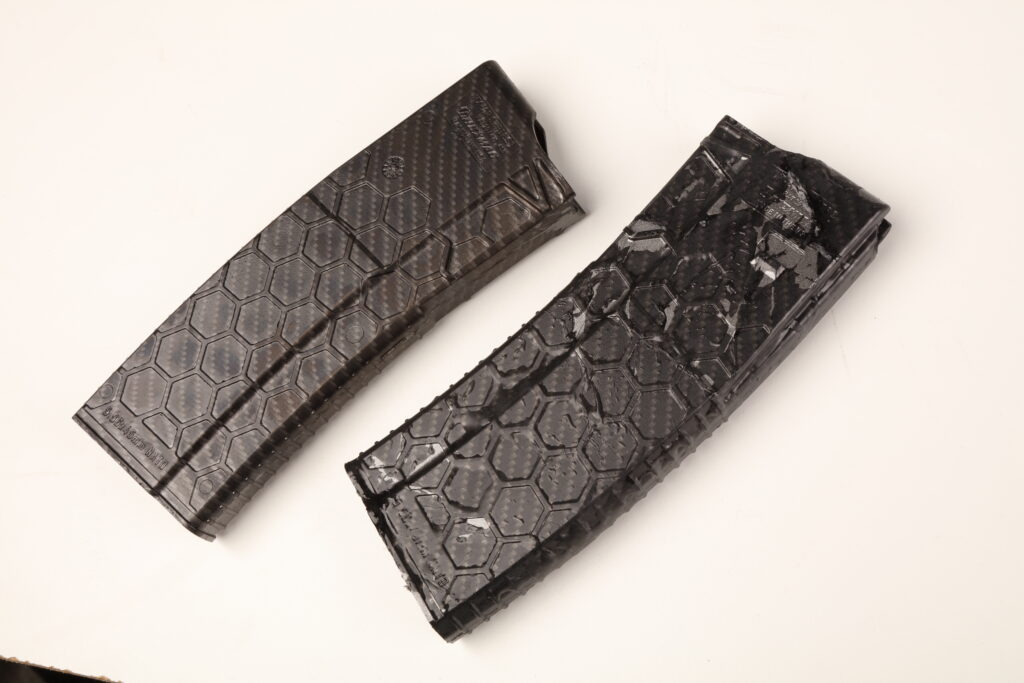
On the left is my second try at hydro dipping and on the right, is my first. Not a pretty sight. I’m not going to sugar coat it, there are a ton of things that can go wrong when hydro dipping. If the water temperature isn’t just right or there’s too little activator or too much activator or if water gets onto the film… yeah, a lot of factors to look out for.
Getting professional results will require perfect conditions and plenty of experience in working with water transfer film. I found that if I found a mistake immediately after dipping, I could spray activator directly on the item and manually remove the film and undercoats of paint and primer and try again. It’s a messy process but it was doable. It’s probably best to practice on a chunk of wood or other scrap before trail-dipping something of value, just in case.
Text by Martin Anders / Images by Michael Grey